Step 1 – Create a txt document with your Ads.txt info
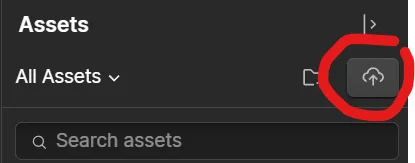
Step 2 – Upload it to your assets within WebFlow. Ensure that it is saved ads.txt

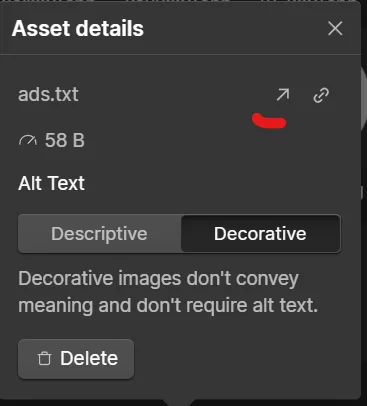
Step 3 – Grab the URL by going into the settings for the file


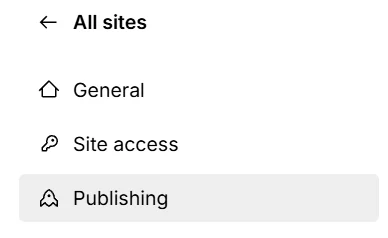
Step 4 – Go into your Site Settings and then click “Publishing” on the left hand side

Step 5 – Set up a redirect with the old path as “/ads.txt” and the new path is your ads.txt file url that you uploaded

Step 6 – Click Publish

You will have to wait a few days for ads.txt status to be authorized.
What if it is still not authorized after a long while?
Here’s what happened to me: weeks went by, and my status still wasn’t showing as authorized, even after trying multiple tutorials that all recommended the same steps I had already followed.
What finally worked was adding a cookie consent banner for tracking. I used a basic accept/decline setup—it took some time, and admittedly, my code wasn’t the cleanest. There are plenty of plugins out there, or you can create your own; either way, this was what ultimately helped me!
Mini Rant: I’m still surprised that Webflow doesn’t support uploading files at the root domain or have a straightforward way to do it. Other platforms make adding an ads.txt file easy, but Webflow’s method feels unnecessarily complex. If you’ve found an alternative solution, I’d love to hear it!

Leave a Reply
You must be logged in to post a comment.