Category: Blog
-

Form Vendor Options
1. HubSpot Forms Pros Cons Best Use Cases 2. Zoho Forms Pros Cons Best Use Cases 3. Microsoft Forms Pros Cons Best Use Cases 4. Google Forms Pros Cons Best Use Cases 5. Typeform Pros Cons Best Use Cases 6. Jotform Pros Cons Best Use Cases Choosing the Right Form Vendor The best form tool…
-

Lessons Learn From Starting, Failing, And Succeeding In My Side Hustles
It’s challenging to find success in any area of life. Often, we experience setbacks, and that’s completely fine. Each failure is an opportunity to learn and improve, or even to gracefully step back and realize that perhaps some paths aren’t meant for us. I’ve pursued several side hustles myself, finding only modest success. Enough to…
-
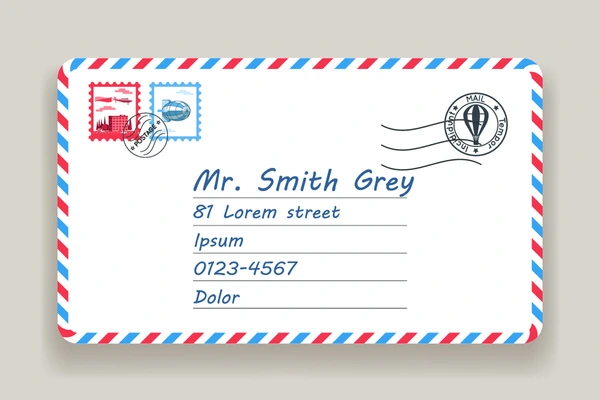
How Add Multiple Addresses To An Envelope Template In Adobe InDesign
Step 1: Ensure your file has clean data That means: Step 2: Design your Envelope Template Tip, instead that the longest name can be seen on one line. If it isn’t it will move it to the next line and it will mess up spacing. You can see in my example below the text box…
-
Publishing Failed: Could Not Update Post in the Database in WordPress – How to Solve It
If you’re encountering the error message “Publishing failed. Could not update post in the database” in WordPress, the solution might be simpler than you think. One of the most common causes of this error is the use of emojis in the post content. WordPress databases, depending on their configuration, may not support the storage of…
-

What are good resources to learn WebFlow?
Webflow has become a go-to platform for web designers who want to create stunning, responsive websites without needing to dive deep into code. Whether you’re just starting or looking to refine your skills, there are many resources available to help you master Webflow. Below, we’ve curated some of the best platforms, tutorials, and communities where…
-

How do I embed an RSS feed on a WebFlow website?
Embedding an RSS feed into your Webflow website can significantly enhance your site’s dynamic content and keep your visitors engaged with the latest updates. Here’s a simple step-by-step guide to help you seamlessly integrate an RSS feed into your Webflow project: Step 1: Choose Your RSS Feed Source First, decide on the RSS feed you’d…
-
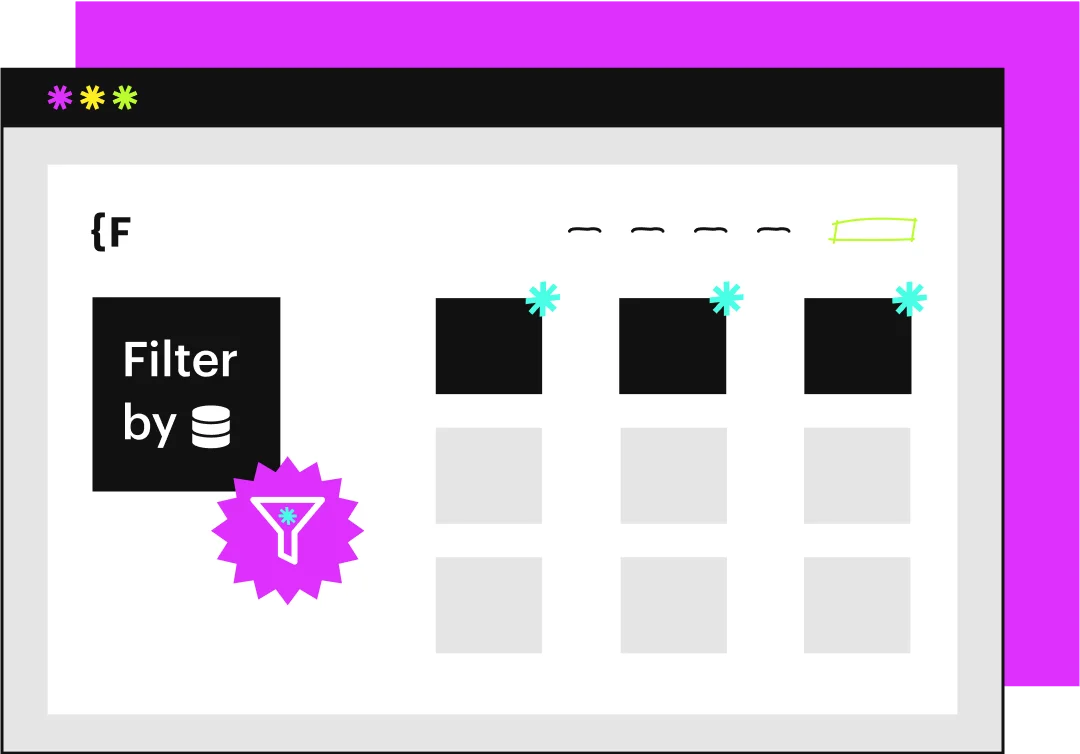
How To Filter Your CMS Collection in WebFlow
Webflow is a powerful tool for designers and developers, but sometimes, it lacks certain key functionalities right out of the box—such as advanced CMS filtering. Thankfully, the Webflow community has a fantastic partner in Finsweet, whose Attributes toolkit fills in these gaps beautifully. One standout feature that I regularly use and highly recommend is Finsweet’s…
-

What is the future of WebFlow?
In the ever-evolving world of web design platforms, Webflow has long been a go-to choice for freelancers and small agencies looking for an intuitive, no-code platform to create visually stunning websites. However, a noticeable shift has been taking place over the past couple of years, and many within the Webflow community are expressing concerns that…
-

Why is WebFlow so popular?
In recent years, Webflow has soared in popularity among designers, marketers, and businesses looking to build sophisticated, responsive websites without relying on extensive coding. But what exactly makes Webflow stand out among countless other website-building platforms, and why has it garnered such widespread acclaim? Let’s explore the factors fueling Webflow’s popularity—and consider why it might…
-

How do you create a site map in WebFlow?
Step 1: Log into Your Webflow Project Step 2: Navigate to SEO Settings Once you’re inside your Webflow project dashboard: Step 3: Enable Your Sitemap In the SEO settings, scroll down to the Sitemap section: Webflow will now automatically generate a sitemap file (sitemap.xml) for your website, dynamically updating it as you create or remove…
-
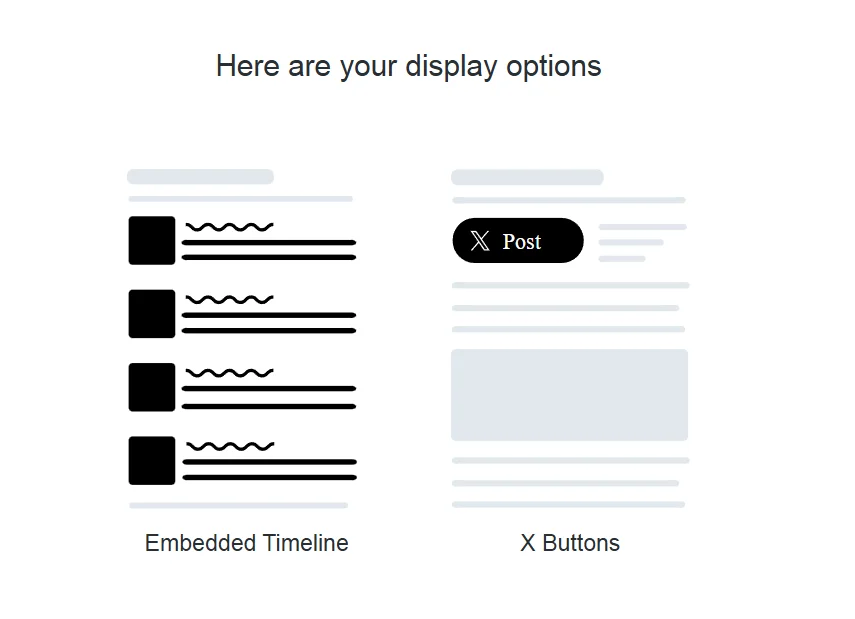
How do I embed a Twitter feed on WebFlow?
Step 1: Generate Your Twitter Embed Code First, head to Twitter’s official embedding tool: Step 2: Customize Your Twitter Embed (Optional) Twitter allows you to tailor your embed to match your website’s design and layout. You can: Step 3: Copy the Twitter Embed Code Once satisfied with your embed preview: Step 4: Insert Embed Code…
-

How do I embed YouTube videos on WebFlow?
Embedding YouTube videos on your Webflow site is a fantastic way to enhance engagement, improve SEO, and provide your visitors with valuable multimedia content. Fortunately, Webflow makes this incredibly straightforward, even if you’re new to website design. Here’s a step-by-step guide on embedding YouTube videos into your Webflow website: Step 1: Copy the YouTube Video…