Category: Tutorials
-
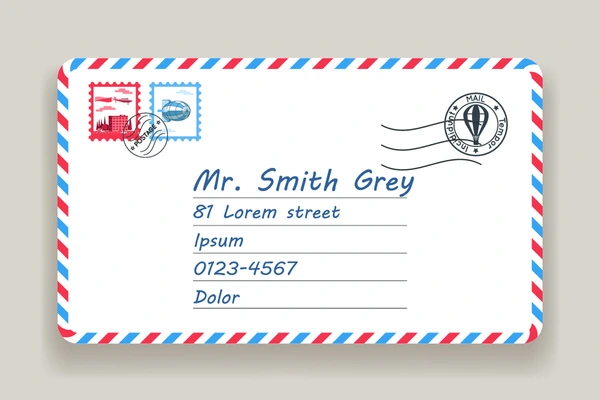
How Add Multiple Addresses To An Envelope Template In Adobe InDesign
Step 1: Ensure your file has clean data That means: Step 2: Design your Envelope Template Tip, instead that the longest name can be seen on one line. If it isn’t it will move it to the next line and it will mess up spacing. You can see in my example below the text box…
-
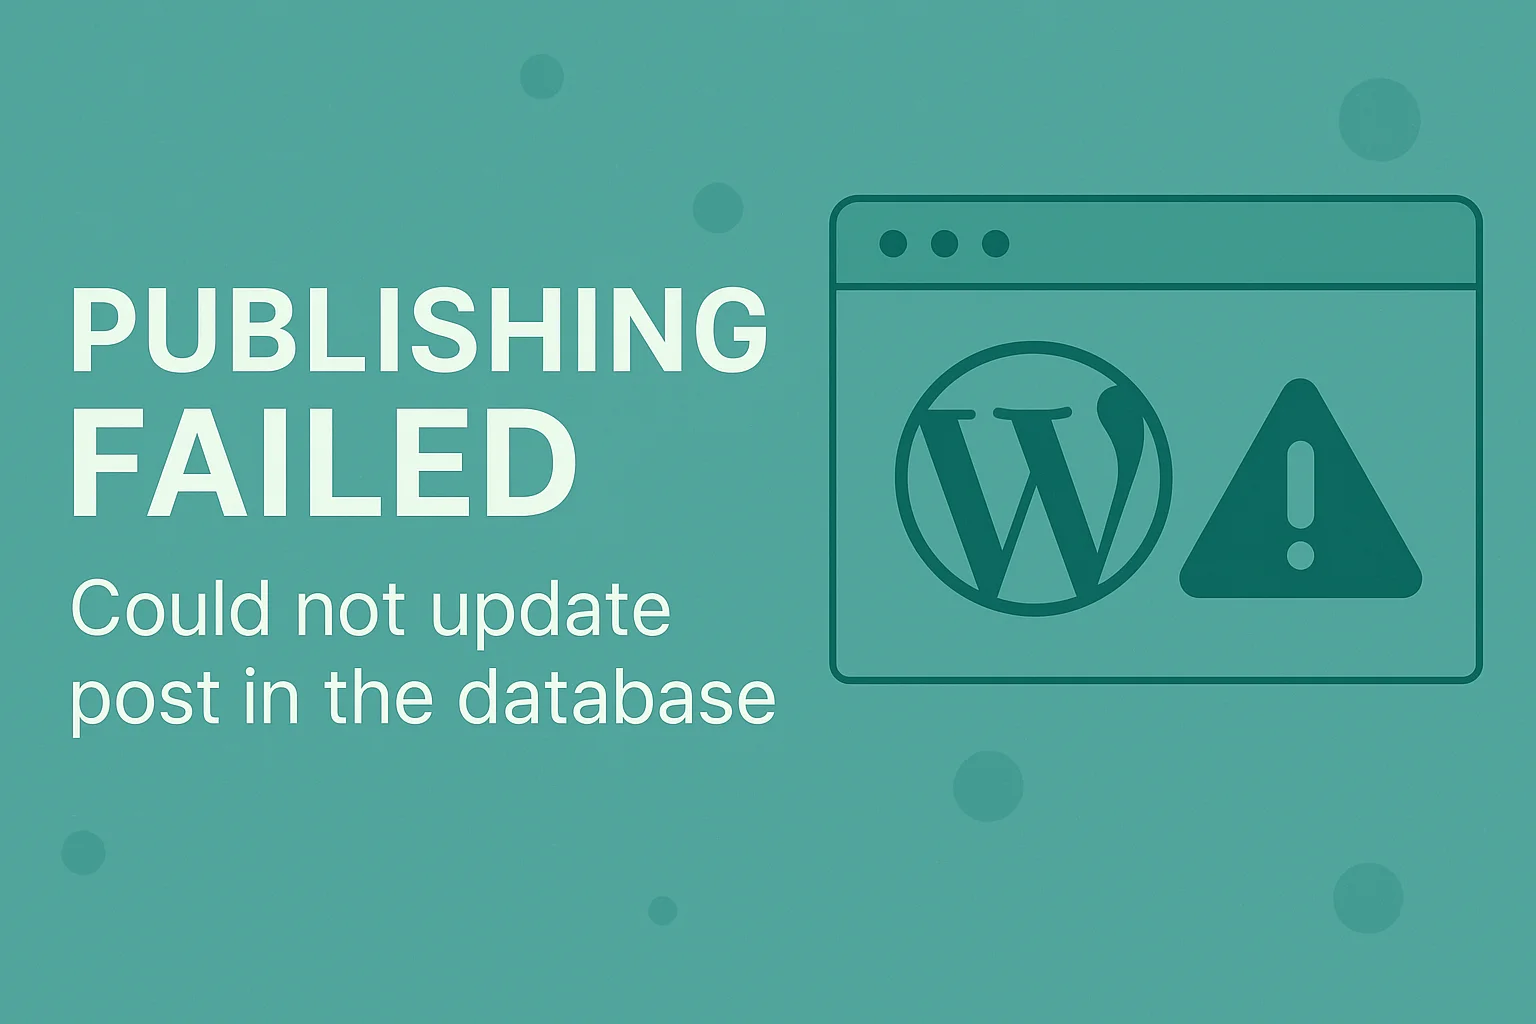
Publishing Failed: Could Not Update Post in the Database in WordPress – How to Solve It
If you’re encountering the error message “Publishing failed. Could not update post in the database” in WordPress, the solution might be simpler than you think. One of the most common causes of this error is the use of emojis in the post content. WordPress databases, depending on their configuration, may not support the storage of…
-

How do I embed an RSS feed on a WebFlow website?
Embedding an RSS feed into your Webflow website can significantly enhance your site’s dynamic content and keep your visitors engaged with the latest updates. Here’s a simple step-by-step guide to help you seamlessly integrate an RSS feed into your Webflow project: Step 1: Choose Your RSS Feed Source First, decide on the RSS feed you’d…
-
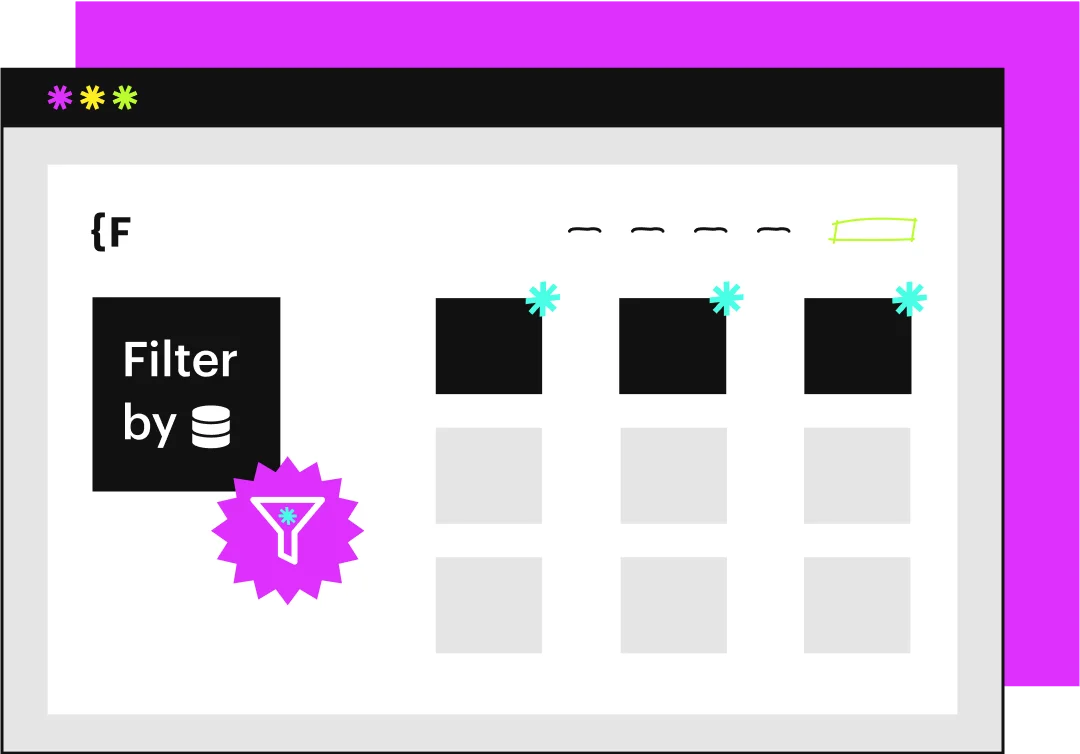
How To Filter Your CMS Collection in WebFlow
Webflow is a powerful tool for designers and developers, but sometimes, it lacks certain key functionalities right out of the box—such as advanced CMS filtering. Thankfully, the Webflow community has a fantastic partner in Finsweet, whose Attributes toolkit fills in these gaps beautifully. One standout feature that I regularly use and highly recommend is Finsweet’s…
-

How do you create a site map in WebFlow?
Step 1: Log into Your Webflow Project Step 2: Navigate to SEO Settings Once you’re inside your Webflow project dashboard: Step 3: Enable Your Sitemap In the SEO settings, scroll down to the Sitemap section: Webflow will now automatically generate a sitemap file (sitemap.xml) for your website, dynamically updating it as you create or remove…
-
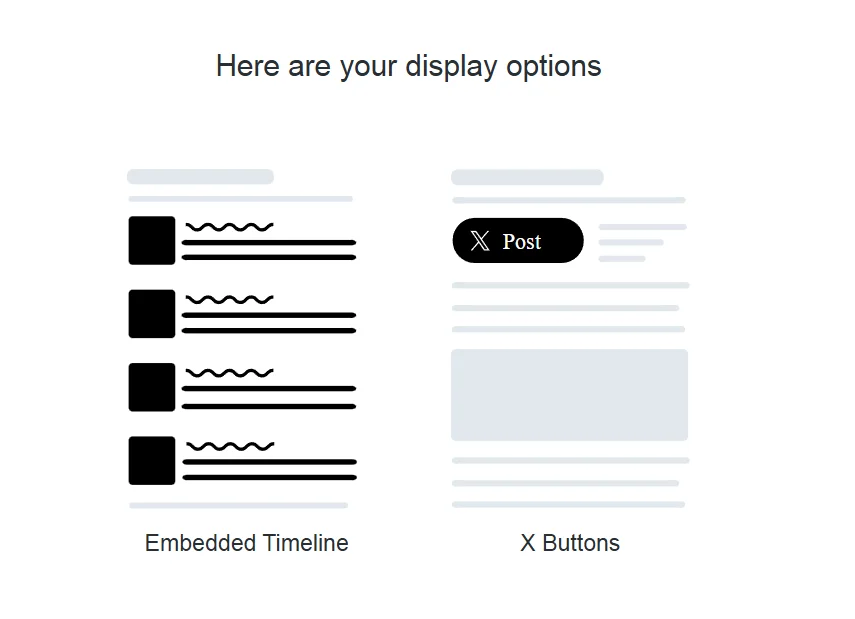
How do I embed a Twitter feed on WebFlow?
Step 1: Generate Your Twitter Embed Code First, head to Twitter’s official embedding tool: Step 2: Customize Your Twitter Embed (Optional) Twitter allows you to tailor your embed to match your website’s design and layout. You can: Step 3: Copy the Twitter Embed Code Once satisfied with your embed preview: Step 4: Insert Embed Code…
-

How do I embed YouTube videos on WebFlow?
Embedding YouTube videos on your Webflow site is a fantastic way to enhance engagement, improve SEO, and provide your visitors with valuable multimedia content. Fortunately, Webflow makes this incredibly straightforward, even if you’re new to website design. Here’s a step-by-step guide on embedding YouTube videos into your Webflow website: Step 1: Copy the YouTube Video…
-
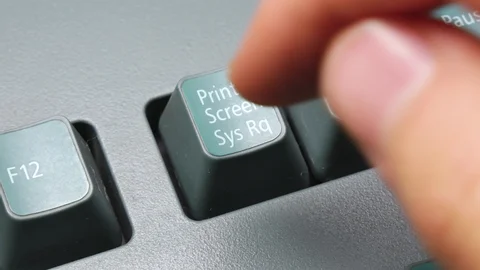
How to Screenshot on Windows
Taking screenshots is an essential skill for sharing information, troubleshooting issues, or simply capturing a memorable moment on your screen. Windows provides multiple built-in methods that are simple to use, whether you’re a beginner or a tech-savvy user. In this guide, we’ll walk through the most reliable ways to capture your screen on a Windows…
-

How Do I Add A Recaptcha To My WebFlow Forms
Integrating reCAPTCHA into your Webflow forms is an excellent way to prevent spam and protect your website from bots. In this guide, we’ll walk through the process step-by-step, from setting up your reCAPTCHA keys to configuring your Webflow project. What is reCAPTCHA? reCAPTCHA is a free service from Google designed to protect websites from spam…
-

How to Set an Explicit Width and Height on Image Elements to Reduce Layout Shifts and Improve CLS in Webflow
In the world of web design, user experience is paramount. One key metric for measuring this is the Cumulative Layout Shift (CLS), which gauges the visual stability of a webpage. High CLS can lead to poor user experience, as elements move around unexpectedly while the page loads. One effective way to tackle this issue, particularly…
-

How to Cancel WebFlow Subscription
If you’re looking to cancel your Webflow subscription, the process is a bit different from what you might expect. Instead of navigating through general account settings, you’ll need to manage your site and workspace plans separately. Below is an updated step-by-step guide to help you cancel your subscription and downgrade to a free account. NOTE:…
-

How To Duplicate A Page In WebFlow
Hover over the page you want to duplicate until you see the gear icon, click the gear icon to open the page settings. In the upper right corner, you should see a page icon next to the close button. Click it to duplicate a page. You will have to then rename the page. Webflow doesn’t…