Taking screenshots is an essential skill for sharing information, troubleshooting issues, or simply capturing a memorable moment on your screen. Windows provides multiple built-in methods that are simple to use, whether you’re a beginner or a tech-savvy user. In this guide, we’ll walk through the most reliable ways to capture your screen on a Windows computer.
1. Using the Print Screen Key
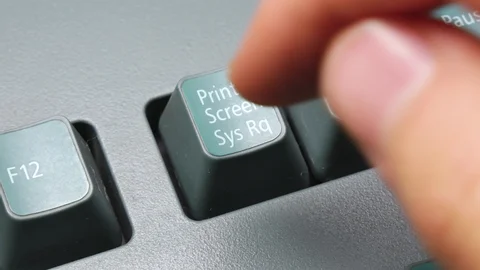
The simplest and most universal method to capture a screenshot on Windows is by using the Print Screen key, often labeled as “PrtScn” on your keyboard.
Full-Screen Capture
- Step 1: Locate the Print Screen key on your keyboard.
- Step 2: Press the PrtScn key. This action copies the entire screen’s content to your clipboard.
- Step 3: Open an image editing tool like Paint or Photoshop.
- Step 4: Paste the screenshot (Ctrl + V) and save the image.
Active Window Capture
- Step 1: Click on the window you want to capture to make it active.
- Step 2: Press Alt + PrtScn. This captures only the active window.
- Step 3: Paste the image into an editing tool and save it.
Using the Print Screen key is straightforward and doesn’t require additional software, making it a quick solution for most users.
2. Using Snip & Sketch
For those who need a bit more control over their screenshots, Windows offers the Snip & Sketch tool. If the shortcut Windows + Shift + S isn’t working on your device, you can access Snip & Sketch by using the search bar.
How to Use Snip & Sketch:
- Step 1: Click on the Start button or click on the search bar and type Snip & Sketch.
- Step 2: Open the Snip & Sketch application from the search results.
- Step 3: Once the tool is open, click on the New button. Your screen will dim, and a small toolbar will appear.
- Step 4: Choose the type of snip you want:
- Rectangular Snip: Drag the cursor to form a rectangle.
- Freeform Snip: Draw any shape you want.
- Window Snip: Click on a window to capture.
- Full-Screen Snip: Capture the entire screen.
- Step 5: The snipped image is copied to your clipboard. You can then use the editing features within Snip & Sketch to annotate or crop the image, and finally save it.
Snip & Sketch is ideal for those who need additional editing options immediately after capturing their screenshot.
Leave a Reply
You must be logged in to post a comment.