Step 1: Ensure your file has clean data
That means:
- Your data file is in CSV format
- Has headings
- No blank data. If there is blank data and you cannot fill it. Use a space instead. Adobe InDesign will not import it otherwise.
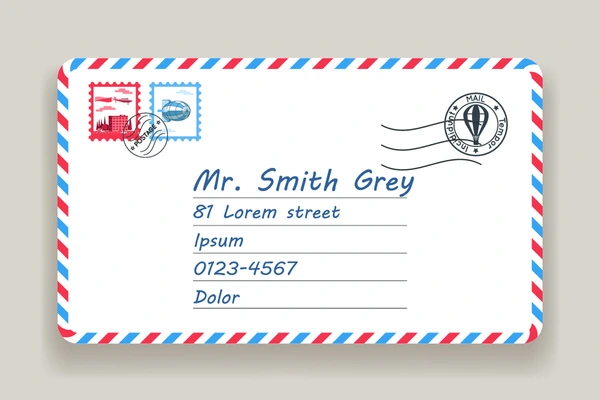
Step 2: Design your Envelope Template
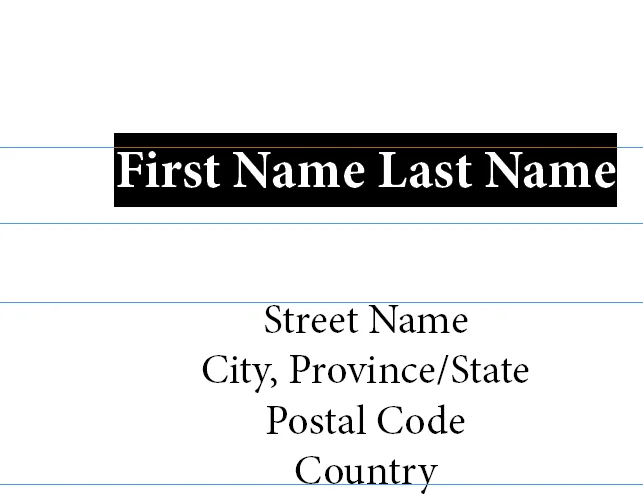
Tip, instead that the longest name can be seen on one line. If it isn’t it will move it to the next line and it will mess up spacing. You can see in my example below the text box is stretch the very end.
Step 3: Import your Data into Adobe InDesign
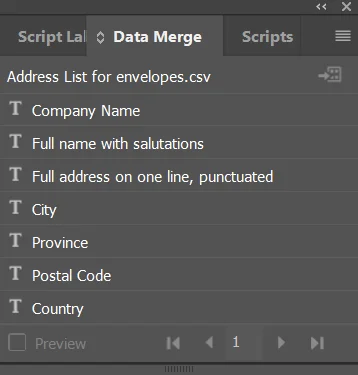
Open up the Data Merge panel by going to:
Windows > Utilities > Data Merge
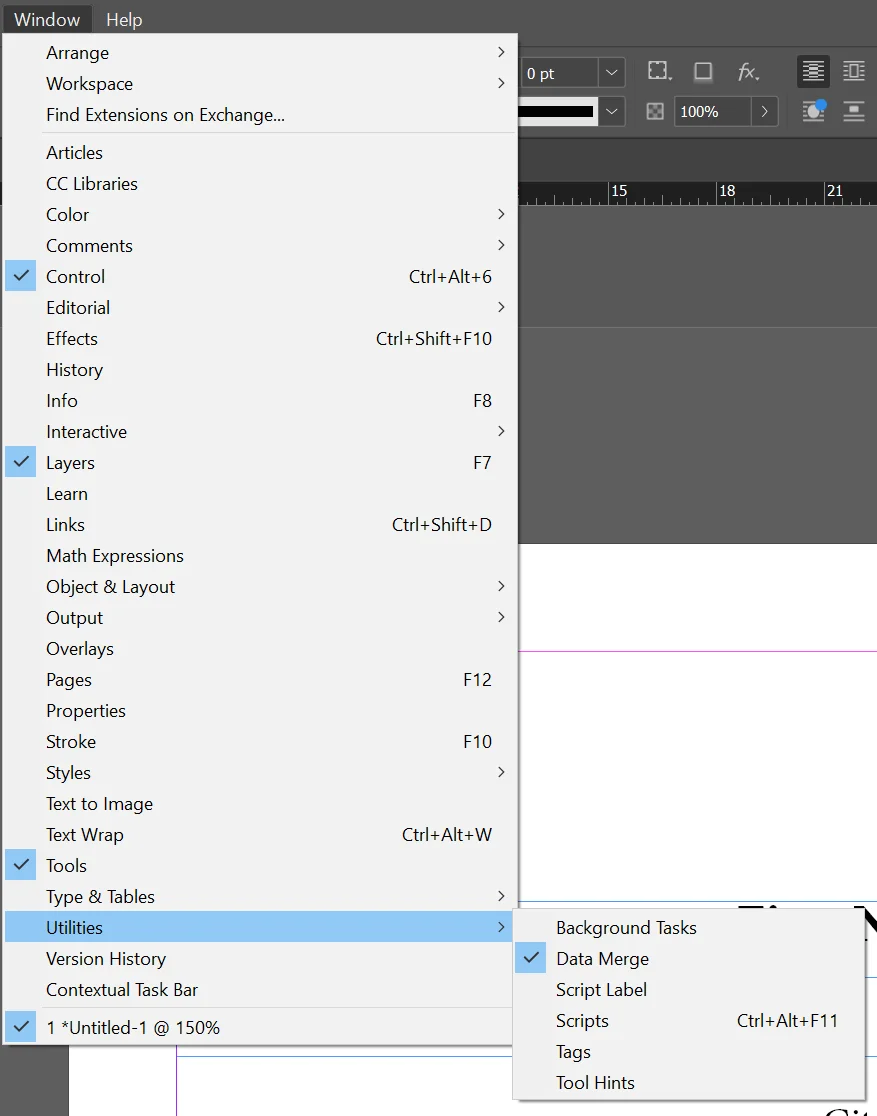
Within the panel go to 4 line icon in the top right corner. Then click “Select data Source”
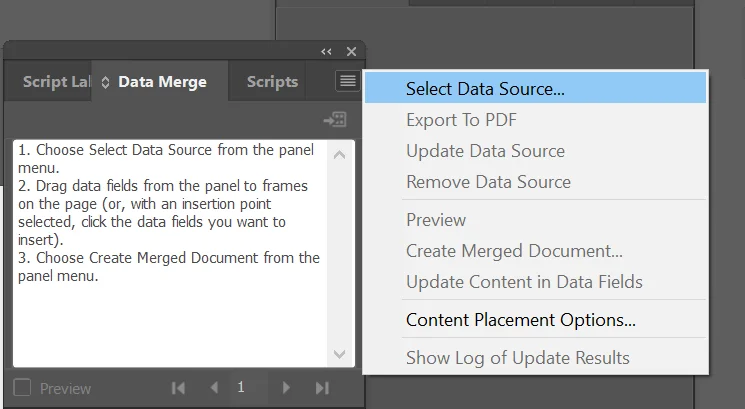
The data then will be imported and the headings will appear to let you know which is which.
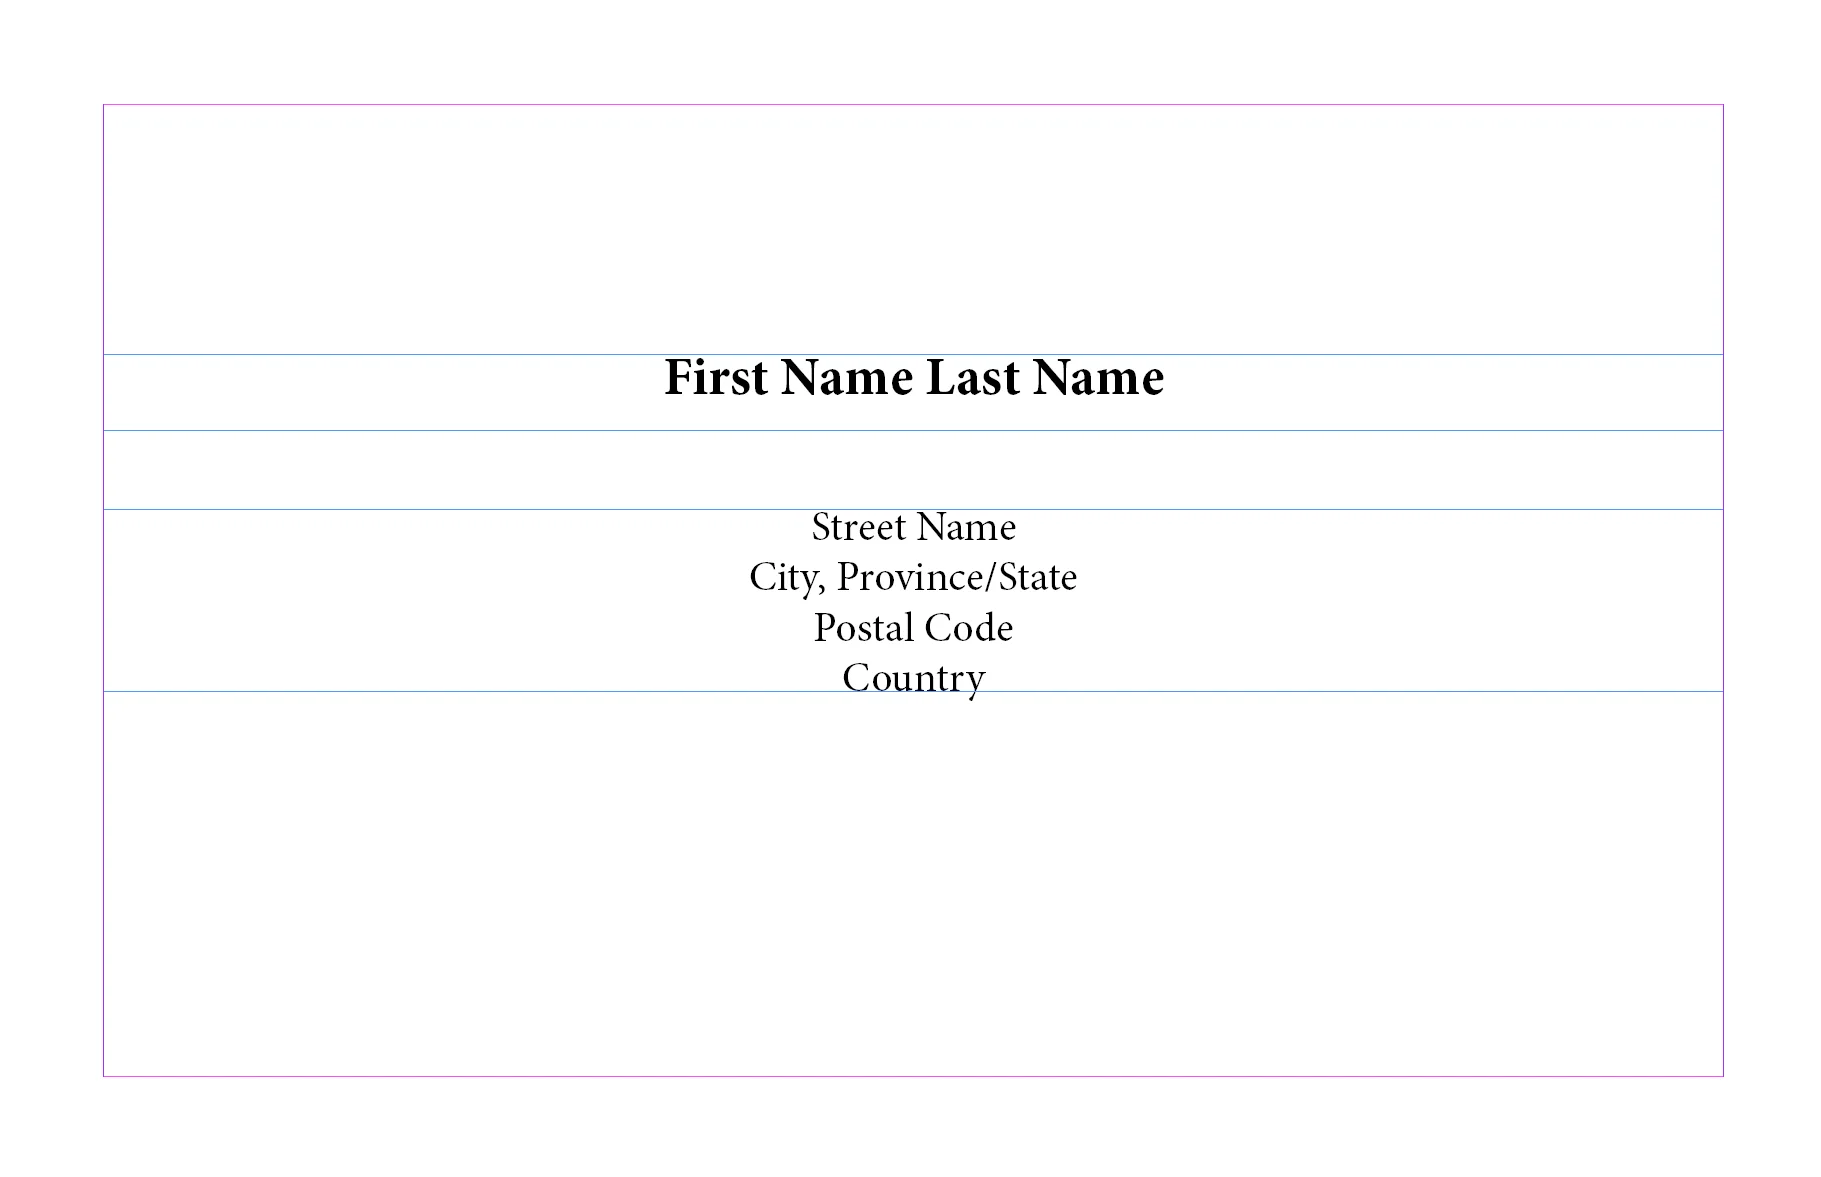
Then highlight your text where you want specific fields to go too. Here the “First Name Last Name” placeholder will be replaced by the “Full Name with Salutations”
Once you highlight it, then click the data merge heading. You should see the heading now enclosed with << >>
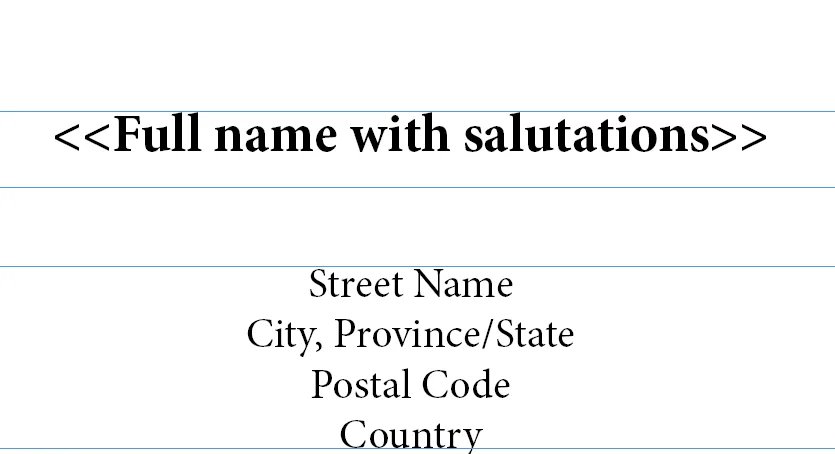
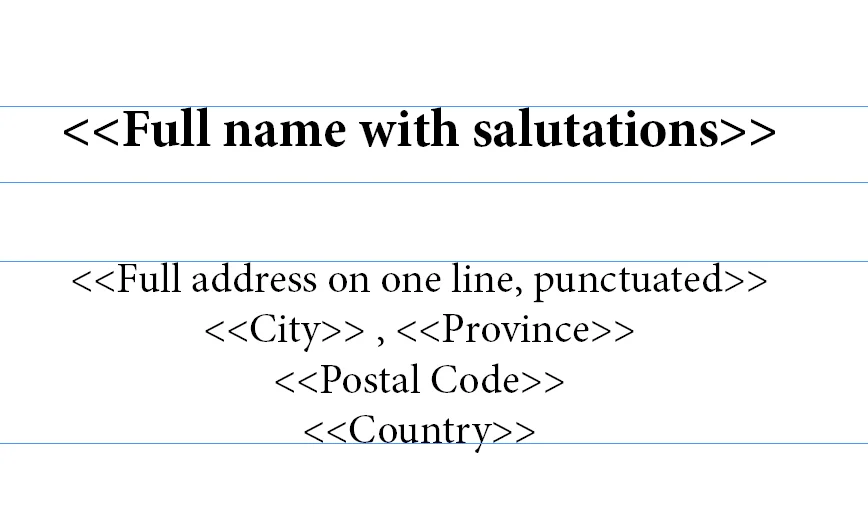
Do that for the rest of the fields. Just be conscious of spaces and commas.
Then go into the data merge panel again, go to the four line icon and then select “Create Merged Document”
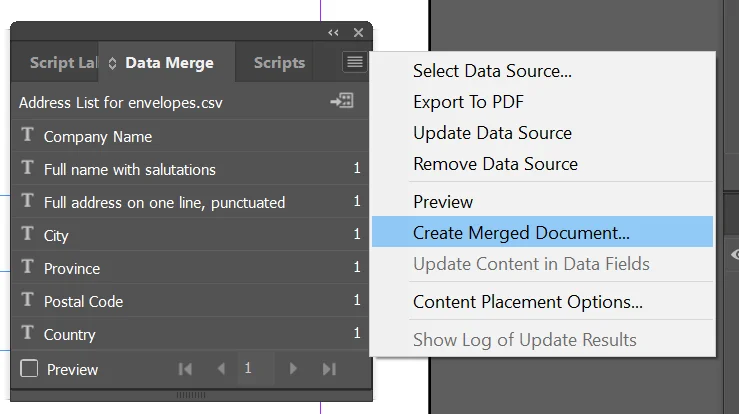
The “Create Merged Document” panel will then open. Now click “Options” in at the top of the panel.
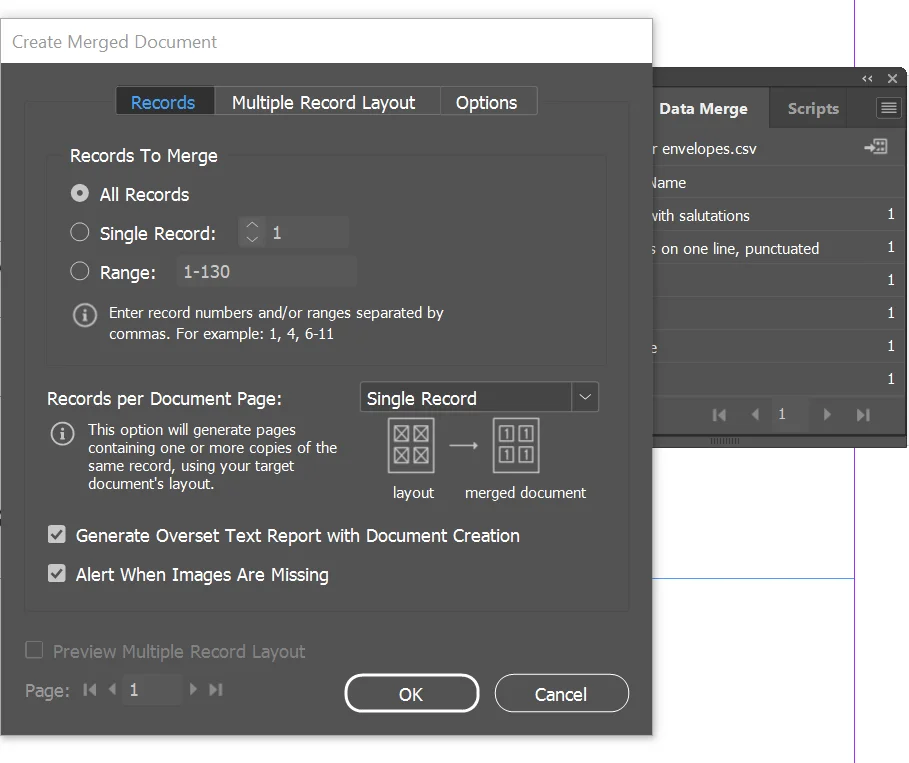
Ensure the “Remove Blank Lines for Empty Fields” is check marked. Click “Ok”
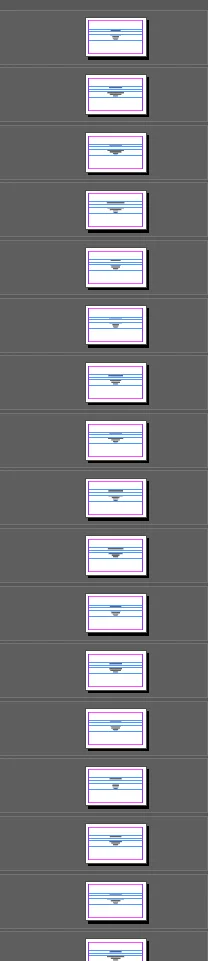
It will then open a new InDesign File with all the addresses. Save the file, and you are done!
Besides this written tutorial you can also watch this YouTube Tutorial! You can also use this function for more than just envelopes. I can imagine for invitations, tickets, and more!
Leave a Reply
You must be logged in to post a comment.