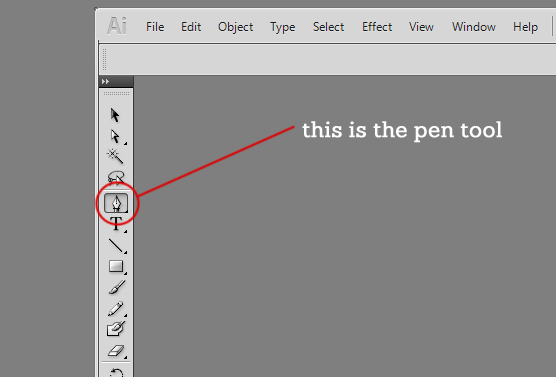
The Pen tool in Adobe Illustrator Differs in how they work from Adobe Photoshop. It works differently to become a more versatile tool for illustrators. You can check out my tutorial for pen tool in Photoshop here.
Step 1: Setting up your Pen tool. Just like in Adobe Photoshop you have up how the “line” will look. Go to the colour picker portion of your tool box.
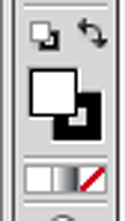
The white box here is the foreground colour, your main colour. The black box behind it is the background colour, or your outline colour. You can choose not to have one other other if you click the small box with the red line across it. The middle is a gradient, and the first is just one tone. The BACKGROUND colour is the one you are mainly working with if you are making outlines for your drawings.
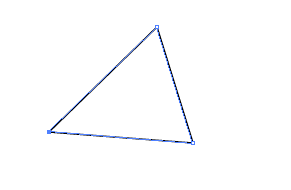
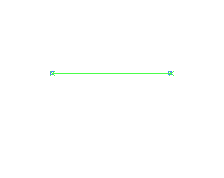
Step 2: The most intuitive and easiest type of line to make is a straight line. You can also make perfect straight lines by holding SHIFT key.

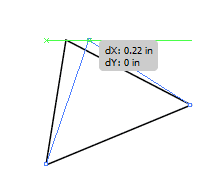
When you move to make another point (aka anchor point) you might see the green line. This green line is the smart guide that allows you make even lines, basically pre-measures for you. It will tend to ‘snap’, meaning guide your lines to a certain area. If you do not want this go to View >Smart Guides and turn it off.
Step 3: You have to close the shape, to make a new shape unlike photo shop. You can circumvent this by pressing Shift + Command + A to start a new path/shape. To make it disappear just click the line with the selection tool (Black arrow) and press delete.
Step 4: If you want to move your points (the beauty of illustrator), you choose the Direct Selection tool from your tool box.

Click it and click on your anchor point and just drag it.
Step 5: To add an anchor point, you go back to the pen tool and just put the anchor point wherever you want.
Step 6: If you want to make curves, it will be very different than Photoshop.
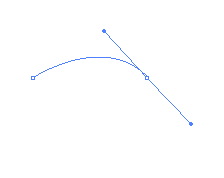
You make one point and then you click to make another point, BUT YOU DO NOT LET GO. Instead you drag to make the curve, and when you let go, your curve is complete. Your “handles” the two prong long edge with the two dark dots, help you change the shape of your curve. Play around with it and you will get the intuitive feeling of how the curve works in Illustrator.
Some other helpful tips is that you can just CTRL + Z to undo as many times as you want. Unlike in Photoshop where you can to go to the history panel to undo your mistakes.
Here are some other rad video tutorials on the pen tool, which I find helpful!
Enjoy learning Illustrator!
Leave a Reply
You must be logged in to post a comment.