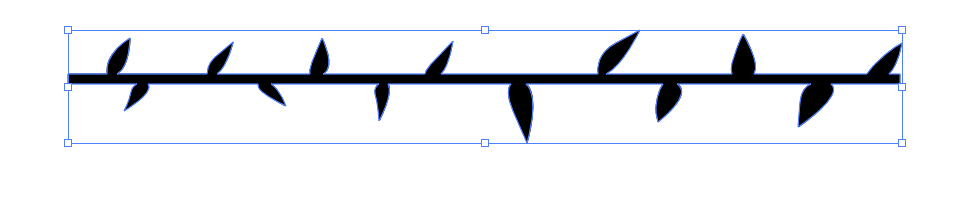
- Create your brush. What works best is to make it “line like” and make sure the ends are STRAIGHT Here’s an example one one I did.

2. Highlight/Select the entire design.
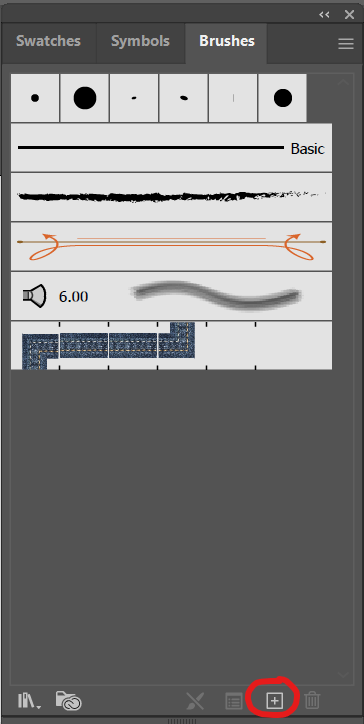
3. Go to the Brush panel. This can be accessed by Windows >Brushes
Then go to the bottom and click the + icon.
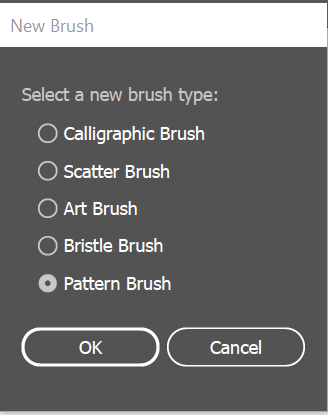
4. A panel will pop up and choose the “Pattern Brush” option.
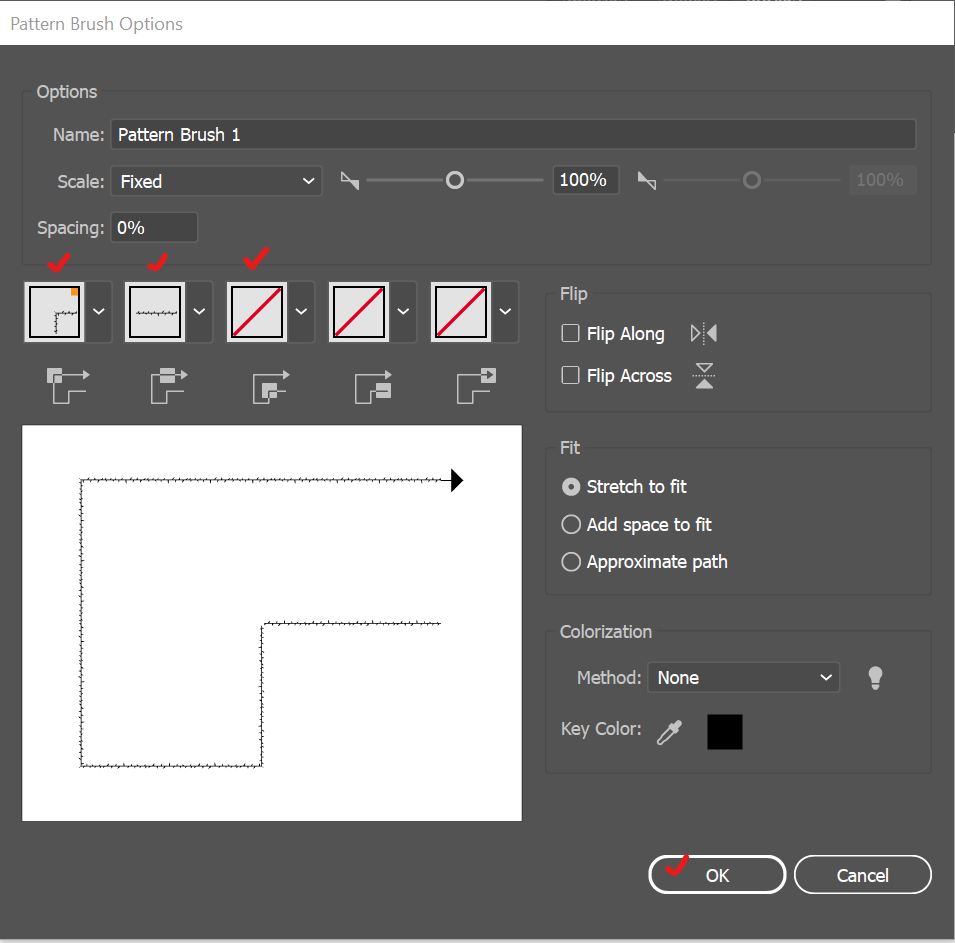
5. You will now see a preview of the brush. You can rename it, and the boxes I highlighted further customized the look of the brush. Once you are satisfied with the look, click “OK” at the bottom.
6. Now, it will be in your brushes panel, and you can use the pen tool to create fantastic designs.

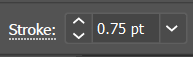
7. You can control the thickness of the brush by going to the stroke option.
I hope that helps! Happy creating.
Leave a Reply
You must be logged in to post a comment.