Category: Art
-
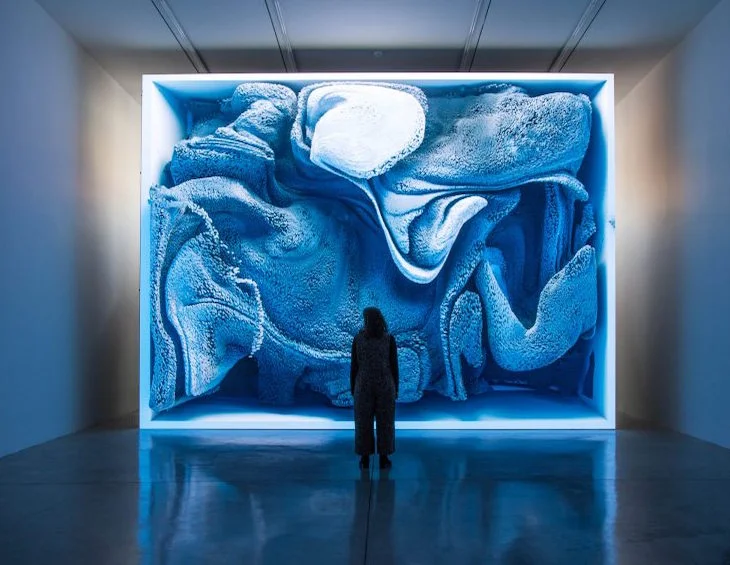
Interactive Content: Merging Art with User Experience
In the ever-evolving landscape of digital media, the fusion of artistic design and user experience has given rise to a new realm of interactive content. This innovative blend not only captivates the audience with its visual allure but also engages them in a dynamic participatory experience. By exploring examples of interactive content, we can uncover…
-
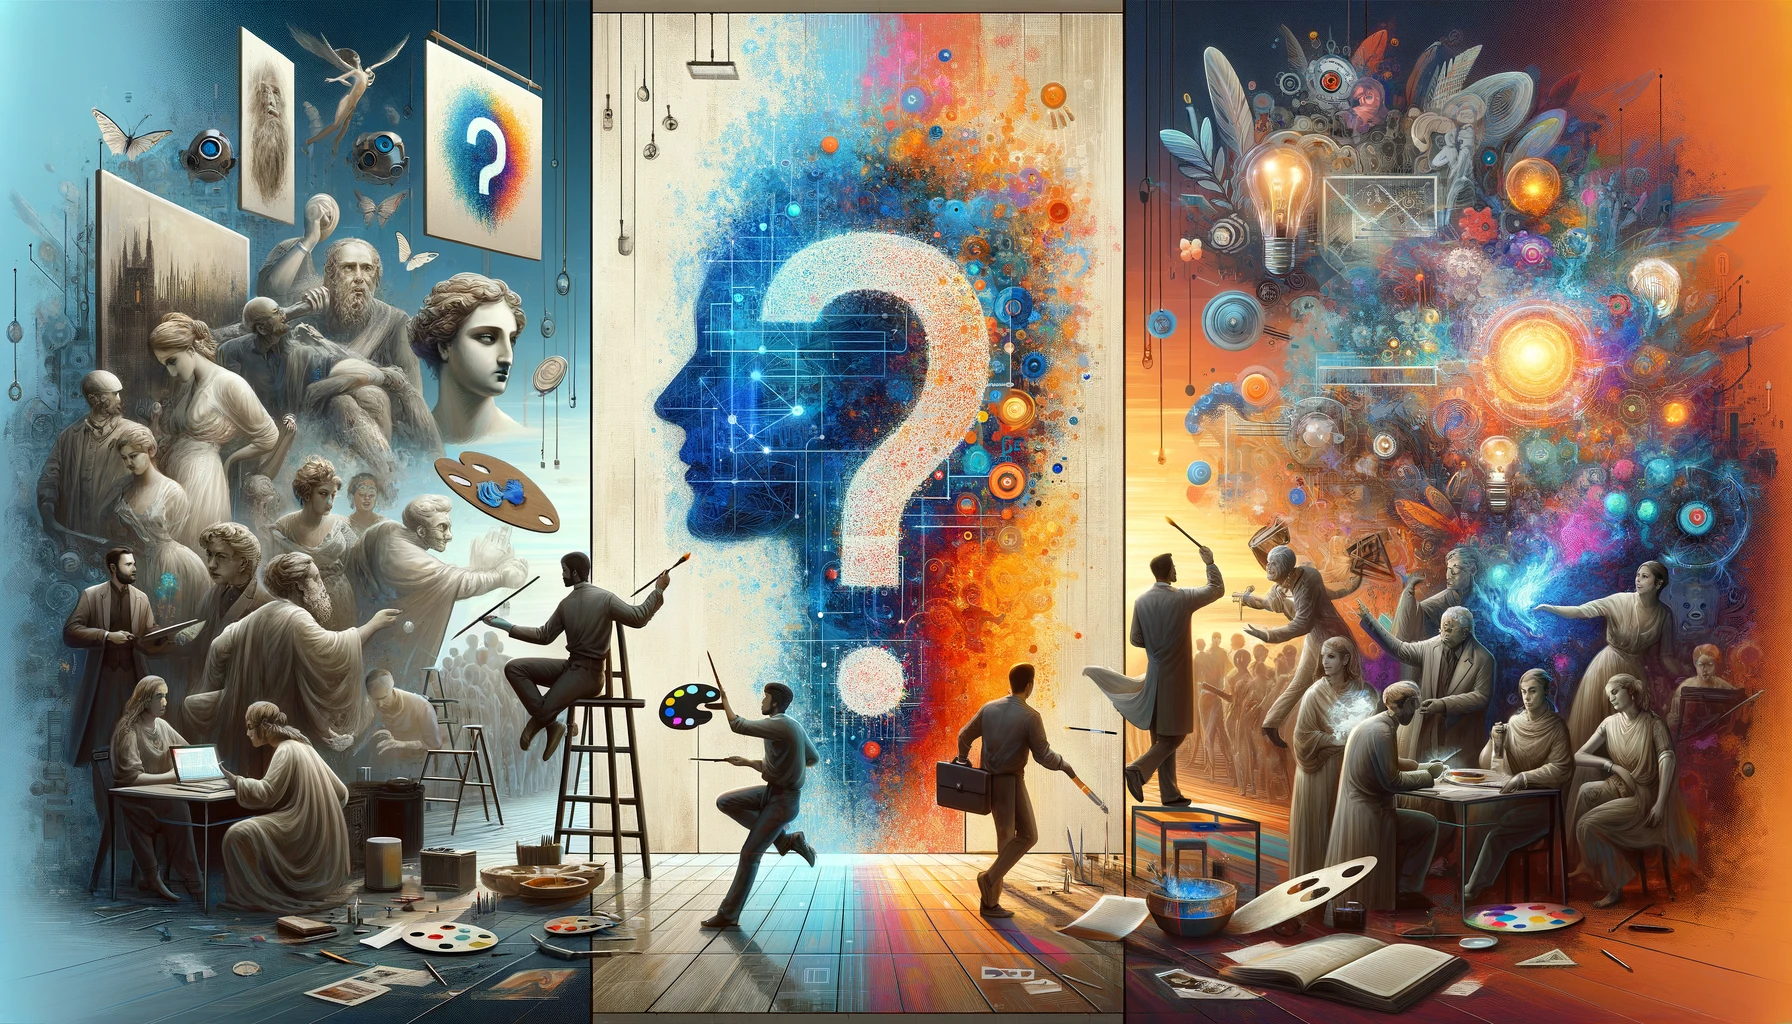
AI in art and it’s current limitations, controversies, and future
Artificial Intelligence (AI) is rapidly becoming a ubiquitous trend across all industries, heralding a new era of enhanced workflow efficiency and significant time savings. Yet, this technological revolution brings with it a contentious debate, particularly in the realm of creative arts. Today, we delve into the nuanced implications of AI in art, exploring its current…
-

Where to download fonts for free
Fonts can elevate a design to another level. Here are some resources to find new fonts to love: Google Fonts: Link to site I love Google Fonts! Not only do they have a huge selection, but there is also integration with many other applications like Web Flow. The con is the filtering system is no…
-

How to create scannable tickets online
There are a lot of online sites where you can create scannable tickets, but often it is “freemium”. Meaning there are features that are free and there are other features that will cost money. Here are some sites: https://ticket-generator.com/ https://www.guestmanager.com/event-ticket-design-and-scan-studio/ https://placid.app/tools/free-event-ticket-generator To make a scannable ticket yourself and manage it would require some knowledge of…
-
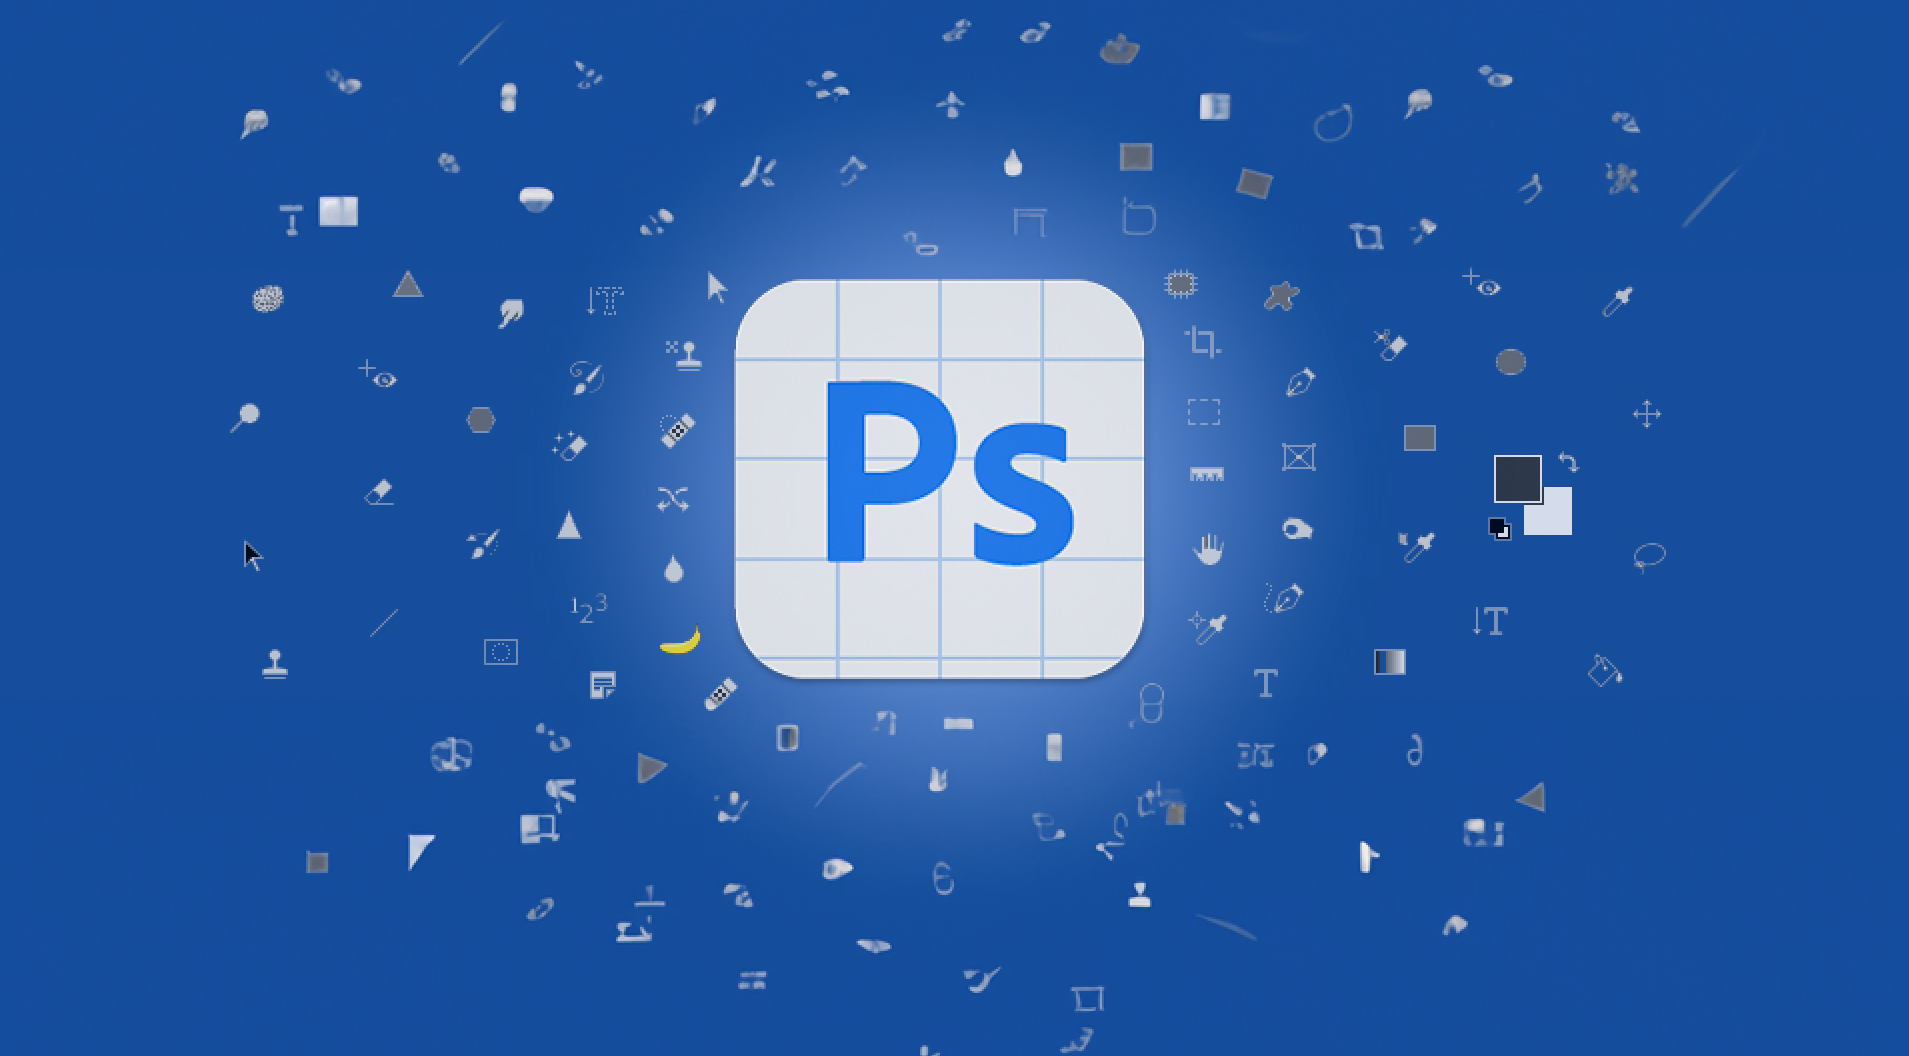
How to use and get Adobe’s New Generative AI Tool
How to get it You may have downloaded and update Adobe Photoshop but haven’t seen the new AI tool. That’s because you have to download an entirely different program: Adobe Photoshop (Beta). You will have two Adobe photoshop on your computer, one that’s the latest and another that’s experimental. The Beta version is where they…
-

How to change the colour of flat icons PNGS in Figma
If you downloaded the transparent flat icon in a png format and want to change the colour in Figma. Well, that’s what we are going to do today. First, insert the icon and then select it. Then go to the effects section in the right side panel, and choose the “Inner Shadow” effect. Open the…
-

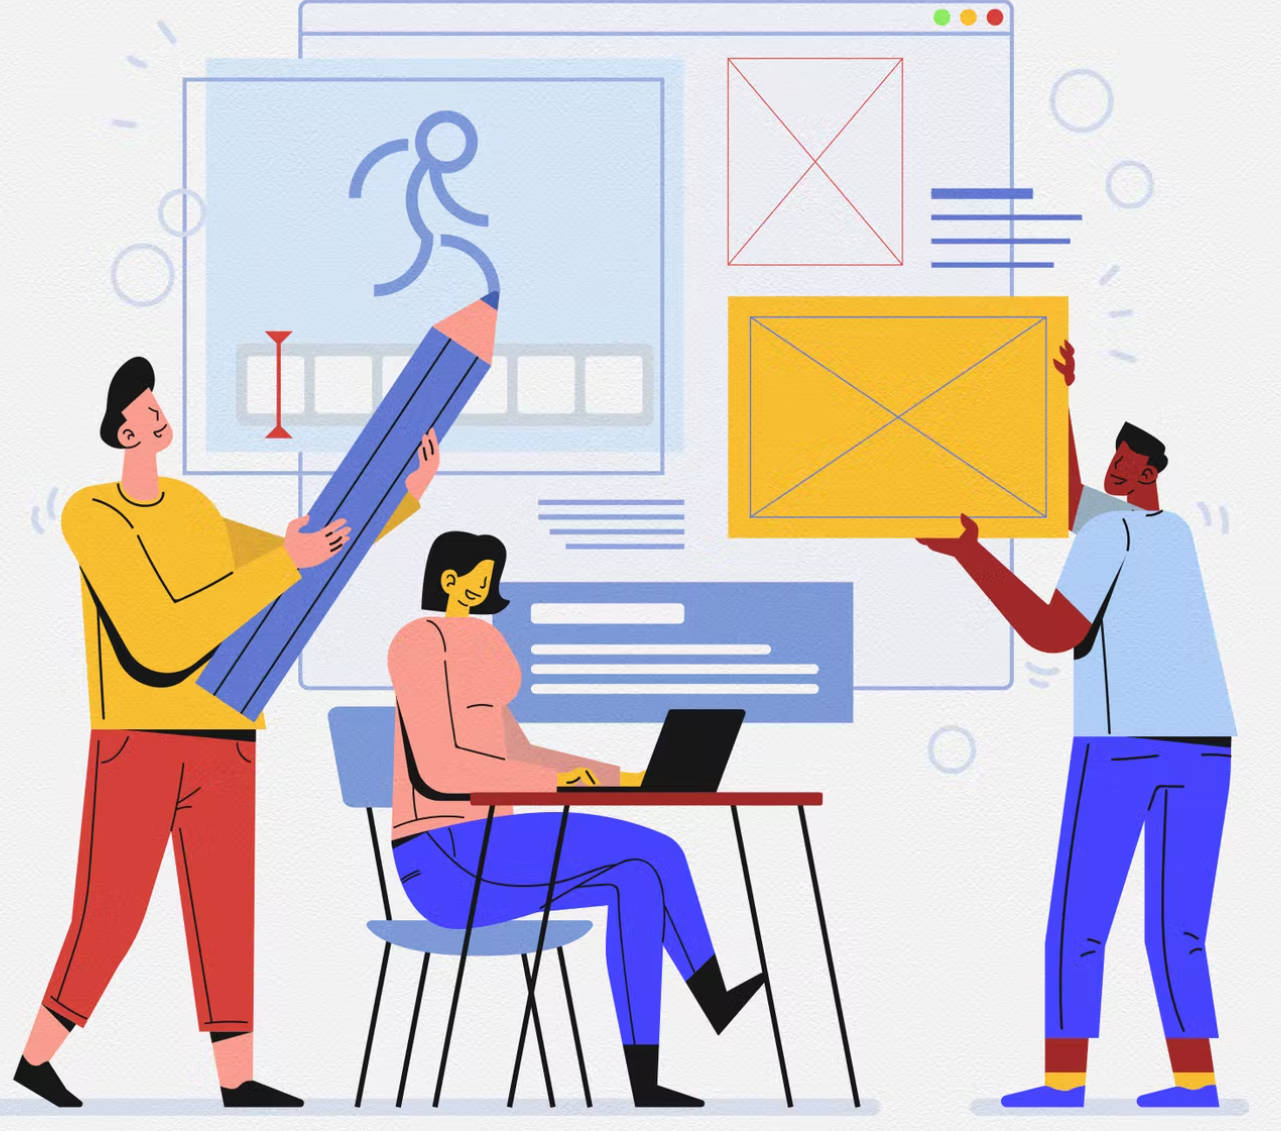
My Top Five Plugins For Figma
I use Figma more often than Photoshop to create graphics than UX. It’s just a great tool all around. These are the most used Plugins that I highly recommend. 1. Iconify Link This plugin is so useful for UX Design. It has hundreds of icons to use. 2. Lorem Ipsum Link We all need placeholder…
-

How to create a vector from an Image in Adobe Illustrator CC
Sometimes you have an image you want to convert into a vector. There are two ways to do this: One – Reoutline everything in Adobe Illustrator. Two – Use the Image tracing function in Adobe Illustrator. The first method offers more control, but it is tedious. The second method is quicker. However, the results will…
-

5 Art Competition Shows to Binge
I love art in all its various forms. Here are some shows where the adrenaline gets high and the art surprises. Here are my top five shows in no particular order. Ink Master Tattooing is highly challenging. You cannot erase and fix your mistakes quickly. You are working on a human being which brings extra…
-

How to restore old photos in Adobe Photoshop
Technology today allows us to do some fantastic and heart-warming acts of service. One of these is the ability to restore old photos. Photoshop is one of the standard tools many use to do this. Here are some of the tools you can use within photoshop. Clone tool and Content-aware Fill The Clone tool has…
-
Free Options for Graphic Design online
Sometimes all you need is a simple program to edit, and you don’t need anything heavy-duty. Here are some free, easy online options where you don’t have to download anything. You need an account, and you can start creating! Figma Although it is known for UX design, it is also handy for simple graphic design.…
-

How To Create an Infographic
Infographics are one of the richest pieces of content out there. It is informative and is more easily digestible to the reader. Here is a simple guide to creating one. Choose a topic Some suggestions for topics are: Statistics on a problem and how to solve it Historical Categorization and more! Gather actual stats This…