Sometimes you have an image you want to convert into a vector. There are two ways to do this:
One – Reoutline everything in Adobe Illustrator.
Two – Use the Image tracing function in Adobe Illustrator.
The first method offers more control, but it is tedious. The second method is quicker. However, the results will vary depending on the contrast and cleanliness of the image you are converting. I will show you how to do the second method, which is my preferred way. I use method one when there is no other choice.
Let’s get to it.
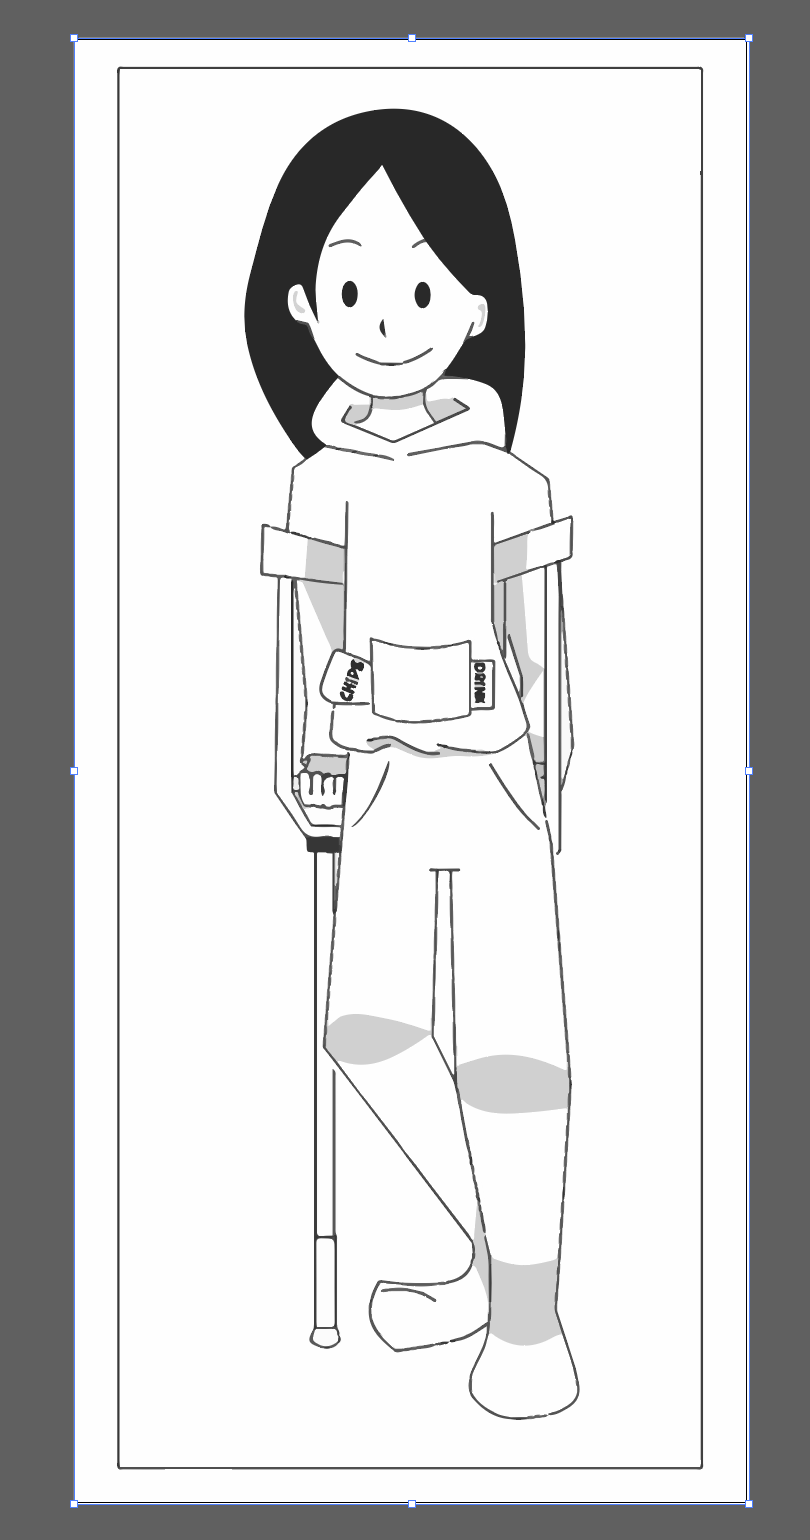
Step 1: Open the Image in Adobe Illustrator. I used one of my drawings as an example. Fun fact, I sprained my knee when I was younger pretty severely. I’m all better now, although I have some lingering pain there. Hopefully, it goes away eventually!
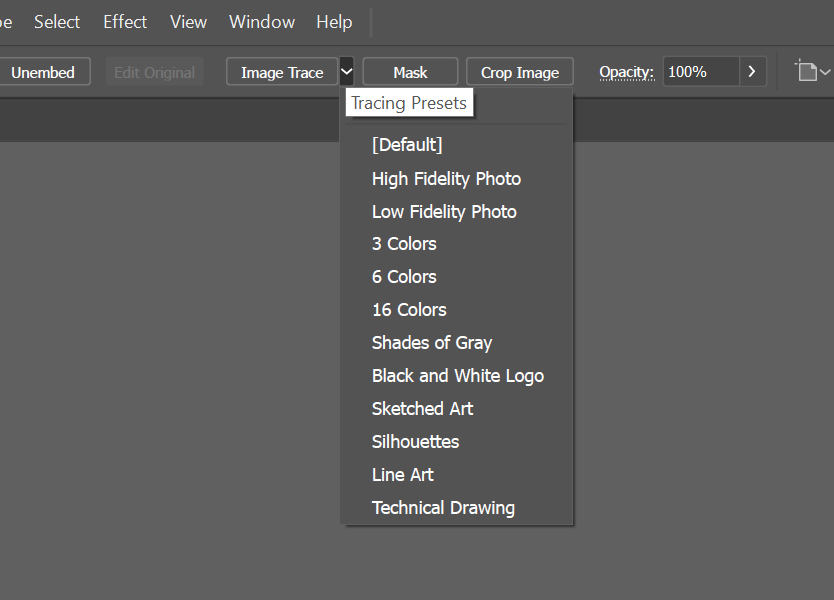
Step 2: Click on the image and then go to the top. You should see the “Image Tracing” bar. If not, go to Windows > Image Trace
Choose your preset. Depending on the level of detail you want. I chose. High Fidelity Photo. Then click “Image Trace.”
Step 3: Then click “Expand”

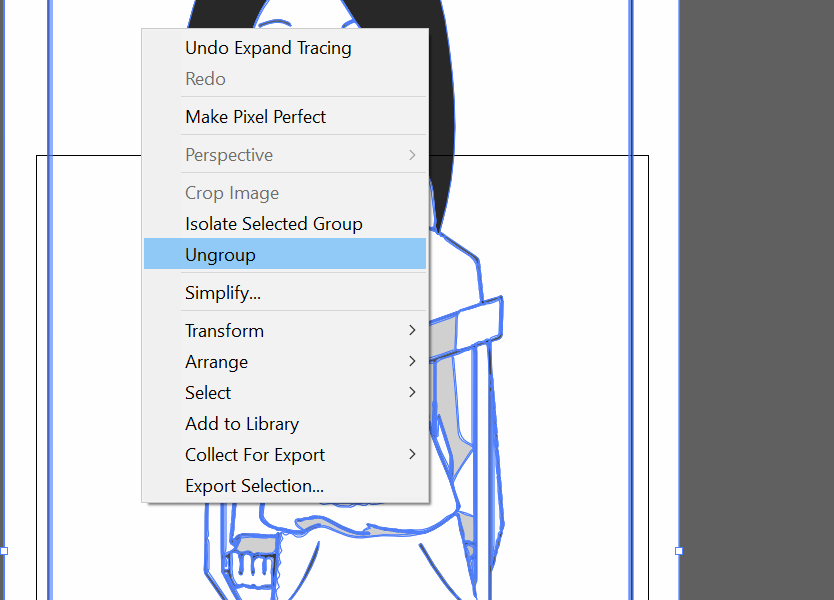
You should see blue outlines now on your image.

Step 4: To clean up the image further, right-click the image and choose “Ungroup.” You can now delete any white parts of the image and clean up the lines.
*Tip: Make another layer and put a different colour. It helps to see what’s happening.
And that’s it! Happy Creating.
Leave a Reply
You must be logged in to post a comment.