They certainly don’t make it easy to figure some stuff out. I didn’t want to use any code or build it from scratch. Here’s how I figured it out on my own after tinkering around.
Tutorial
Make sure you are the parent of the whole drop-down container.
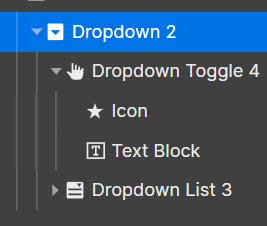
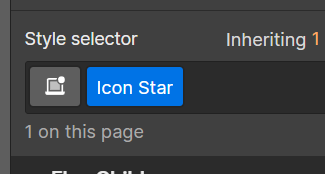
Next, ensure you name your Icon by going into the style panel and then under “Style Selector,” give it a unique name class. I named mines “Icon Star.”
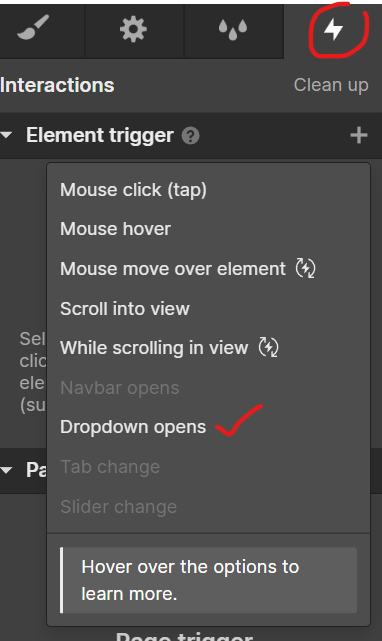
Then go to the right panel, and choose interactions.
Then click the Element trigger and choose “Dropdown opens”
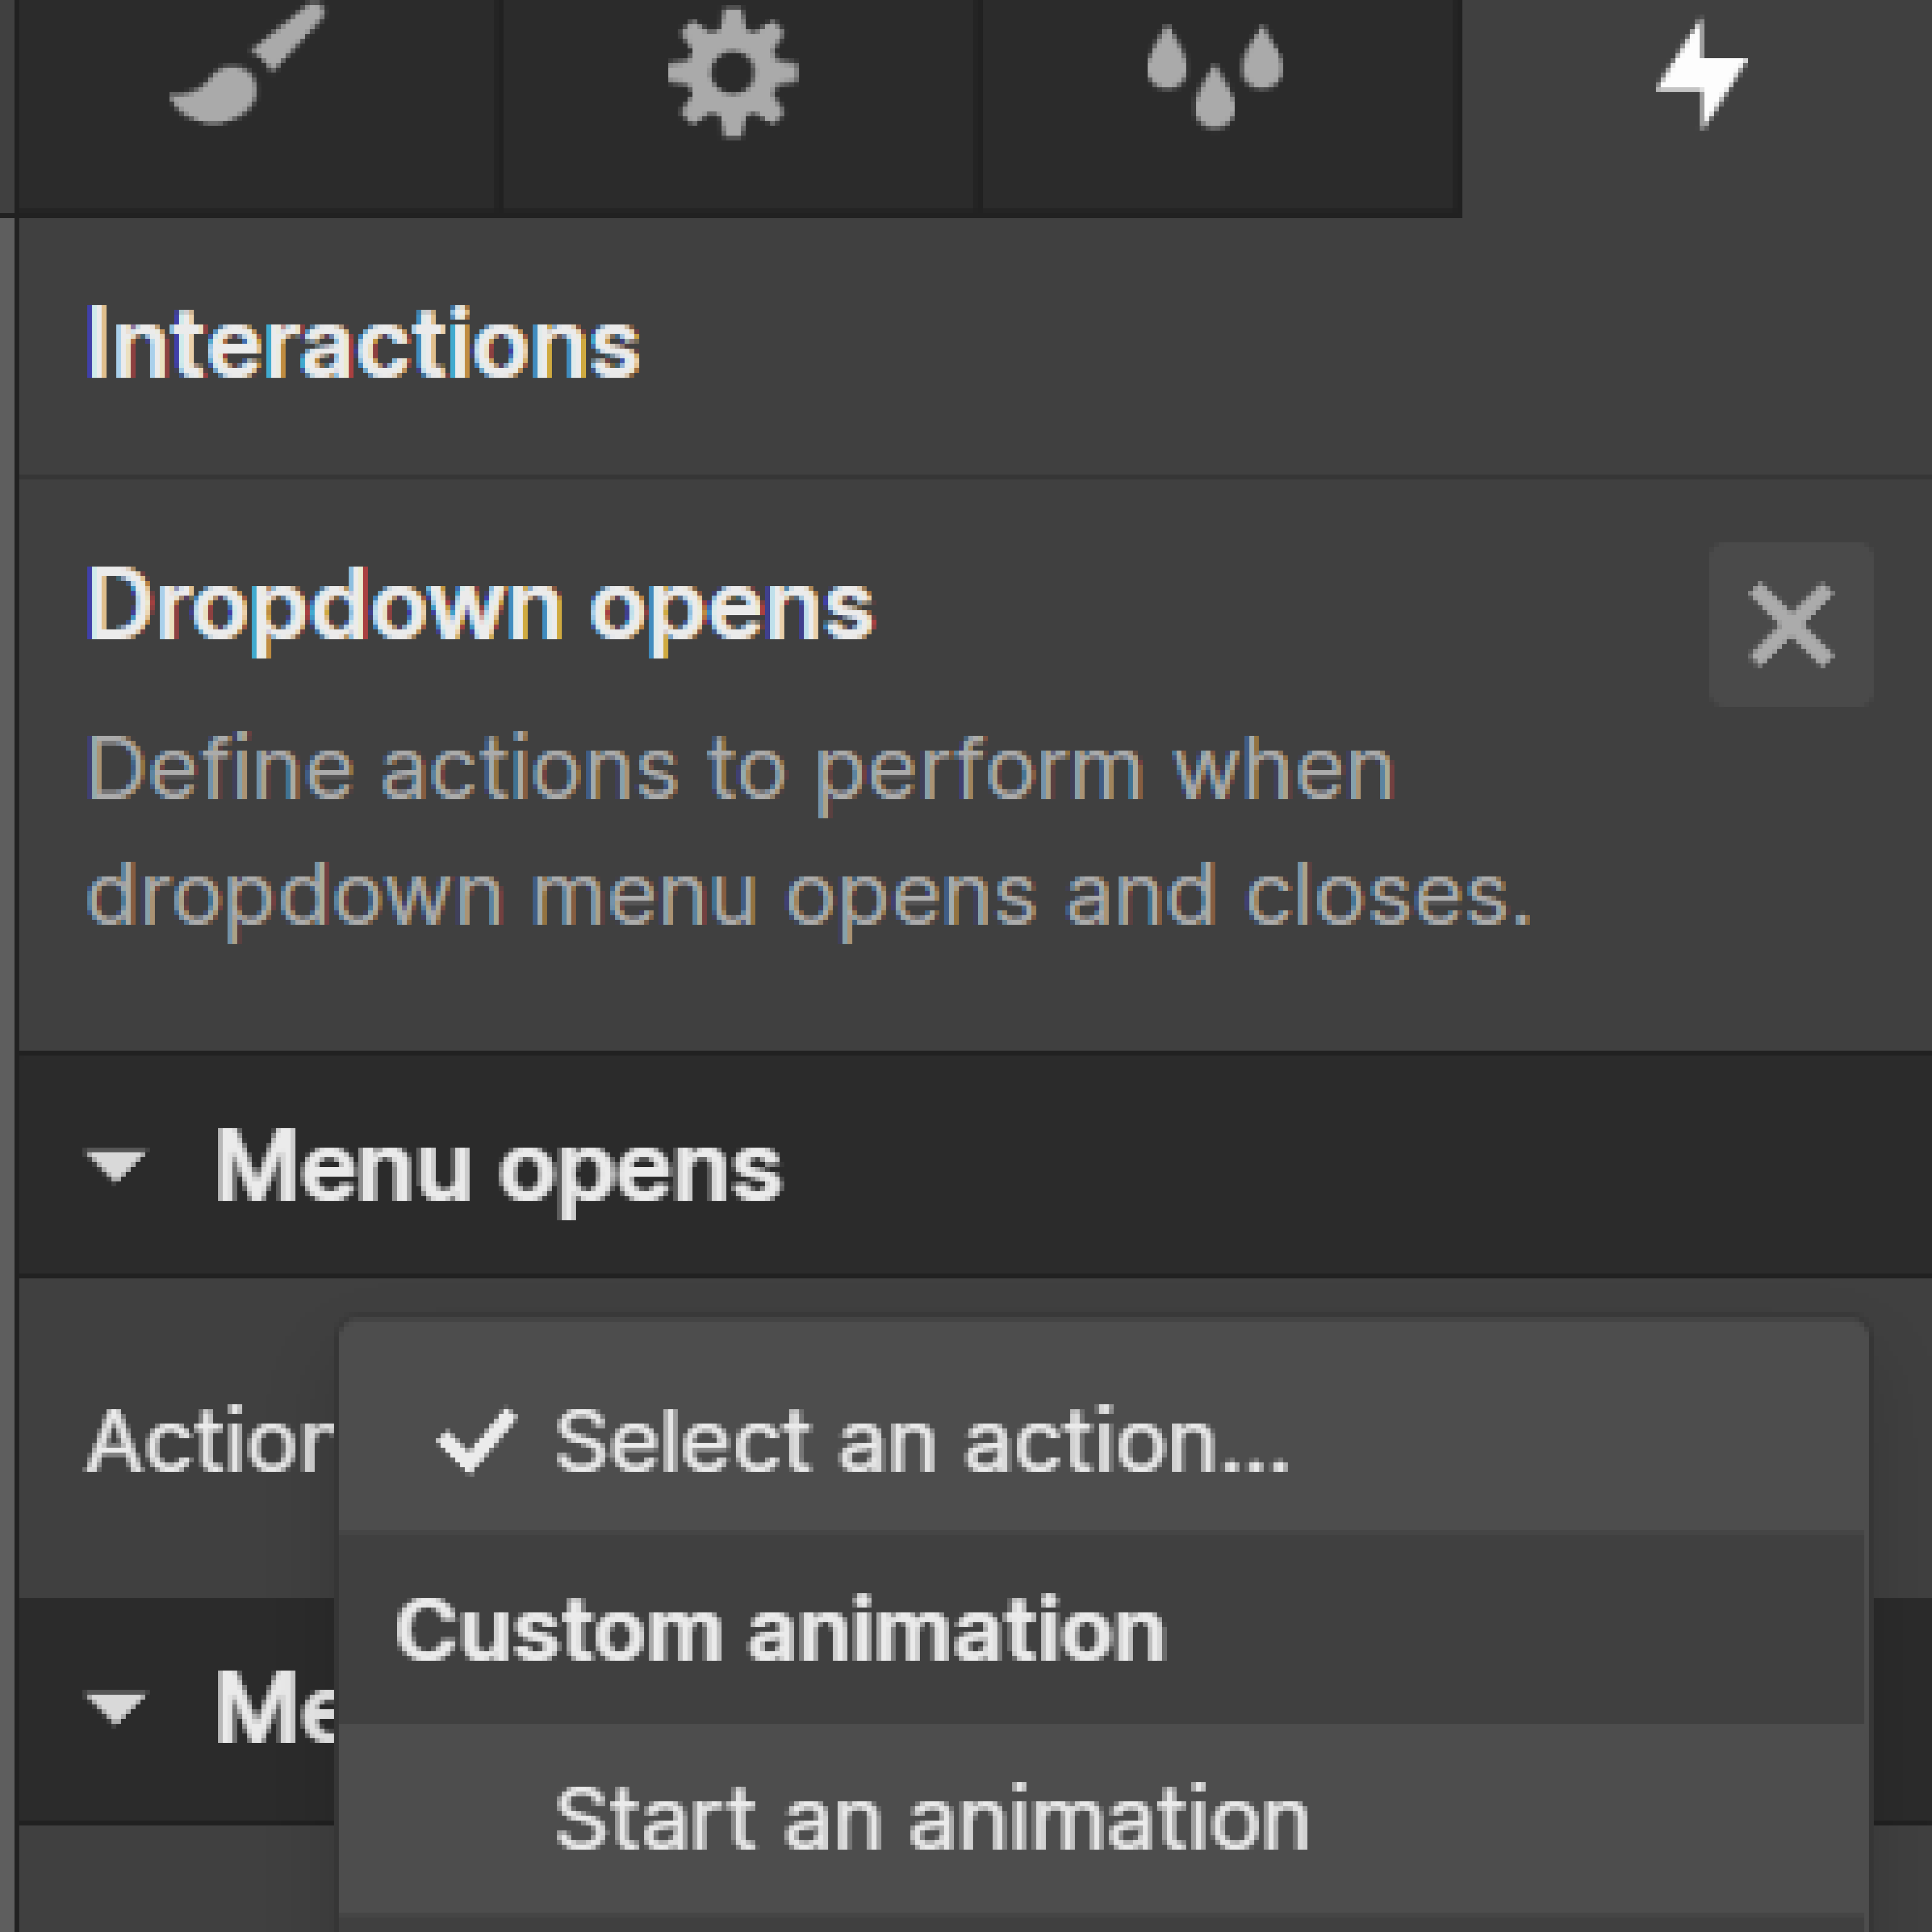
Then under “Menu Opens,” Choose “Custom animation > Start an animation.”
Then click the plus sign “+” next to the timed animation.
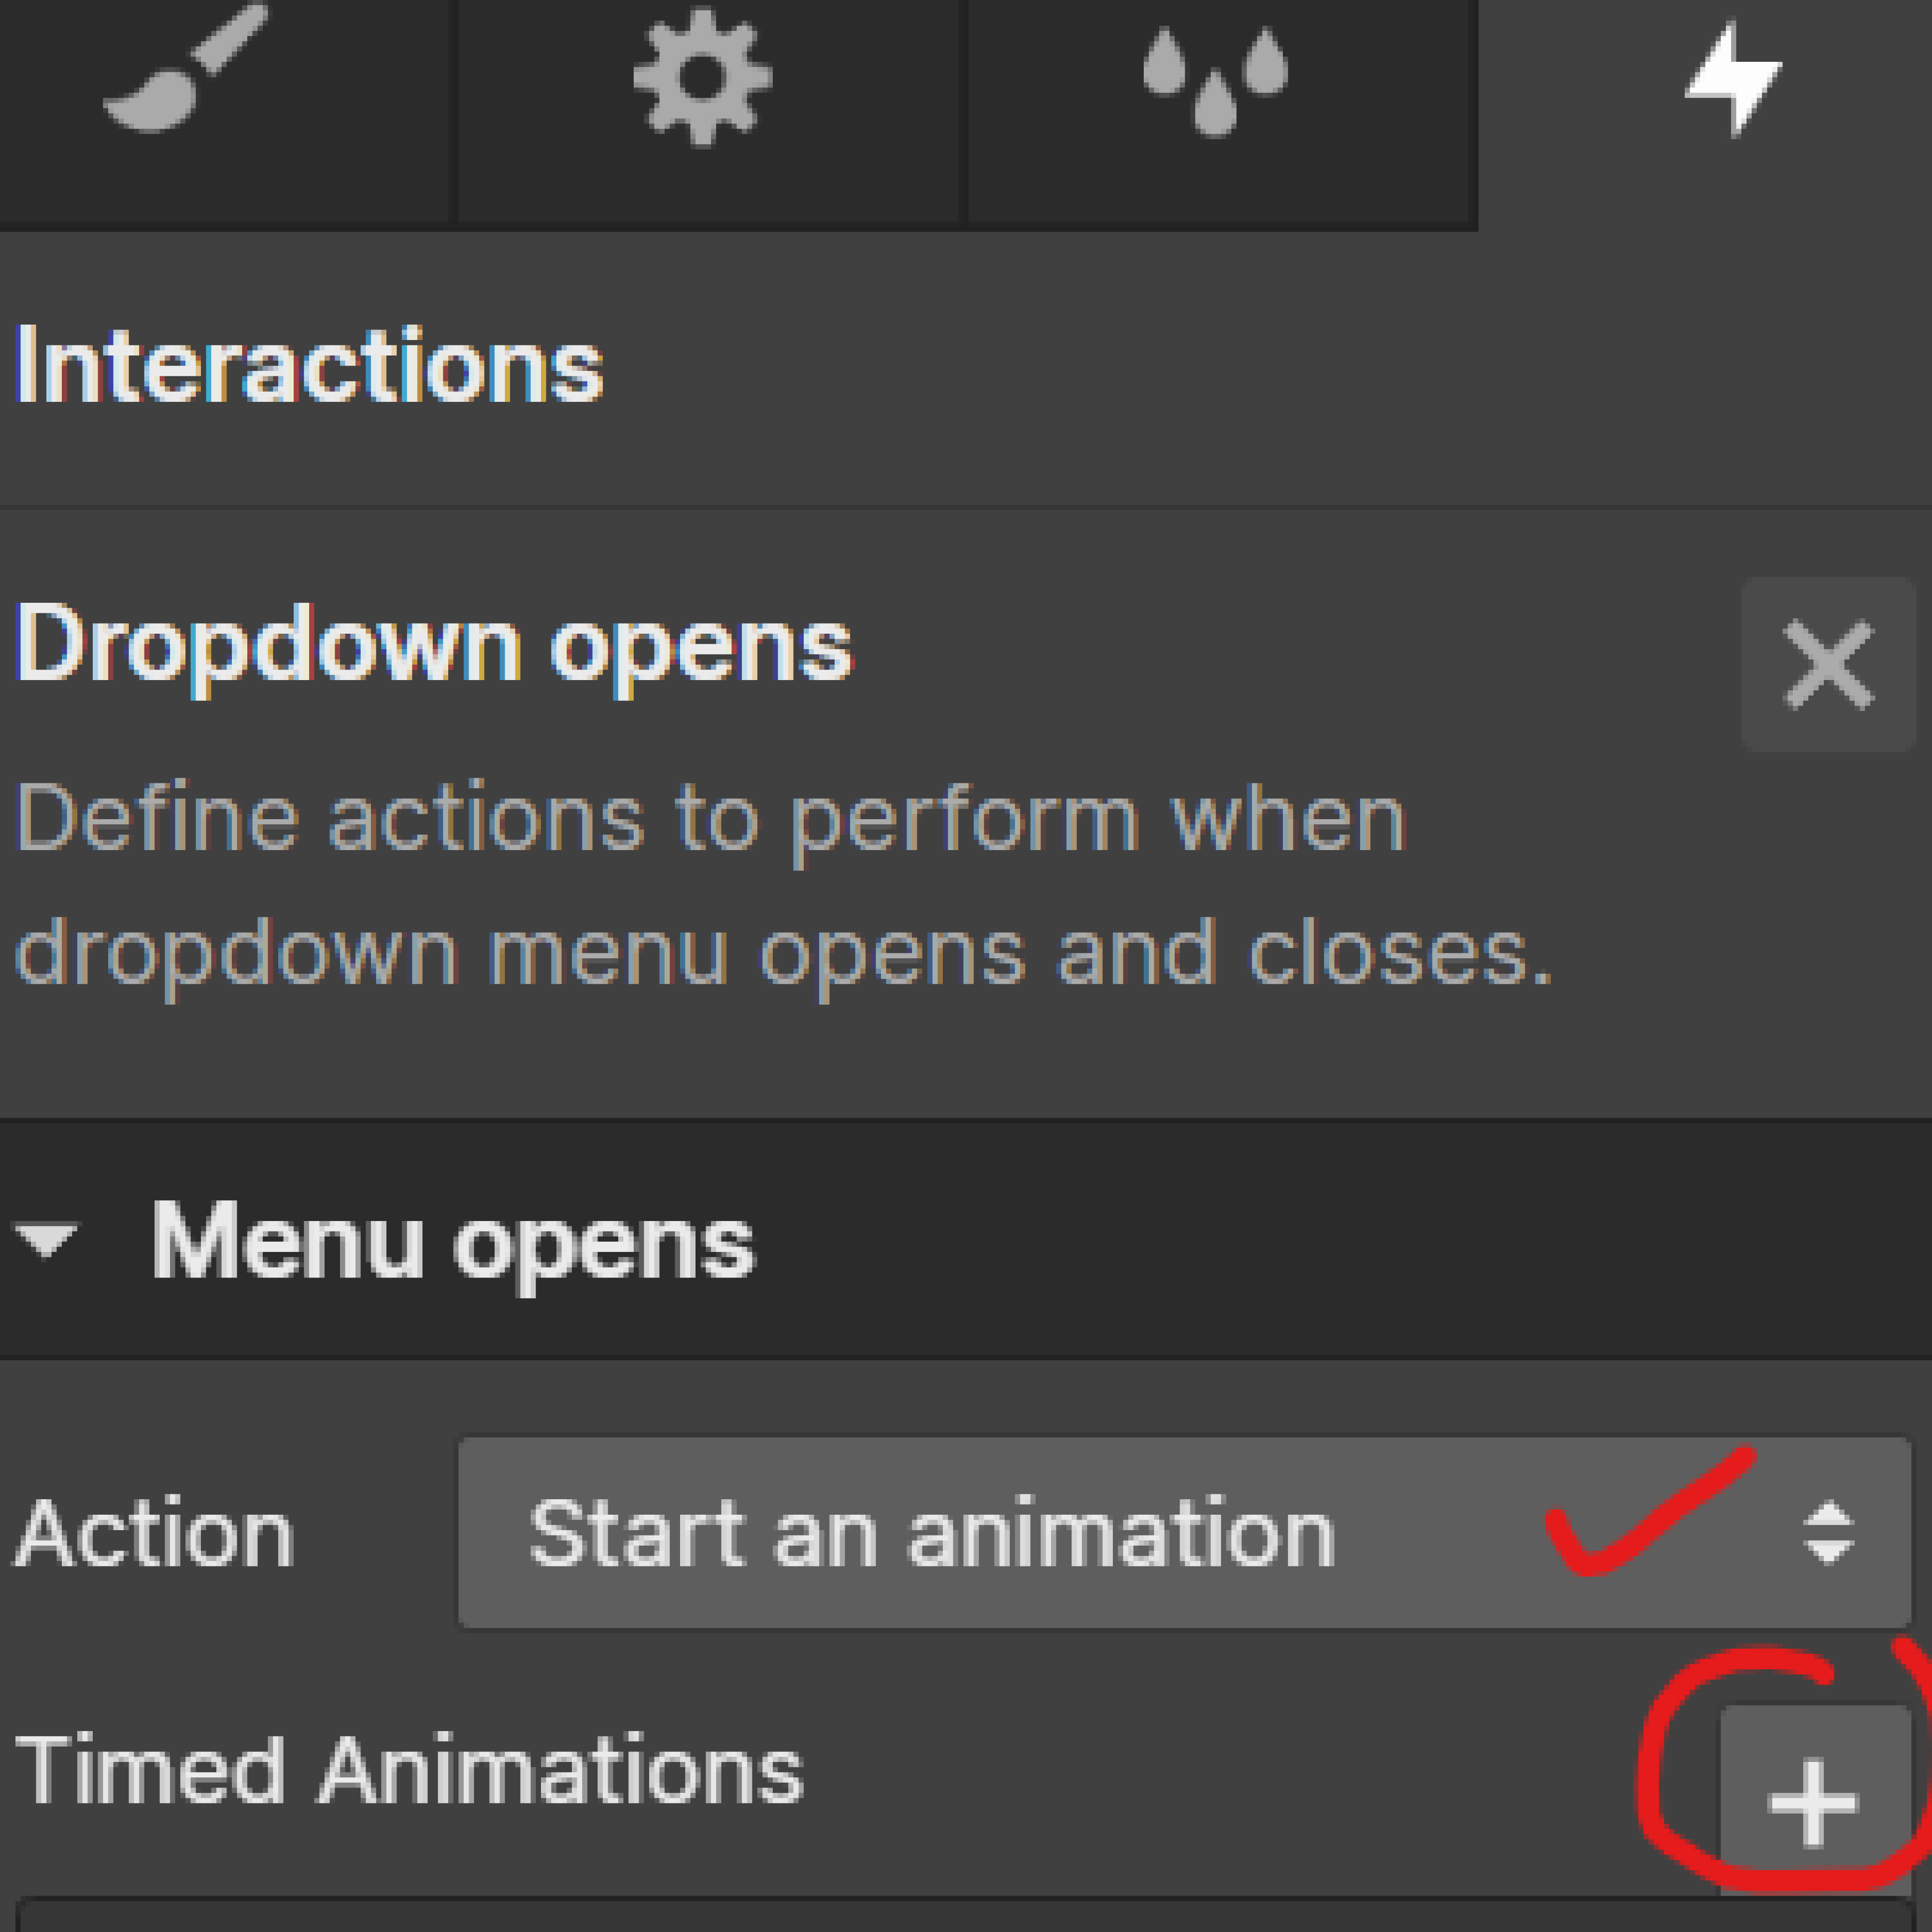
This panel will open. You will then have to click on the plus sign to add an animation. Then select Affect > Class. And choose “Only children with this class,” and type in your custom class name. For me, it was “Icon Star.” This is important as it’s telling to only affect this drop-down only. If you had many drop-downs and didn’t select only these children, it would affect all of them.
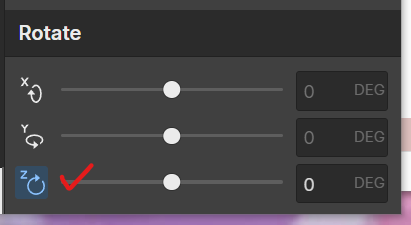
Then below the “Rotate” Subheading, I chose to put “180 DEG” on the Z plane. You can choose whatever you want, but this is what I chose.

Click done, and check if it works. If it turns when you open the drop-down menu great!
Now, you are going to do the same thing when the menu close.
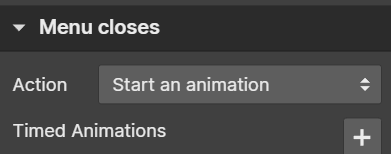
You will go through the same steps as above, the only difference is the rotation degree.
Rest the number back to 0.
And that’s it! Let me know if it helps, happy creating!
Leave a Reply
You must be logged in to post a comment.