First, ensure the fill and line colors is transparent. This can be found at the bottom of the tool panel or at the top. You have to select this square cross out with a red line.
Then select the pen tool, and create the curve that you want. If you want to do it on a circle, you can use the shape tool path.
Then select the text tool and hover over the line, till you see the cursor change to a T and Squiggle Symbol. You can’t see it in the image below because my computer couldn’t screen shot it.

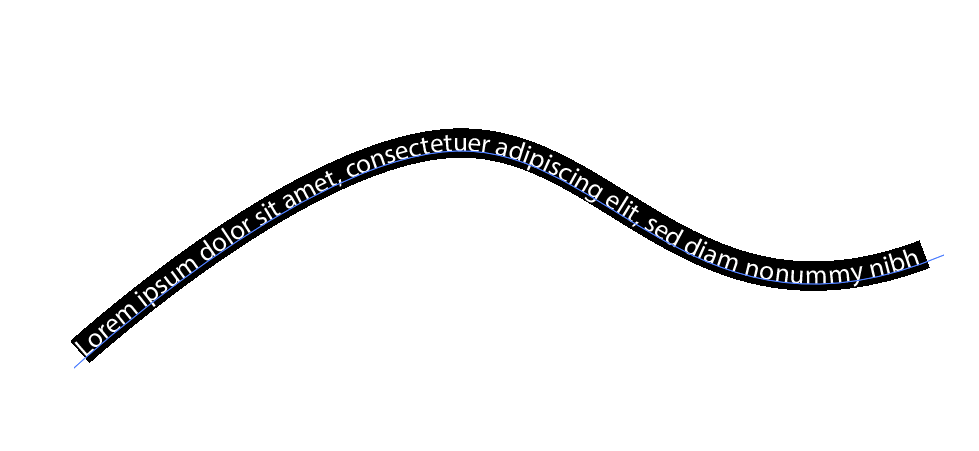
Click on the path and the curve text should appear.
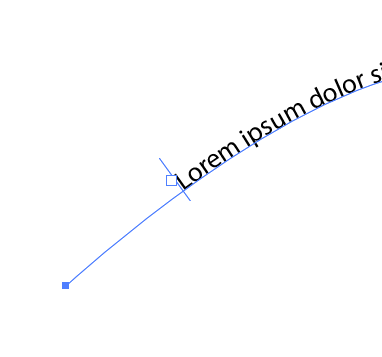
You can also shift the text along the curve by selecting the ‘move’ option. You should see a line and a white square at the beginning of the curve text.
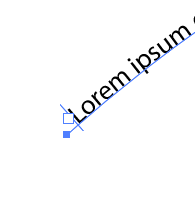
Click on that, and while holding, drag the text along the curved path.
And that’s it! Hope that helps and happy creating.
Leave a Reply
You must be logged in to post a comment.