The clipping mask in Adobe Illustrator is a bit finicky. Here’s how to do it:
I’m starting with two shapes.

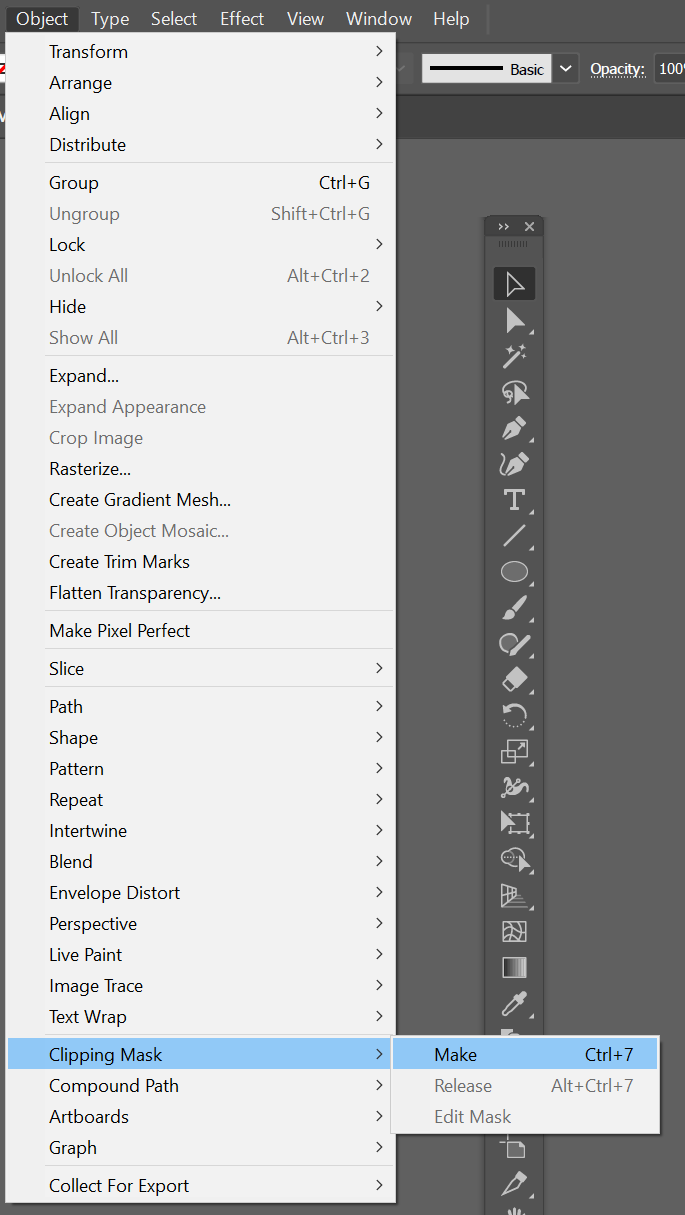
Select both objects. Then go to Object > Clipping Mask > Make or hold Ctrl+7 on your keyboard.
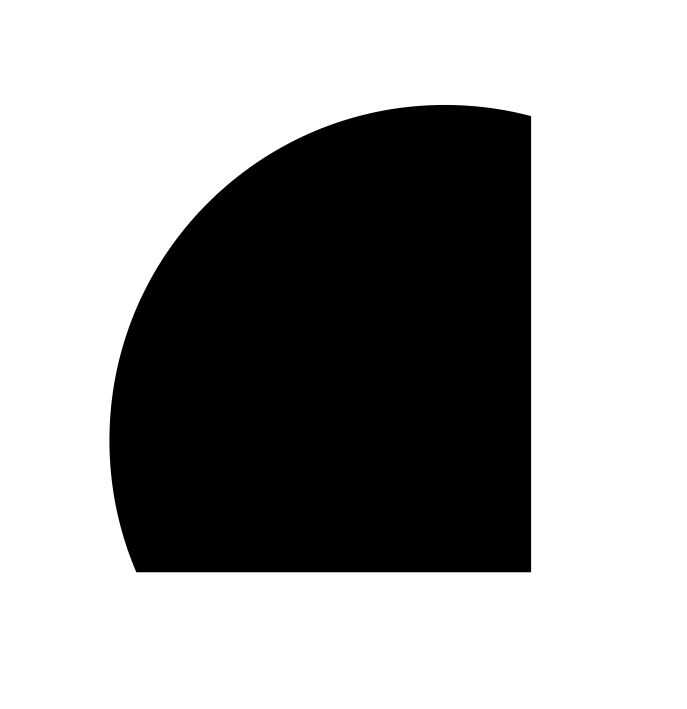
This is the result, the object on front is the shape it will take. The one beneath is what will show up.
Note: Clipping Mask works best with simple shapes. If you have a complicated design or pattern, you will have to group it first together before clipping.
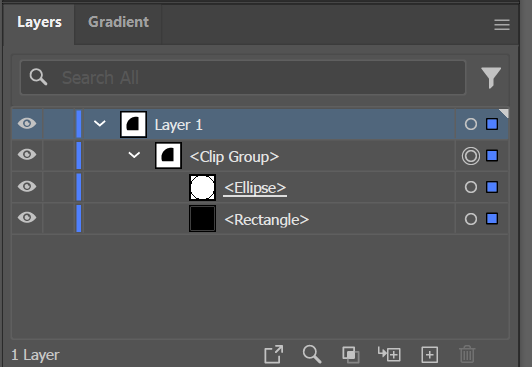
If you need to make changes to the position of the clipping mask objects, you will need to go into the layers panel. Click the arrow next to the layer to expand it. Then you can see the components, you would have to double click on the layer you want to change.
I hope that helps! Happy creating.
Leave a Reply
You must be logged in to post a comment.