
If you are sending out a email with custom field from a list, here’s how you do it on Sendgrid.
Step 1: Upload your CSV Field and then create a custom field
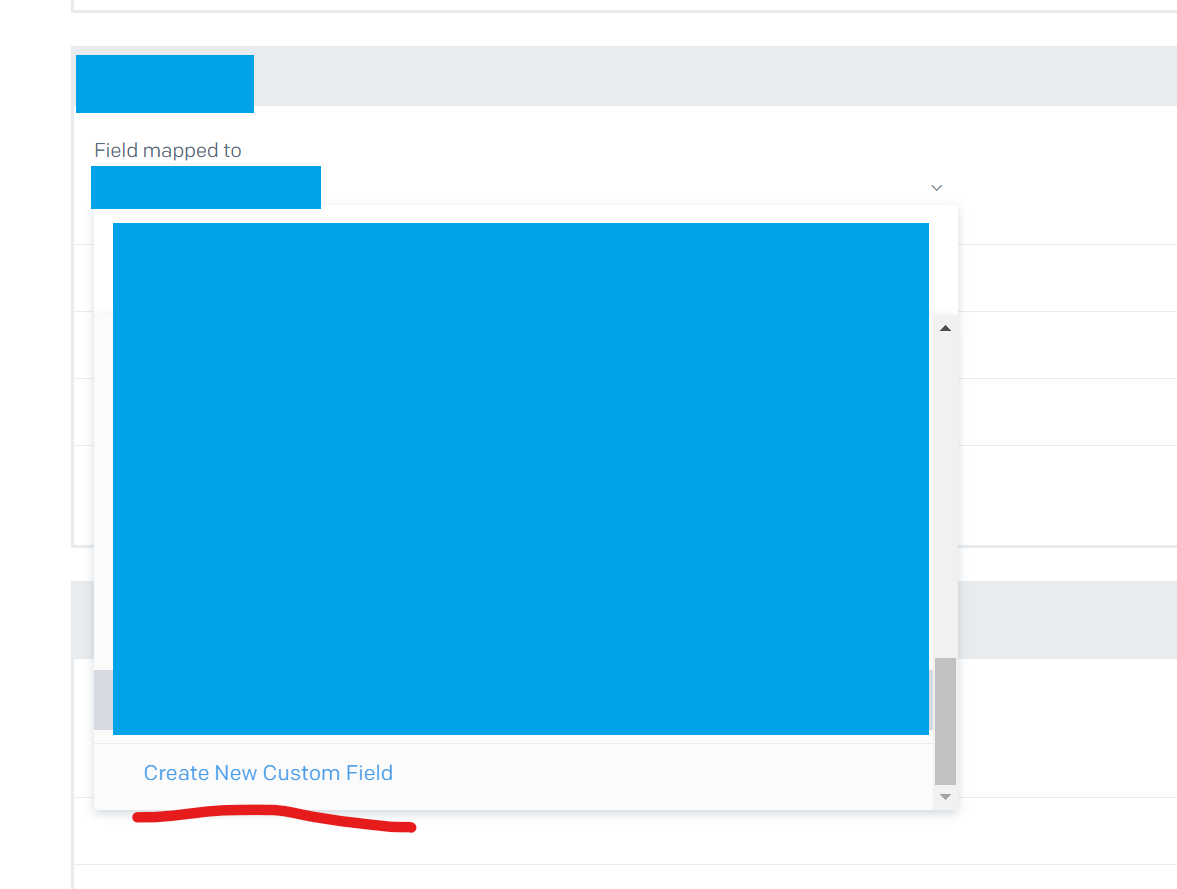
When you upload it, the next step is to map the field. Choose “Create New Custom Field”. I would suggest a unique naming convention.
FYI, I blanked out sensitive information in blue.
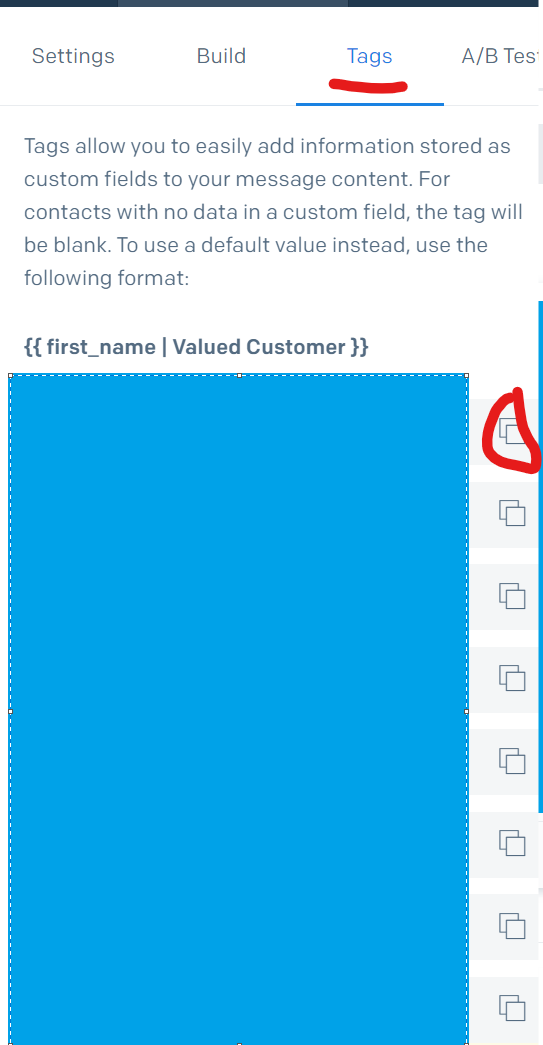
Step 2: Insert the Tag into Email
In the left panel find the “Tags” Section and click it. Then scroll until you find your custom field that you created. Then click the copy icon next to it.
Step 3: Paste it
Just like writing regular text, paste it into the body.
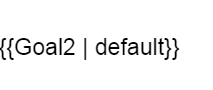
It would look something like this. With the custom field name first, and then default.
change the default to another word or even keep it blank. The purpose of this is, in case the field is empty what should Sendgrid send instead?
In my example I replaced the word default, with the word “some”.
Once you do that, click the save button at the top.
The text then changes to the correct code.
To check if it was done correctly. Click preview, and you will see your new default word. You can also check by sending a test email to yourself.
And that’s it.
This allows for extra customization. Uses cases are sending status emails, sending unique cold emails, and more.
Happy creating!
Leave a Reply
You must be logged in to post a comment.