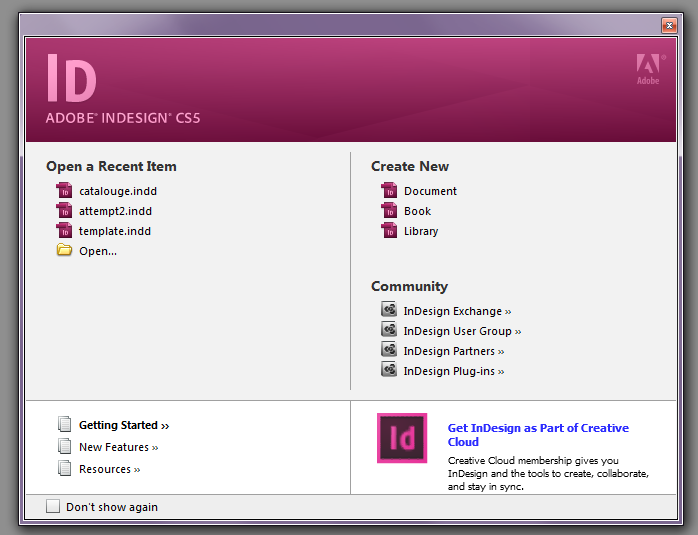
Setting up your job is an important part of Indesign. When you first open the program you are faced with this window. The Create New, on the right side has three options. Document, Book, and Library.
Document is for a single file, Book is when for example you have multiple chapter in one document and Library for now we will ignore. We will focus on Document settings here.
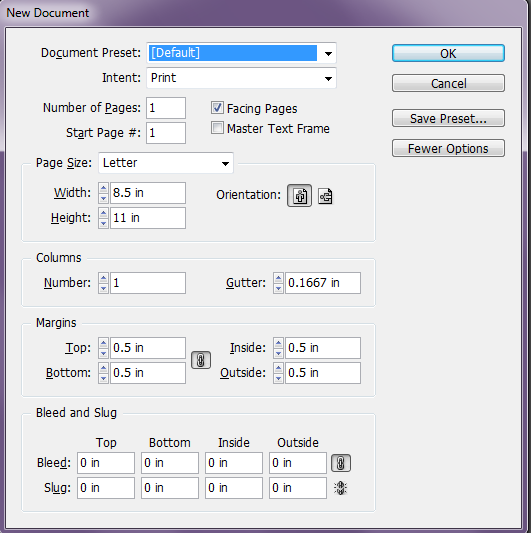
When you click new document you get this window:

These are the default settings. I’ll go through them one by one.
Document preset, right now it is set to Default which as the name entails is what the factory preset are. You can make your own presets if you feel you are going to use the same settings. You do this after you enter all the information you want about the document. The button Save preset to your right will allow you to do this.
Intent: Just as it says, what is your intention for this document? The options are as followed. Print and Web. Two obvious choices.
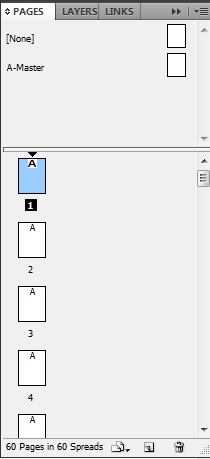
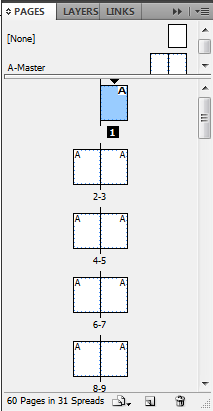
Number of Pages: How many pages is this thing going to have? Self explanatory. The box next to it where it says facing pages. Facing pages determines the orientation of the pages panel. If you unclick it, it will appear as this.
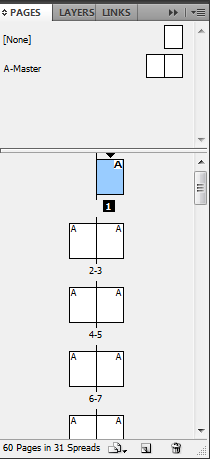
If you click Facing Pages, you will have this set up. I prefer Facing Pages.
# Start Page – Self Explanatory. The box next to it is Master Text Frame, you probably won’t need to use this feature. But for completeness, the master text frame is used in the same manner as Master Pages (See Tutorial Here). But for me I haven’t had a chance to really use this function and don’t find it necessary. But when you choose the option the Pages panel will appear like this:
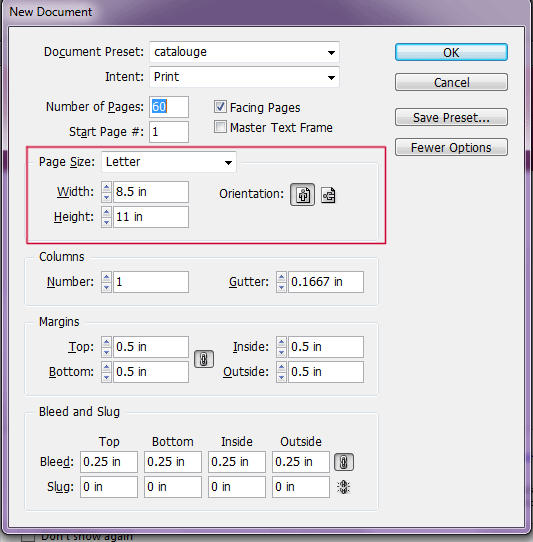
Page Size: Self Explanatory and intuitive if you used Microsoft Word before. You are telling the program what size you want your document to be. These are default pre sets for common printing. If you want custom size you just ignore the page size and go to width and height. Input the specifications. Orientation, there are two options portrait or landscape. Both you should be familiar with if you have used Word before.
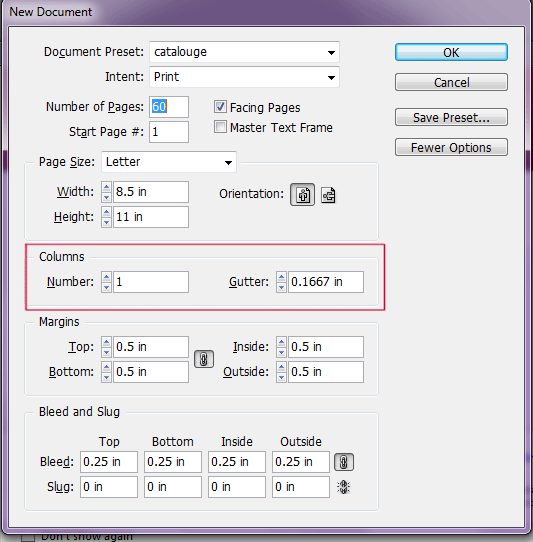
Columns again should be intuitive if you used word or any Microsoft program. Gutter is the space between pages in the book.
You don’t want the gutter to be close or you won’t be able to see the words/pictures properly in the book. The gutter also depends on binding method and amount of pages.
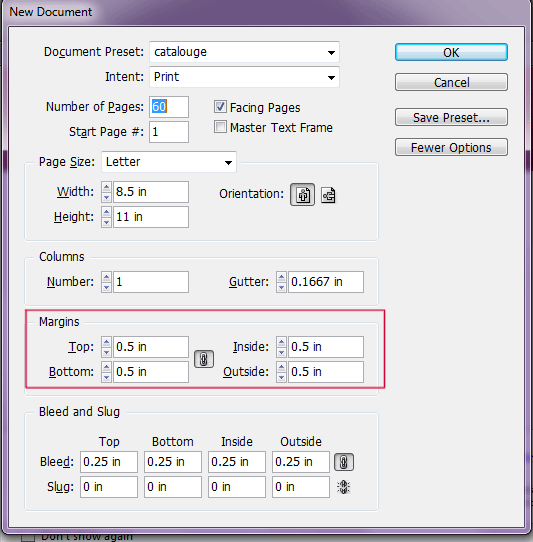
Margins are the edge of the border. The link chain the middle of top and bottom vs the inside and outside tells the program to put the same numbers in the inside and outside as the top and bottom.
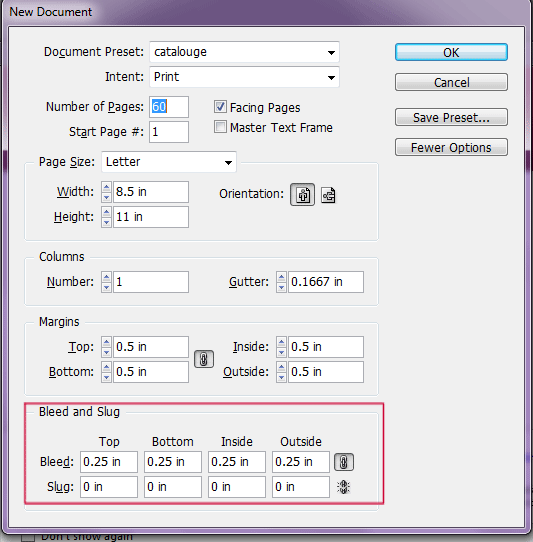
Bleed is the highly recommended. When the printing press cuts your project it won’t also be exactly that shape. If may be off a bit, like a couple of cms. You want to ensure that if that happens it will still be okay and there won’t be any extra white space. Again the linked chain works the same in margins. Slug is just extra space to put instructions or notes, usually used when you are working in a team.
EXTRA TIPS
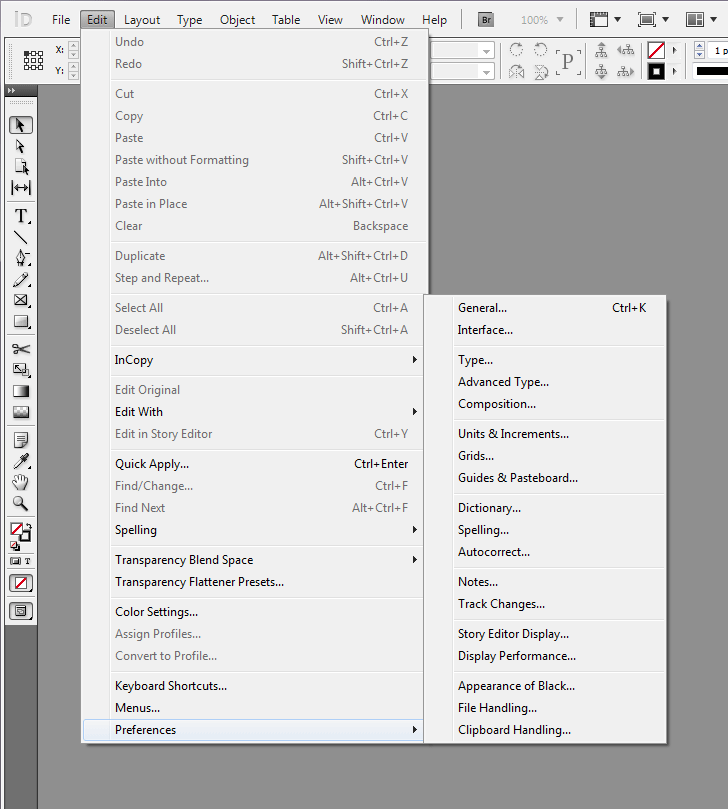
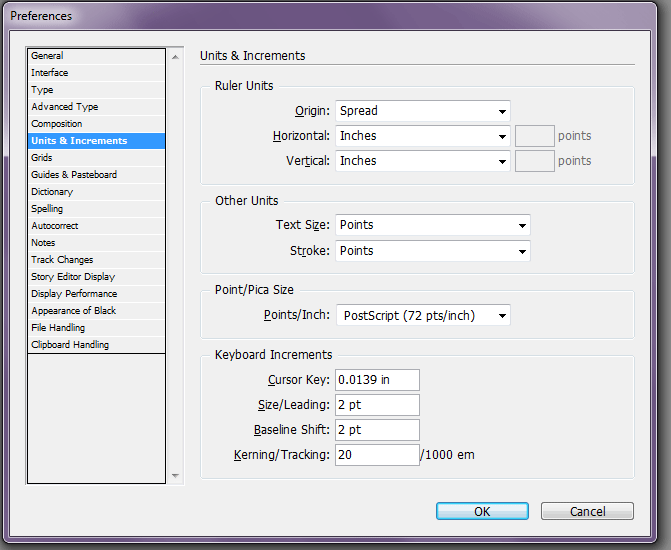
As you may have noticed my settings are all inches. The default Indesign uses is picas. To change this go to top choose: Edit>Preferences>Units & Increments
While working with your project you may want to change the document settings. You can do this by going to File>Document Setup. But you will only change a few of the settings. Some you won’t be able to change at all. So do it right the first time.
Okay, I think that’s it. If I am missing anything, have criticism, feedback, or questions. Please feel free to comment!
Leave a Reply
You must be logged in to post a comment.