Guidelines are a useful tool to use, especially when using illustrator. The function is the same across all the Adobe programs, but they vary slightly on how it’s done.
Step 1:
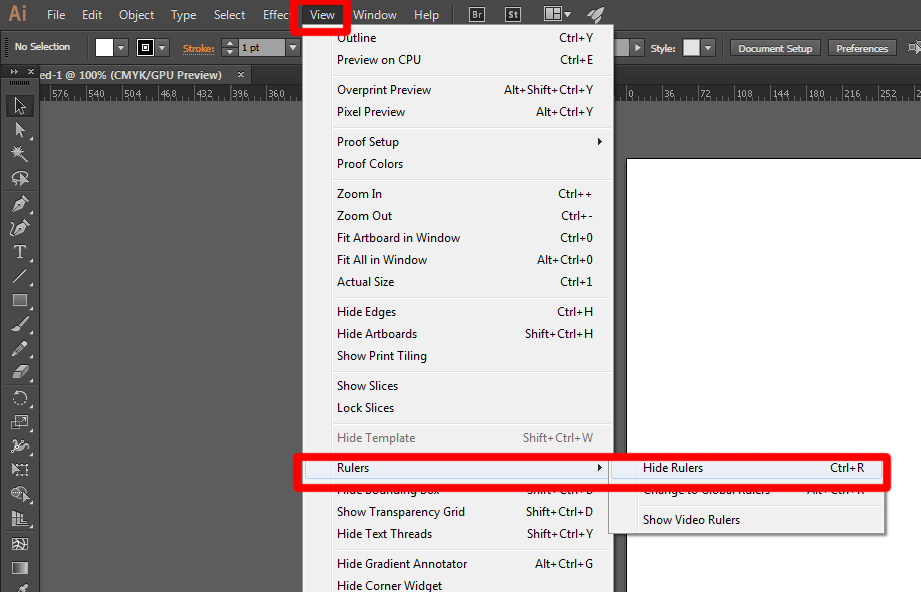
At the top: View > Rulers > Show Rulers
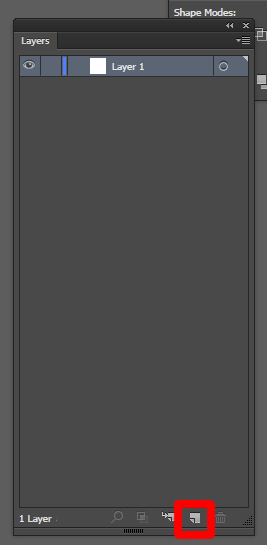
Step 2: Ensure the guidelines are on a separate layer.
The reason I suggest this is so the guidelines won’t move. When you have other objects on the artboard, you will accidently click on the guidelines. To create a new layer, click the page icon on the bottom of the layers panel.
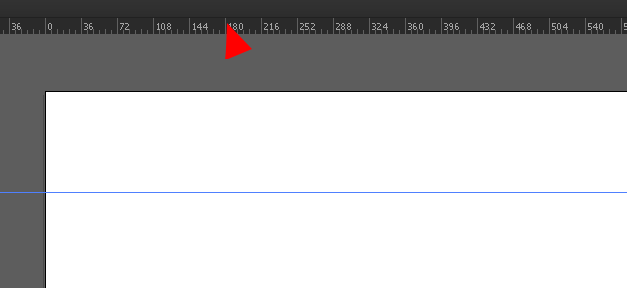
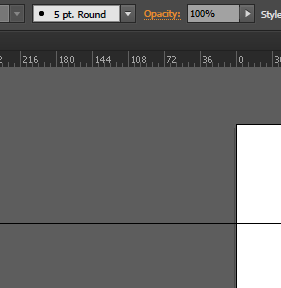
Step 3: Creating the Guidelines
Click on the ruler and holding it down drag towards the artboard. The guideline will then appear. You do the same for the ruler on the left.
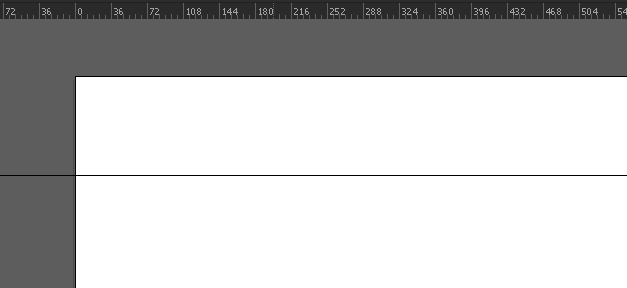
Step 4: Revising the Guidelines
If you want to change it, hover over the guideline till the mouse cursor changes and then click and drag again.
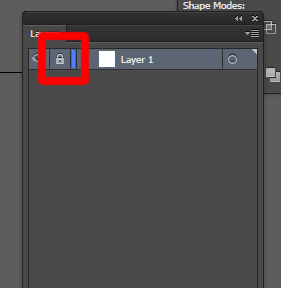
Step 5: Lock the guidelines
On the layer panel next to eye click the empty space/square and a lock will appear. Signifying the layer is locked. The guidelines now cannot move and you can go about illustrating.
Other Tips:
You can change the units of the ruler to suits your needs in the guidelines. To do this right click on the ruler and chose the unit you wish to work in.
Hope that helps!
Leave a Reply
You must be logged in to post a comment.