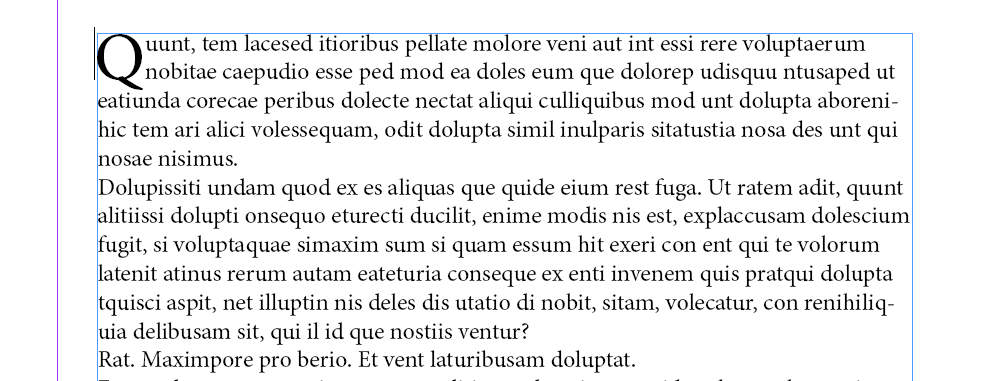
A Drop Cap usually marks the beginning of a paragraph, section or chapter usually with the beginning first character the height of two – three lines. It is a visual way to add more oomph to your work.
How to add a drop in Indesign CC
Step 1:
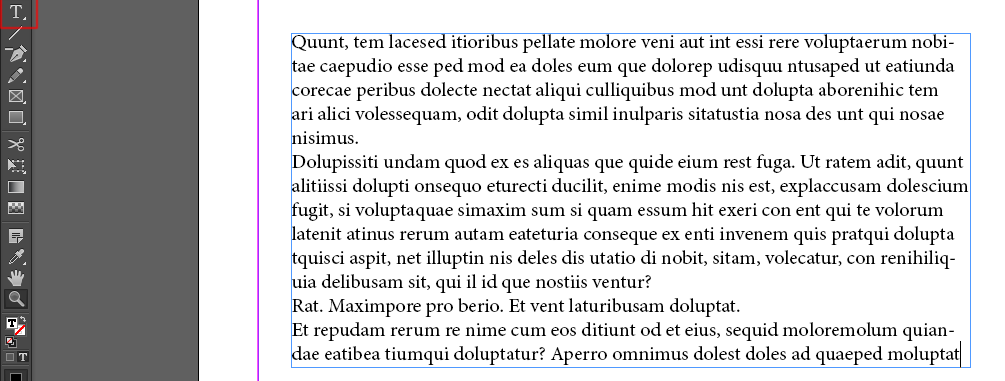
Create a text box and fill it will text by using the text tool.
Step 2:
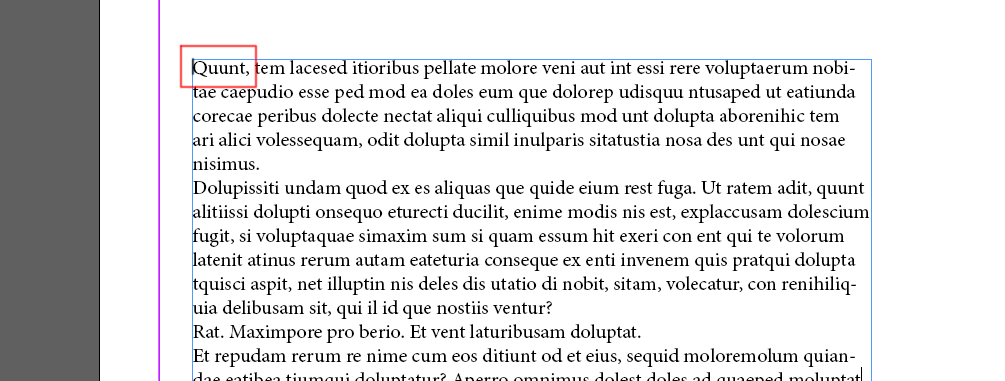
Ensure that the marker is placed at the beginning of the paragraph.
Step 3:
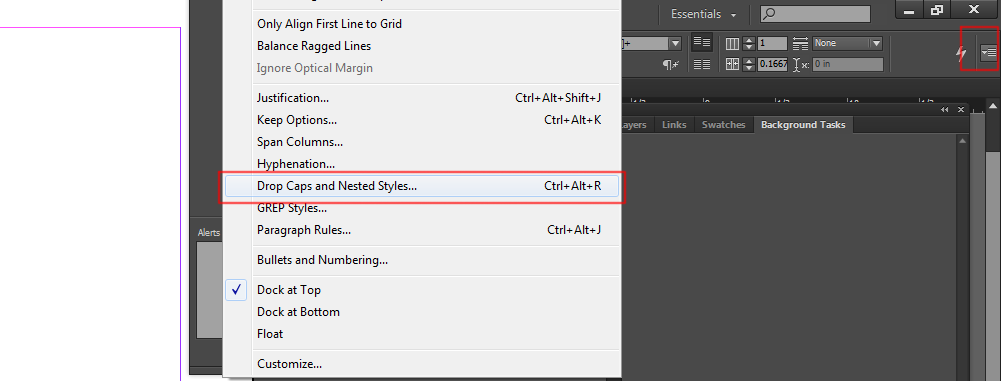
You can click CTRL + ALT + R to bring up the drop cap window. Or you can clip the Upper right corner for this icon:  it should be in your character panel and choose the “Caps and Nested Styles” option.
Step 4:
Lines: How many lines do you want it take up
Character: How many characters do you want to be in the Drop Cap Style.
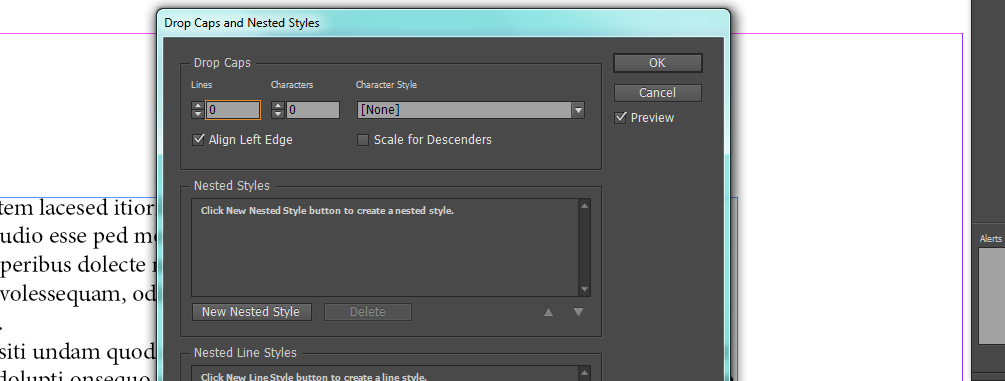
Also, click “Preview” to see how it looks!
And that’s all folks! Have any questions about Adobe Indesign, Photoshop, or Illustrator? I would be happy to help! Leave a comment and I’ll get back to you.
Leave a Reply
You must be logged in to post a comment.