
Method 1
Step 1: Make a new document in InDesign and choose the text tool and create the size of the table you desire.
![]()
Step 2: Click within the text box and then go to the top click and click Table > Insert Table

The following box appears the options are as follows:
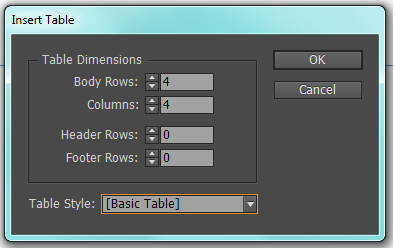
Body Rows: How many rows do you want?
Columns: How many columns do you want?
Header Rows: Headers is at the very top of the table, it will have a different style based on the table style.
Footer Rows: Footers is at the very bottom of the table, it will have a different style based on the table style.
Table style: How your table is is going to be stylized. Is useful when you are making multiple tables of the same table, but if you are not, don’t worry about it and stick with basics.
When you are done click OK.
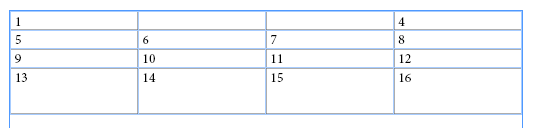
Step 5: The table will then appear in the text box and you can populate it with the data you want.
Editing the Table Style
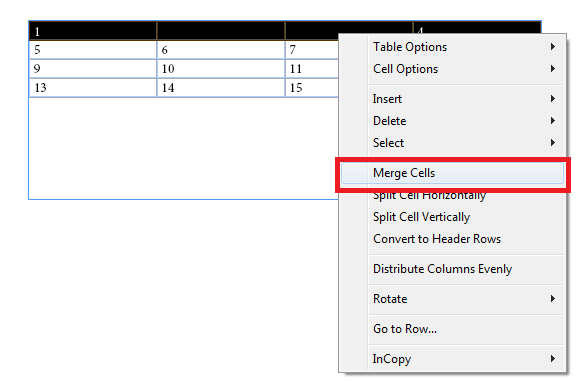
Merging cells
Highlight the cells you to merge, right click and click merge cells.
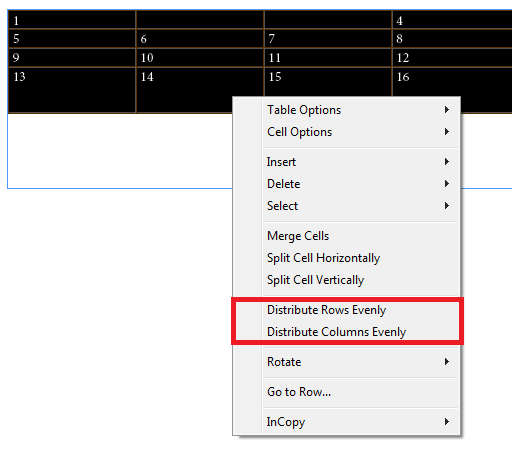
Changing cell size
Choose the text tool and hover over the edge of the table until it changes, clicks and then pull to change the size of the cell.
You can also make the rows even by highlighting the entire table, right click and click distribute rows evenly, and you can do the same with columns.
Font & Justification
Highlight the entire table and the top there are many options to change the font and justification.

This panel is pretty intuitive.
Font Outline, Fill and Colour
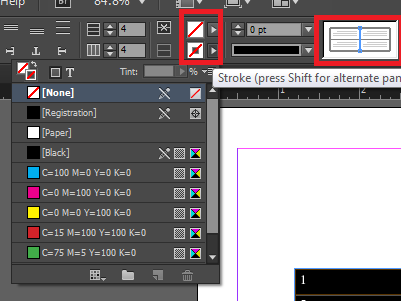
The right most panel outlined in red is where you change the outline of the table. Clicking the lines you desire to change (will change blue) then click the stroke colour panel as shown. The top is the fill option and the bottom is the stroke colour panel.
Another way to change the fill and outline is to highlight the entire table right click and choose
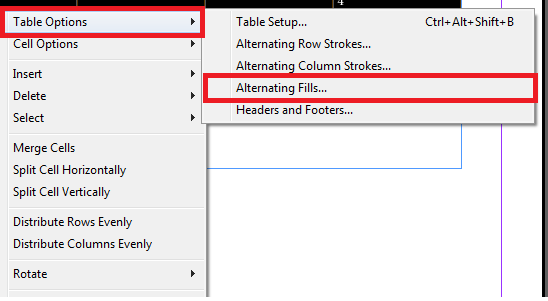
This table options window will appear
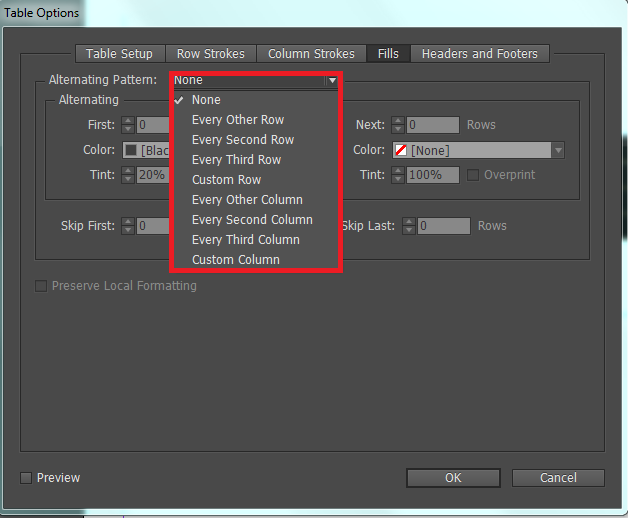
From the drop down menu on the alternating pattern, you can choose how you want the fill to happen. This is pretty intuitive, you can do this for strokes, columns and etc. Really useful.
Method 2
Step 1: Make a new document in InDesign and choose the text tool and create the size of the table you desire.
Step 2: To make a table in InDesign, each tab is a column and each row is a new paragraph.
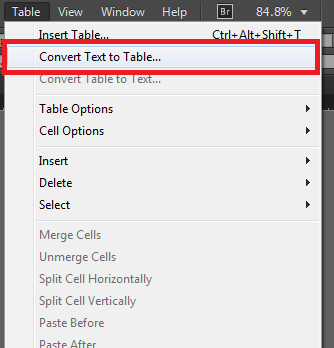
Step 3: When you are done, high the text and go to the top and click Table> Convert Text to Table
The following box appears the options are as follows:
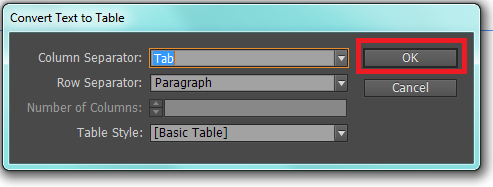
When you are done click OK.
Table will then be created.
Method 2.1
Step 1: Make a new document in InDesign and choose the text tool and create the size of the table you desire.
Step 2: To make a table in InDesign, each tab is a column and each row is a new paragraph.
Step 2.1: This can get tedious when you have large amounts of data. Instead, open Excel and create a table there.
Step 2.2: Copy the table and paste it into the text box within InDesign.
Step 3: When you are done, high the text and go to the top and click Table> Convert Text to Table
The following box appears the options are as follows:
When you are done click OK.
Leave a Reply
You must be logged in to post a comment.