This method uses the numbered List in Adobe Indesign. See method 1 here. Let’s get to it!
Step 1
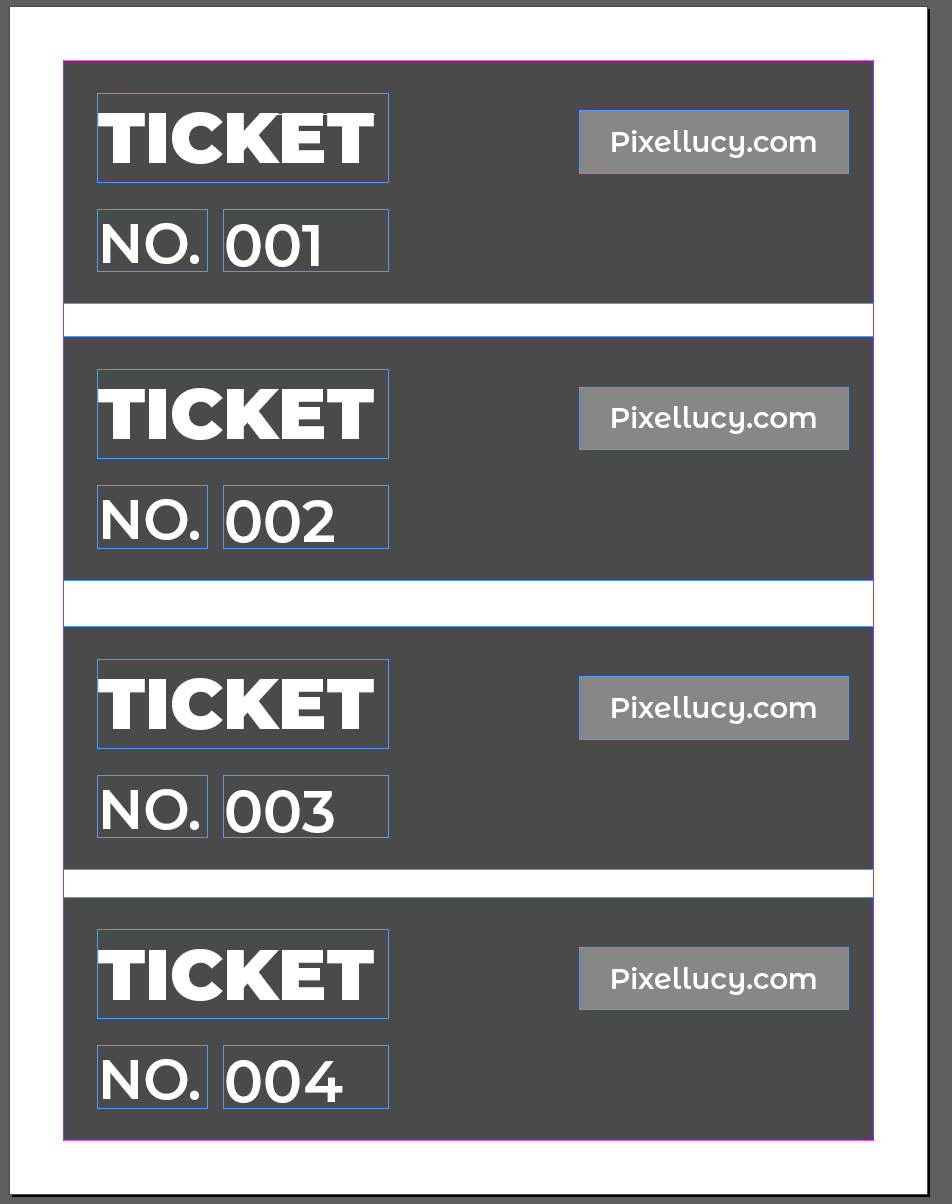
Designed your Ticket and then create a text box where your number will be. PUT A SPACE in the text box. Otherwise, this method will not work.

Step 2
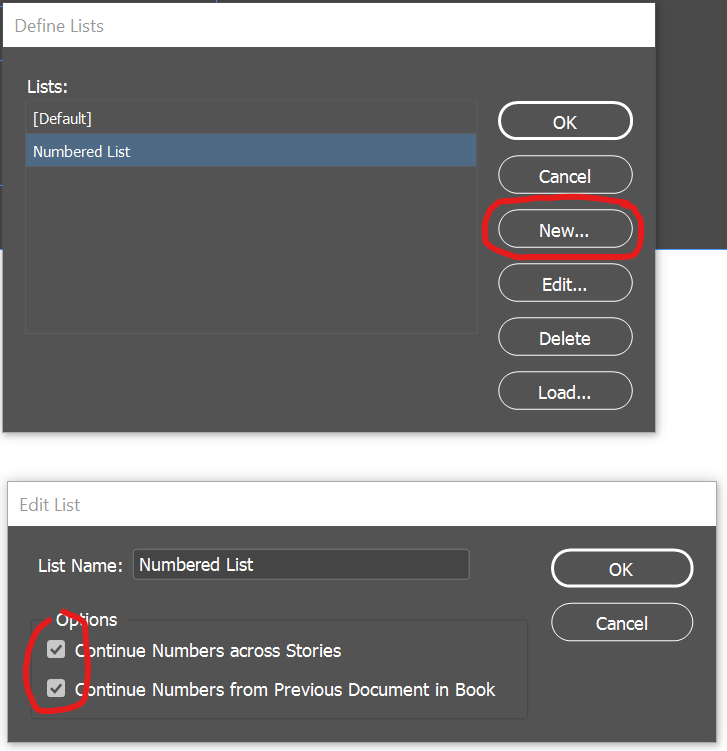
Go to Type > Bulleted & Numbered Lists > Define Lists…

Step 3
Clicked “New…” It will then open to give you some options. Name your list, and click all the options. “Continued Numbers across Stories” & “Continue Numbers from Previous Document in Book”.
Step 4
Make sure you click the text tool and click into where your numbers are supposed to be.
Step 5
Click into the top control panel, or go to the Window > Control, to get it to show up. Make sure you are in the Paragraph section, and then ON YOUR KEYBOARD CLICK ALT + THE LIST SYMBOL AT THE TOP. (See circled items below).

Step 6
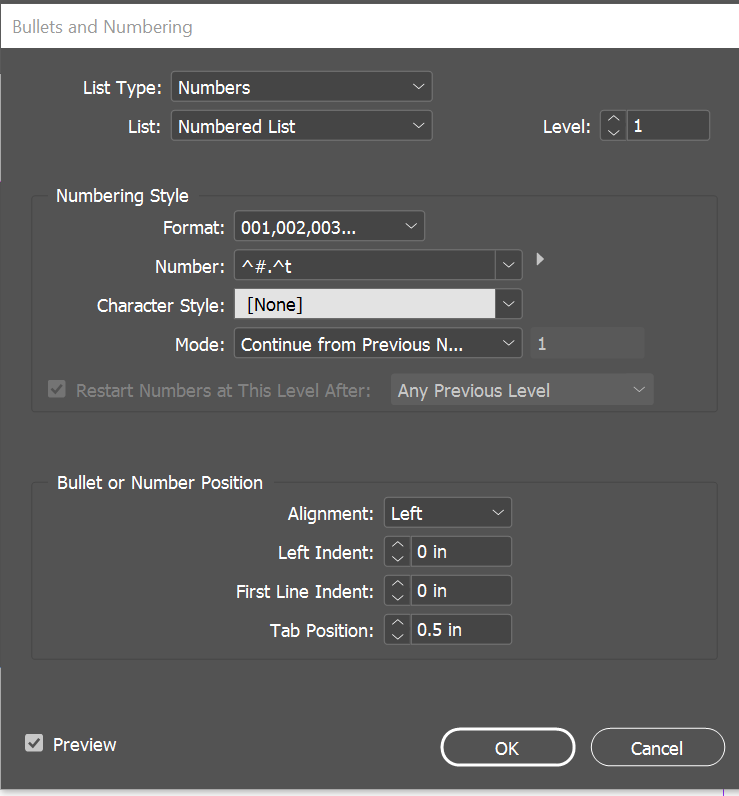
It will then open up into the “Bullets and Numbering” panel.
Choose:
- List Type: Numbers
- List: The list you defined earlier
- Format: Choose whatever format you want
- Mode: Continue from Previous Number…
Check the preview to make sure it works, and then click OK.
Step 7
You can see that it now shows the first number! You can remove the period by changing in the Bullets and Numbering Panel “Number:” It currently says ^#.^t. Just take out the period.


Step 8
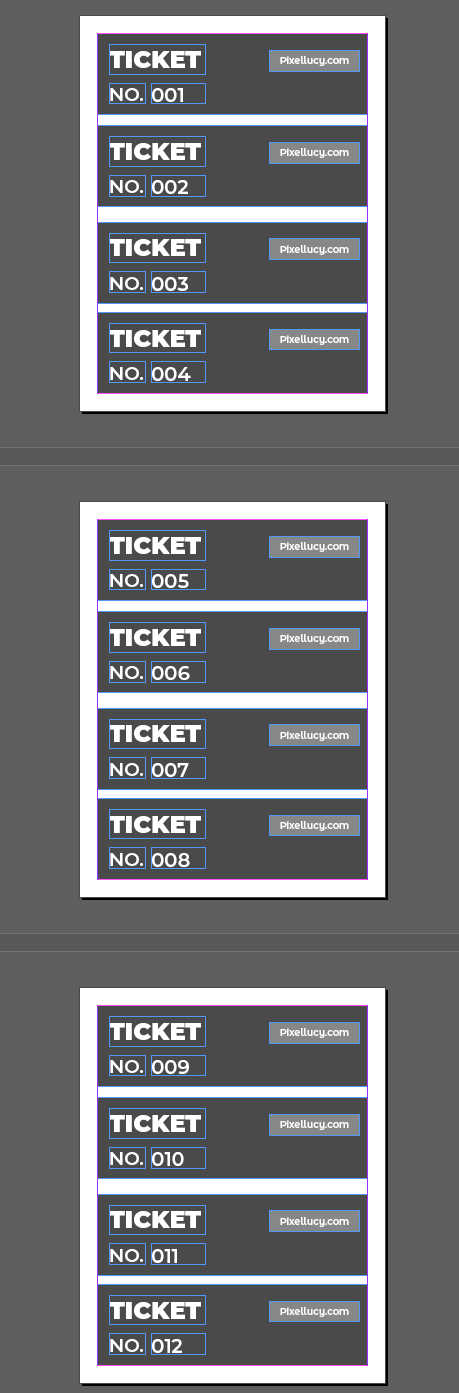
Copy/Duplicate the elements onto the page as desired. InDesign will automatically count them for you.
Step 9
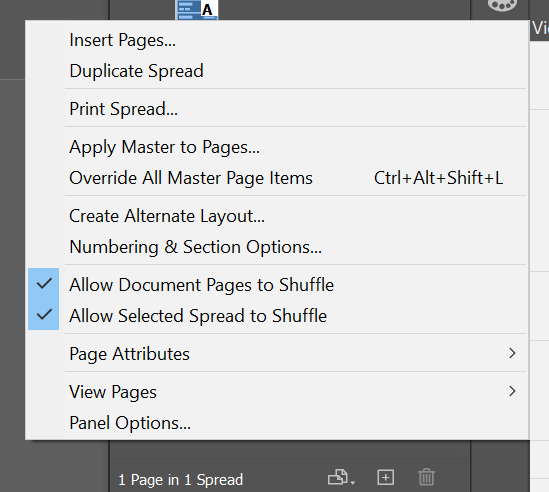
You can create more on pages, just by right-clicking and either click “Duplicate” or “Insert Pages”.
See more tickets yay!
Hope that helps! Happy creating!
Leave a Reply
You must be logged in to post a comment.