
1. Create a shape.
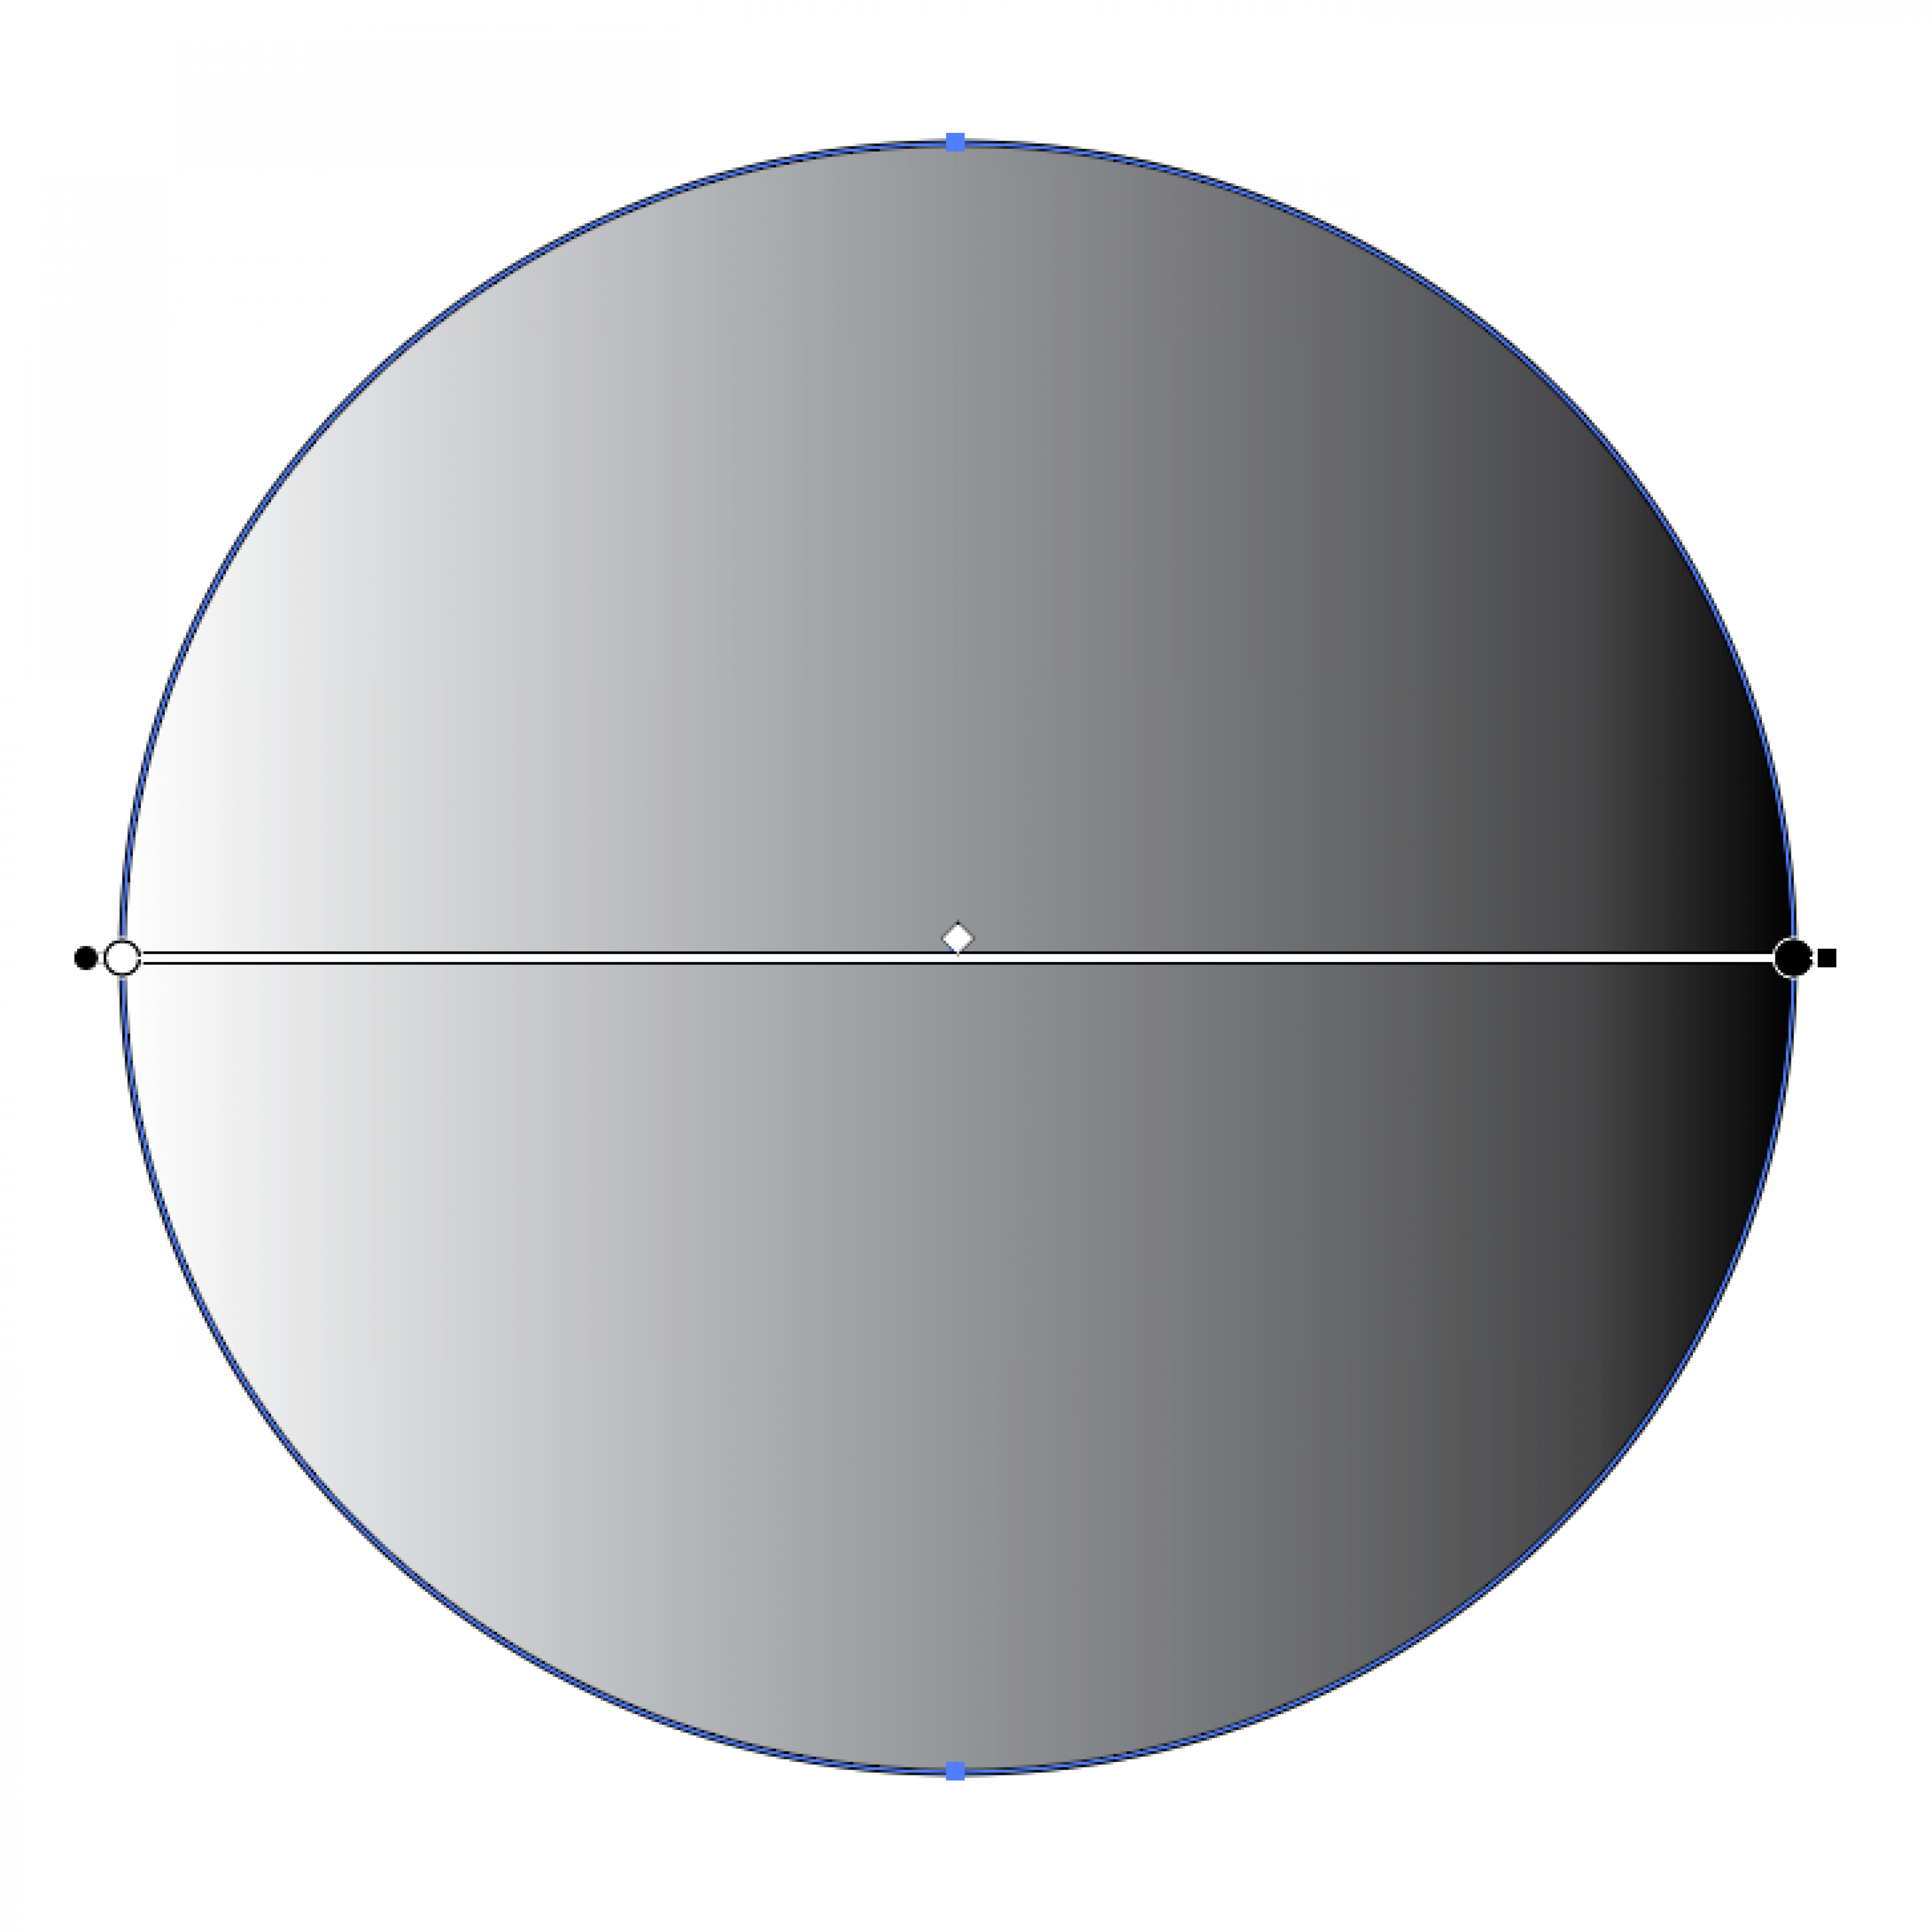
2. Click the Gradient Tool in the Tool Bar.
3. Then hover over the shape and click on it once.
4. Then open the gradient panel from Windows > Gradient.
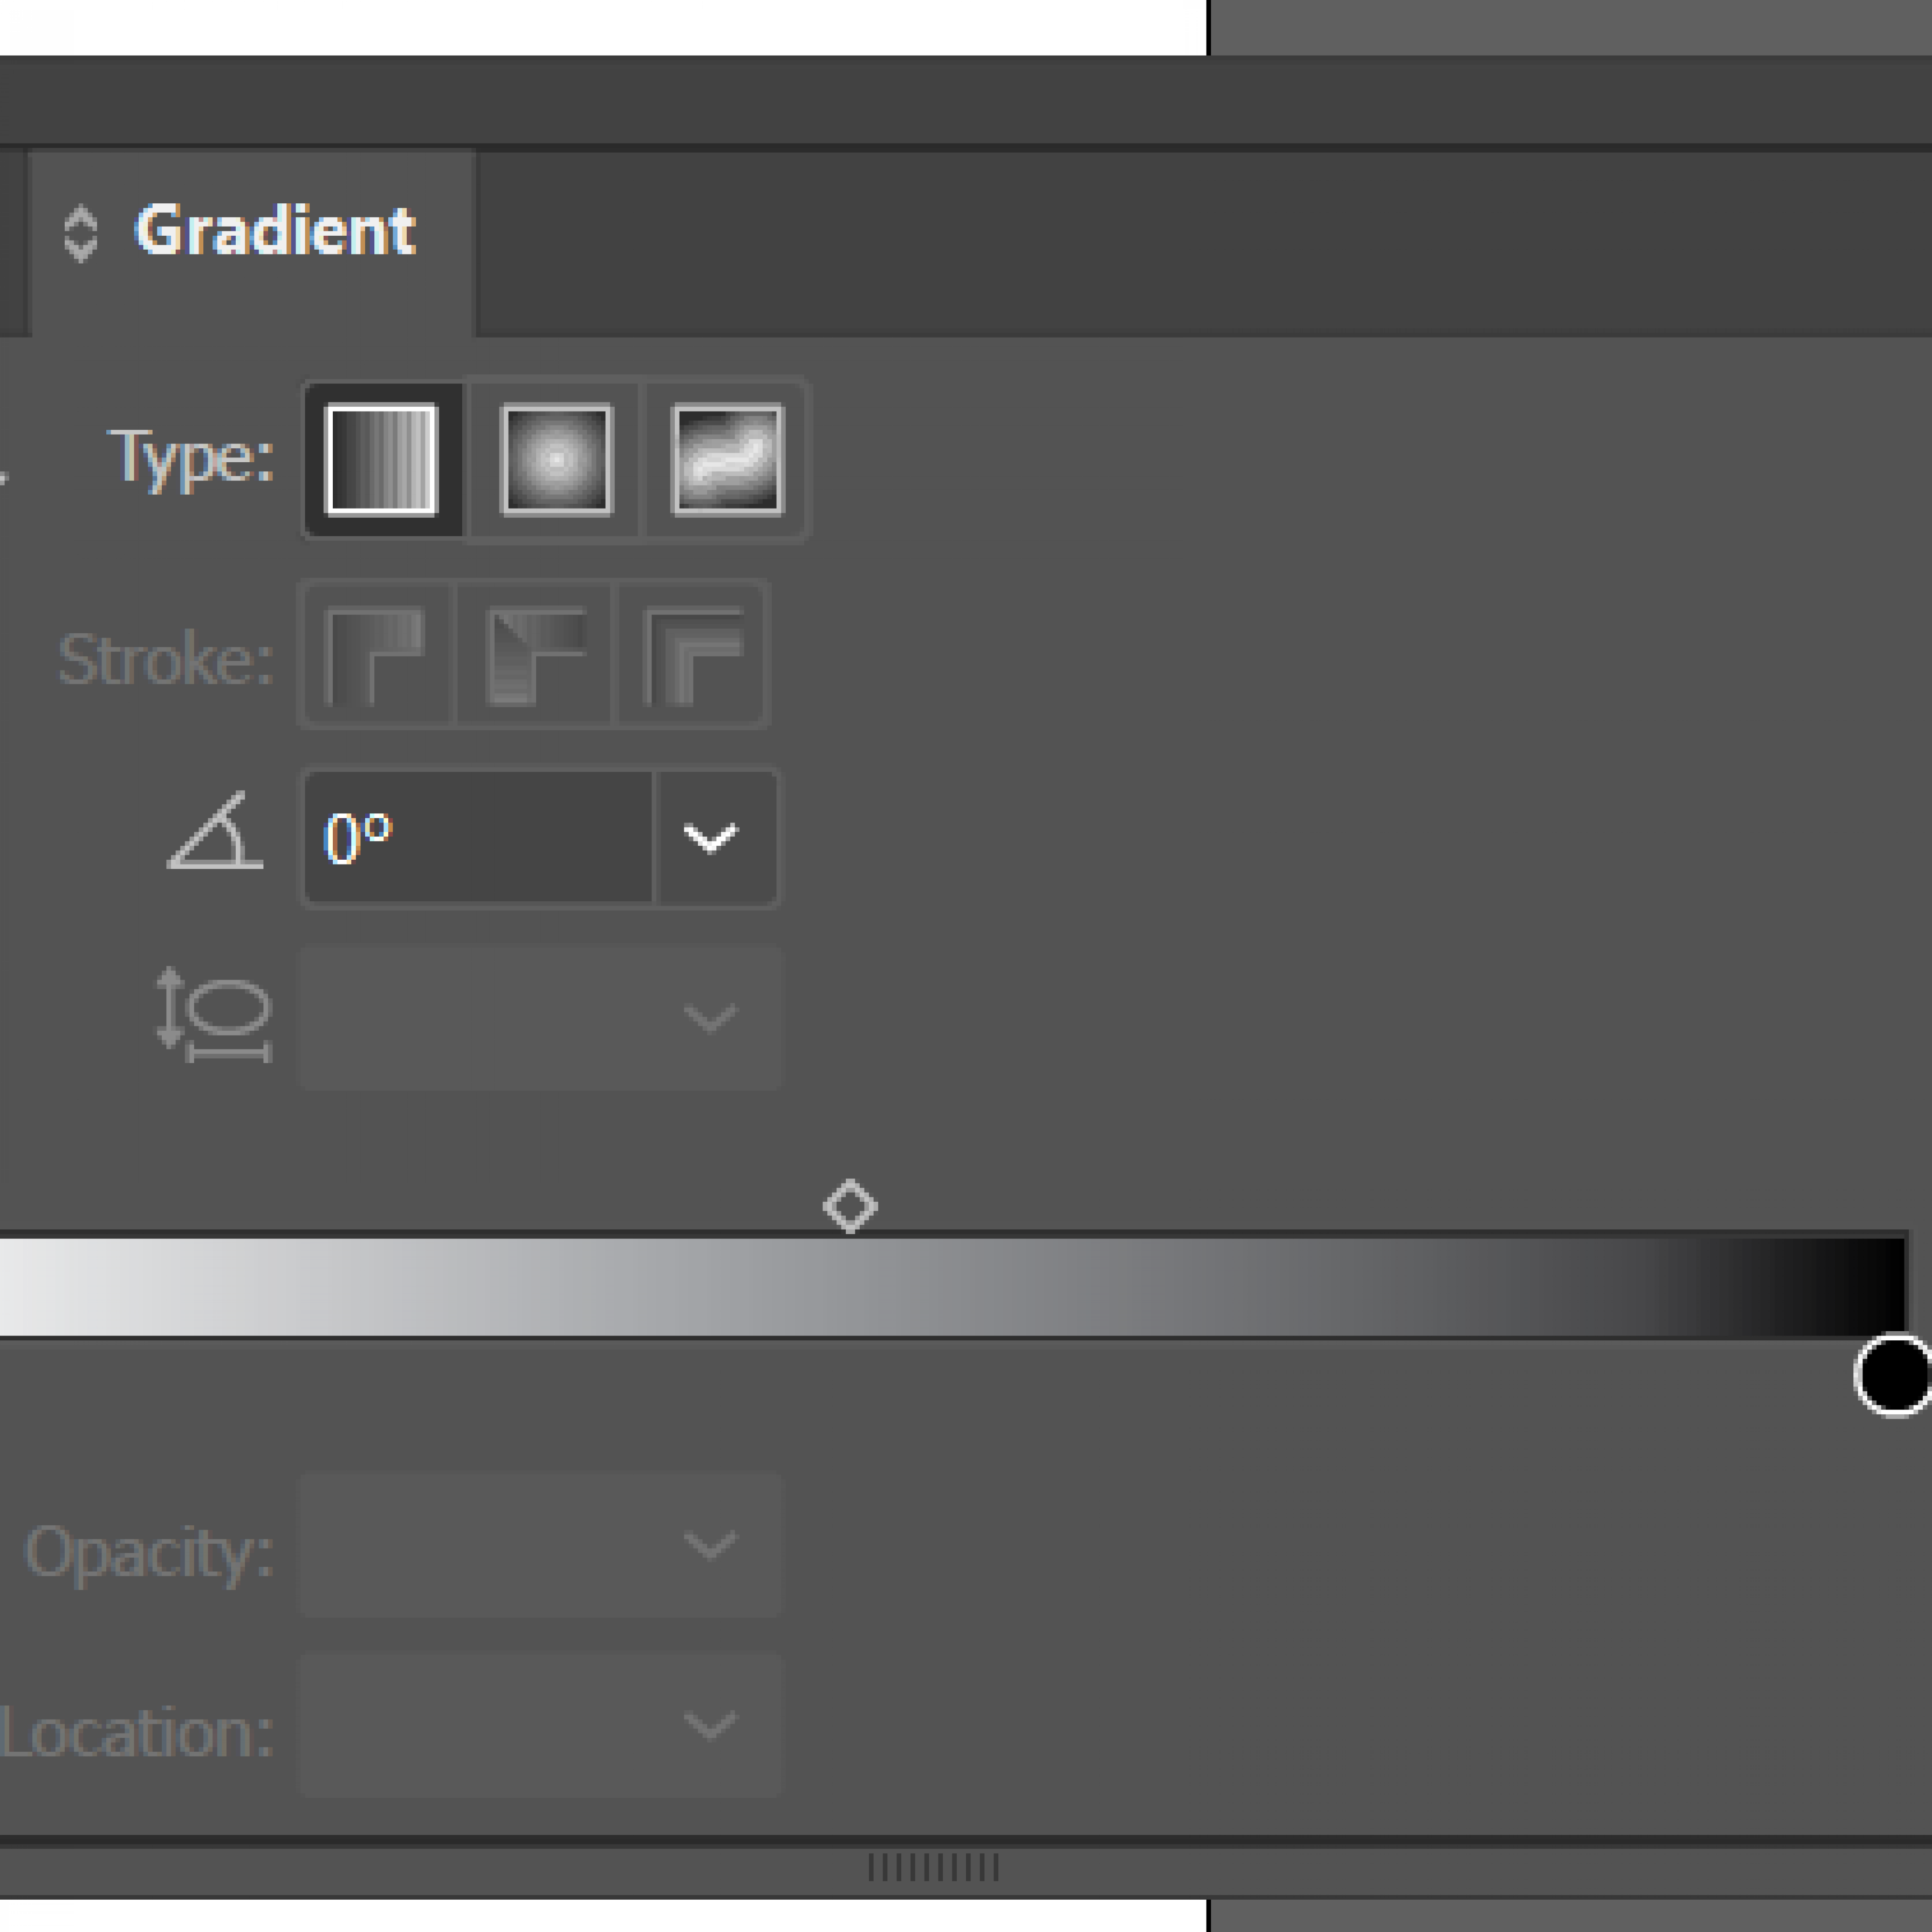
5. You can add a gradient to either the shape or stroke. We’ll focus on shape here. There are three types of gradient you can at the top of the panel. Liner, Radial, and then freeform. You can also change the angle below.
6. In the gradient bar, you can see circles of colour. Here you can change the colours by double-clicking the circles.
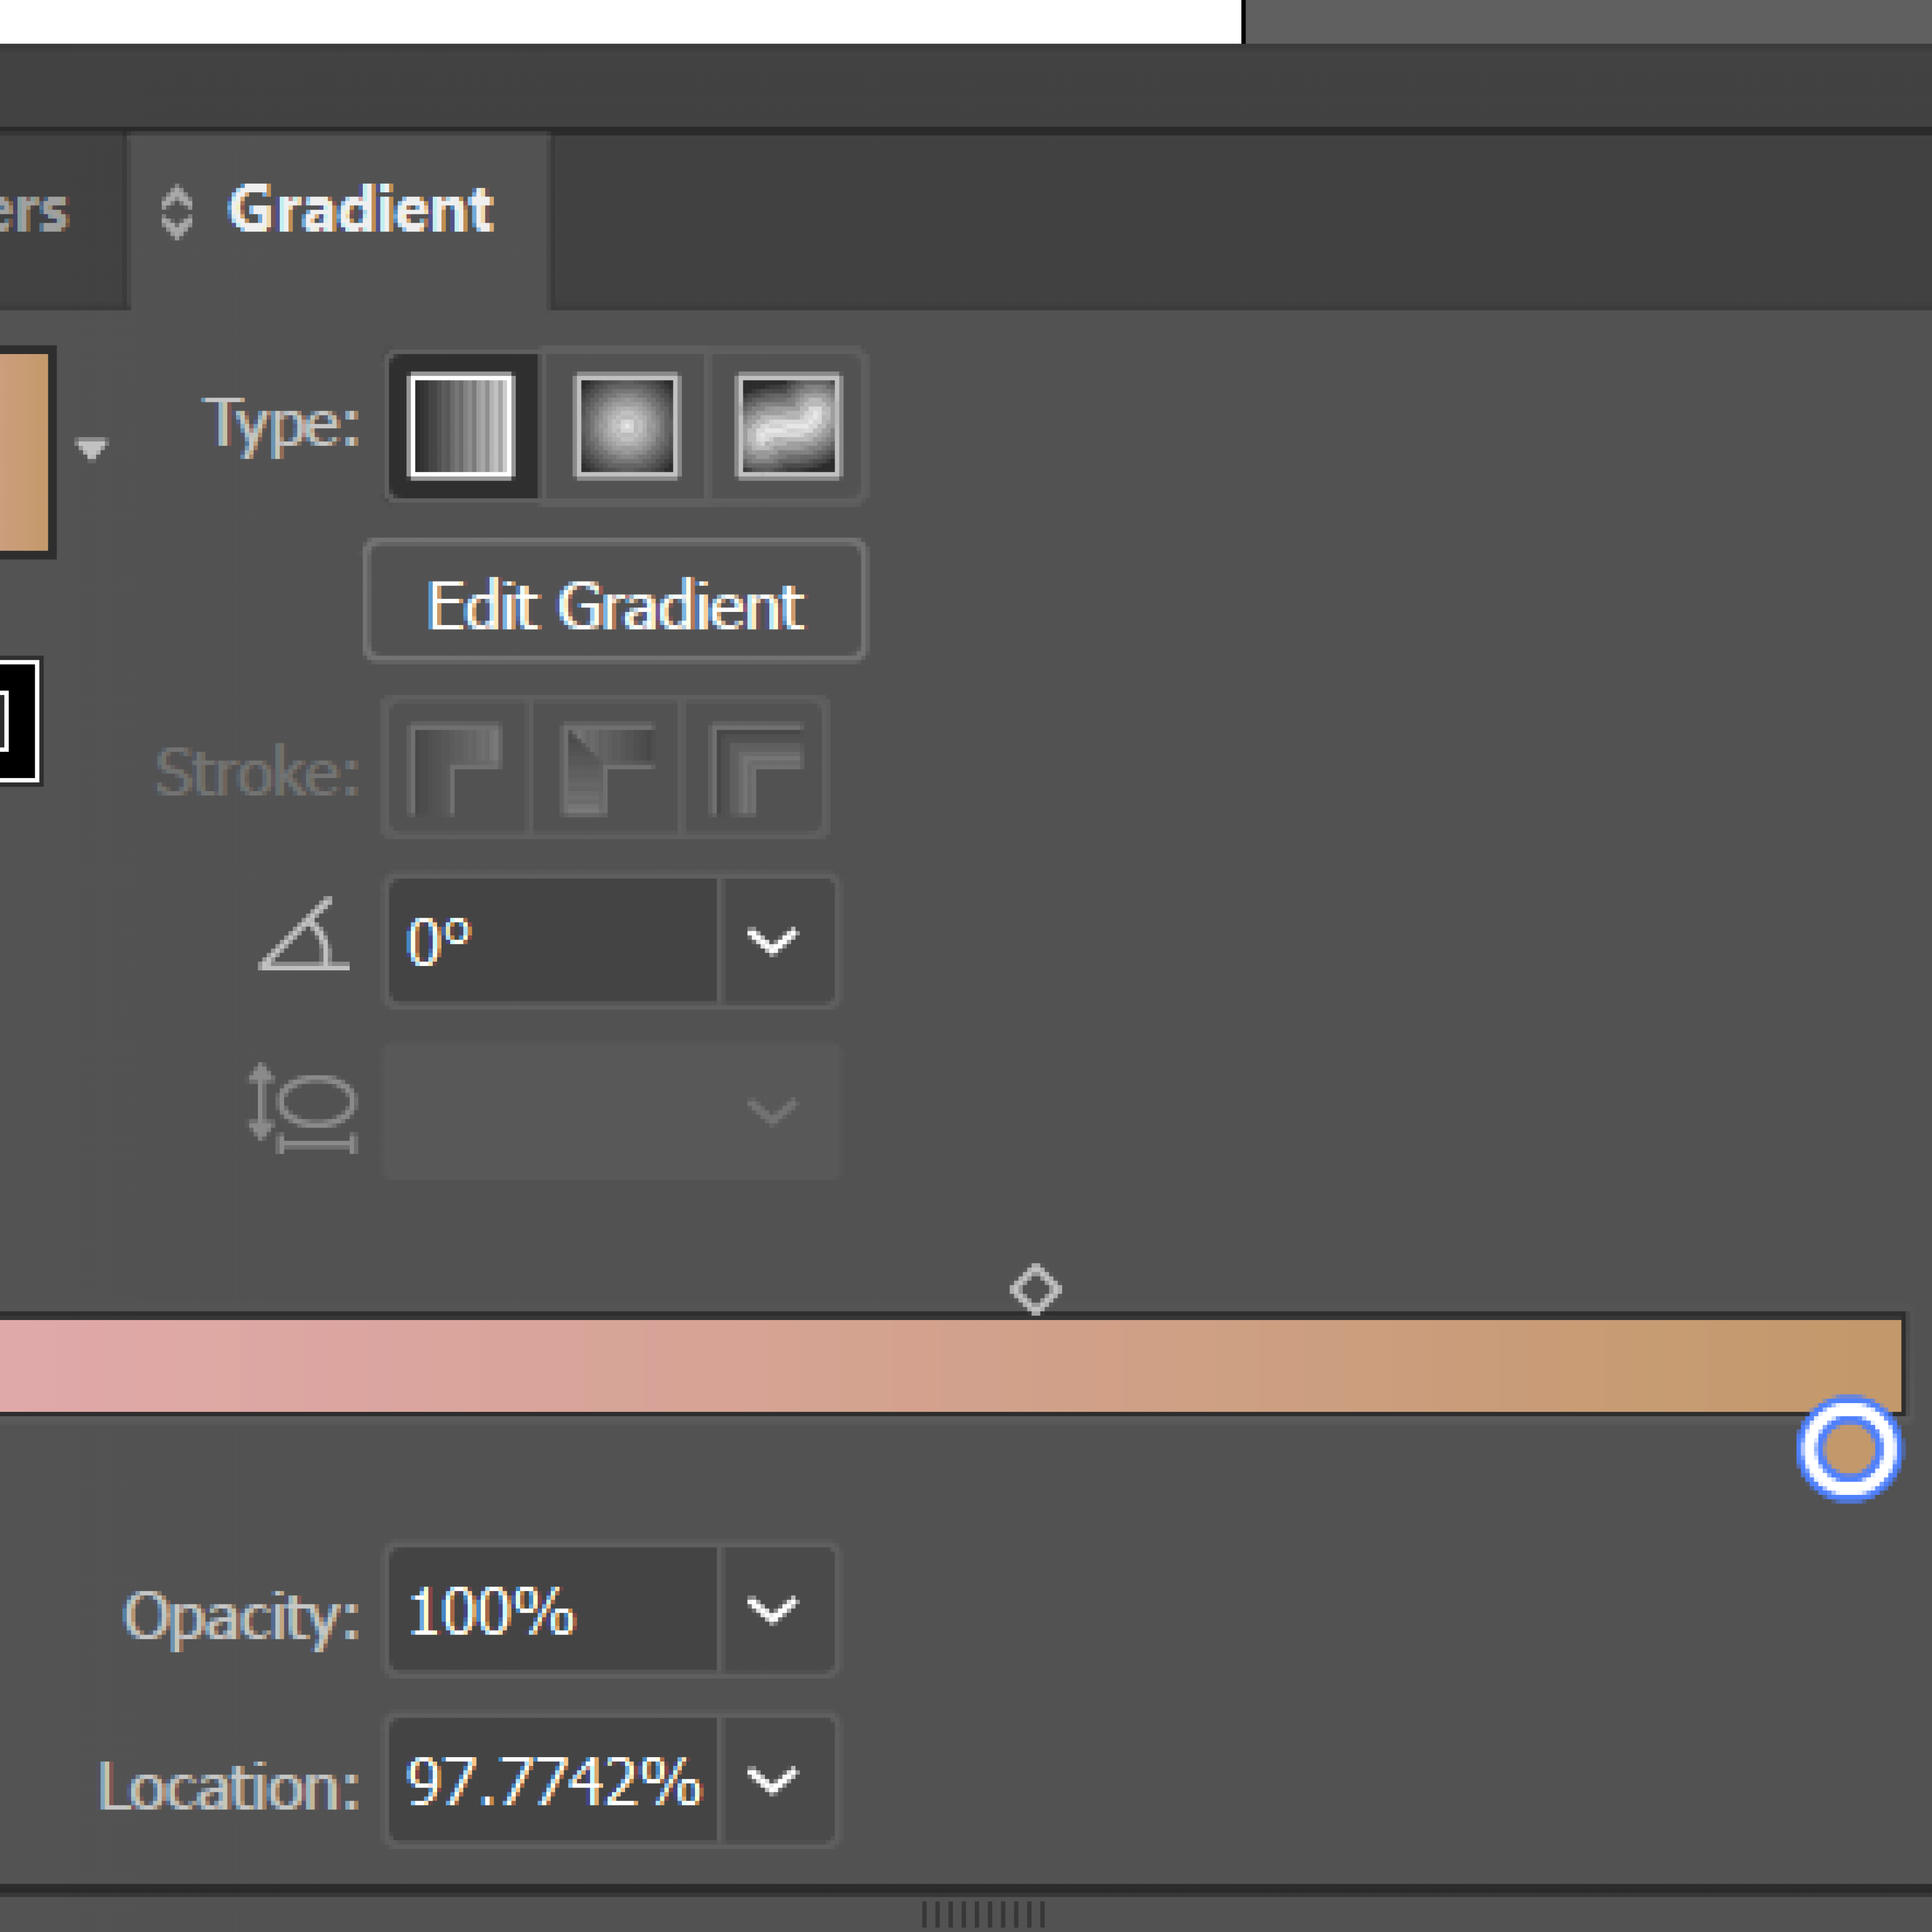
7. You can add more colours by clicking on the bottom line of the gradient. The mouse should change and another circle will appear. To remove a colour click on the circle and then click the trashcan icon at the side.

Hope that helps! Happy Creating.
Leave a Reply
You must be logged in to post a comment.