LODs
You may have noticed in Sims4Studio that “Meshes> Level of Detail” is in this drop-down menu, and you wondered what that means. Well, it stands for Levels of Distance. As we mentioned before, clothing is made of meshes, which are made of polygons, the shapes (called faces in 3D terms) that make up your object/mesh. The more shapes/faces you have, the bigger your file is and the more time it takes to load it.
In the SIMs, they use different LOD for the clothing to help your computer run the game quicker. 0 – 3 is where your camera’s distance is from the object. 0 being the closest, while 3 is the furthest. As the level increases, the number of faces and detail is much lower. This allows your computer the render at a further distance quicker as it doesn’t have to show much detail. If you don’t specify a different mesh for each level, it just uses the default LOD 0.
It does make your package bigger, but it increases the quality of your clothing. Suppose you don’t care about your clothes in playing mode and are just in CAS mode. Then you don’t have to worry about LODs.

In summary, you need four different meshes for each level. To do this, export each LOD and name them accordingly. In my guide “How to Create SIMS 4 Clothing CC,” the first half of sections three and onward shows how to use these base meshes with clothing. You are putting your clothes on a less detailed mannequin/avatar. Then you are modifying the clothes also to be less detailed.
You can minify/reduce your mesh faces in a Blender or Zbrush. These two programs have different ways of doing this. However, Blender is free, while Zbrush is paid. We will cover both.
MINIFYING MESHES IN BLENDER
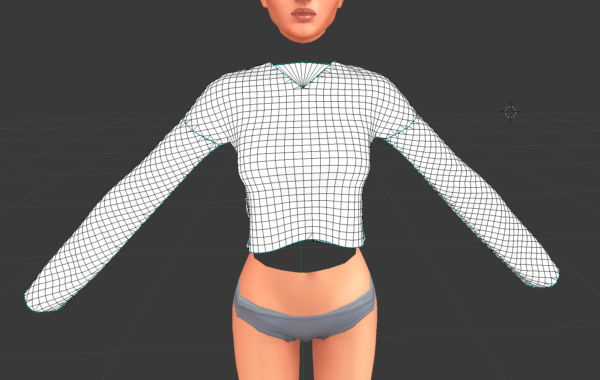
In Blender, when your clothing mesh is separated from your base mesh, you can reduce the number of faces by going to “Add Modifier” and selecting “Decimate.”
Decimate after your clothing has been appended, faces deleted, and before you combine your base with your clothing.

Make sure you are in OBJECT MODE.

You then mess with the Ratio by either sliding or changing the number. You can visually see it changing on your clothes. Choose a ratio where the clothing isn’t messed up and retains a sense of what it should look like.

MINIFYING MESHES IN ZBRUSH
ZBrush is another program created explicitly for doing 3D Texture and materials. It will add little details and help reduce poly size. This method has mesh reduction happening before you start in Blender. After you create your clothing mesh, import it into Zbrush.
I don’t have ZBrush due to its cost, but I will link to a few tutorials that show the process well.
Hope that helps! Happy Creating.
Leave a Reply
You must be logged in to post a comment.