There are three ways to create “buttons” on your Mesh.
- Create it in Marvelous Designer: You may have noticed that the number of faces is enormous when you create buttons and export them in Marvellous Designer. Large than it is comfortable to import into the SIMS game. I would avoid this route.
- Create it via textures: In this method, you would have a flat mesh and create the texture using photoshop. Then using, Sims4Studio uses the bump map, shadows, etc. You can create a facsimile of a button. I will cover this method later. However, it may not look just right.
- Create the button directly in Blender: This is the method I use. It doesn’t need that many extra faces, and it looks all right, in my opinion. I will cover this method in this tutorial.
MAKING THE BUTTON
First, make sure you don’t have any layers selected. Then at the bottom of the menu, go to Add>Mesh>Cylinder.

It will appear as a vast cylinder but don’t worry; you will scale it down. To scale down everything, click “S” and then move your mouse to scale down in portions.

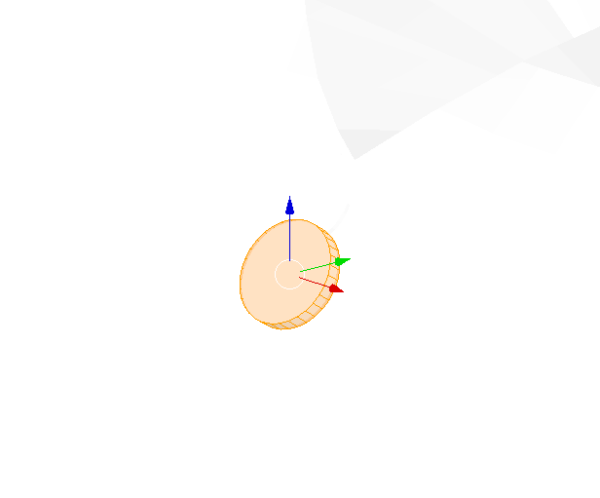
When you get the cylinder to the size of the button you want, it’s time to scale on the Y scale, or in other words, squish it.
Go into edit mode, and then click “C” to get the brush, then only select the top side.
Then select the blue arrow and pull/push it down to make it thinner.


MOVING AND PLACING THE BUTTON
The next step is to rotate it and place it where you want it on the clothing.
To rotate, select the whole cylinder by clicking “A” and then moving the mouse to rotate it. Using the arrows, move it into place.

U/V
The next step is to unwrap the button’s UV so you can edit the look later. To do this, go to UVs>Unwrap

You should see something like this:

You would then merge it with your existing Mesh. Then from that, you can continue with the process. This would be in section 4 of my tutorial on creating clothing in the SIMS.
And that’s it! You can create more than buttons in Blender. I’ve seen jewels, extra details, etc. Happy creating!
Leave a Reply
You must be logged in to post a comment.