Method 1: Smart Guides
I would recommend this one for a few simple objects and shapes. Nothing detailed. ‘
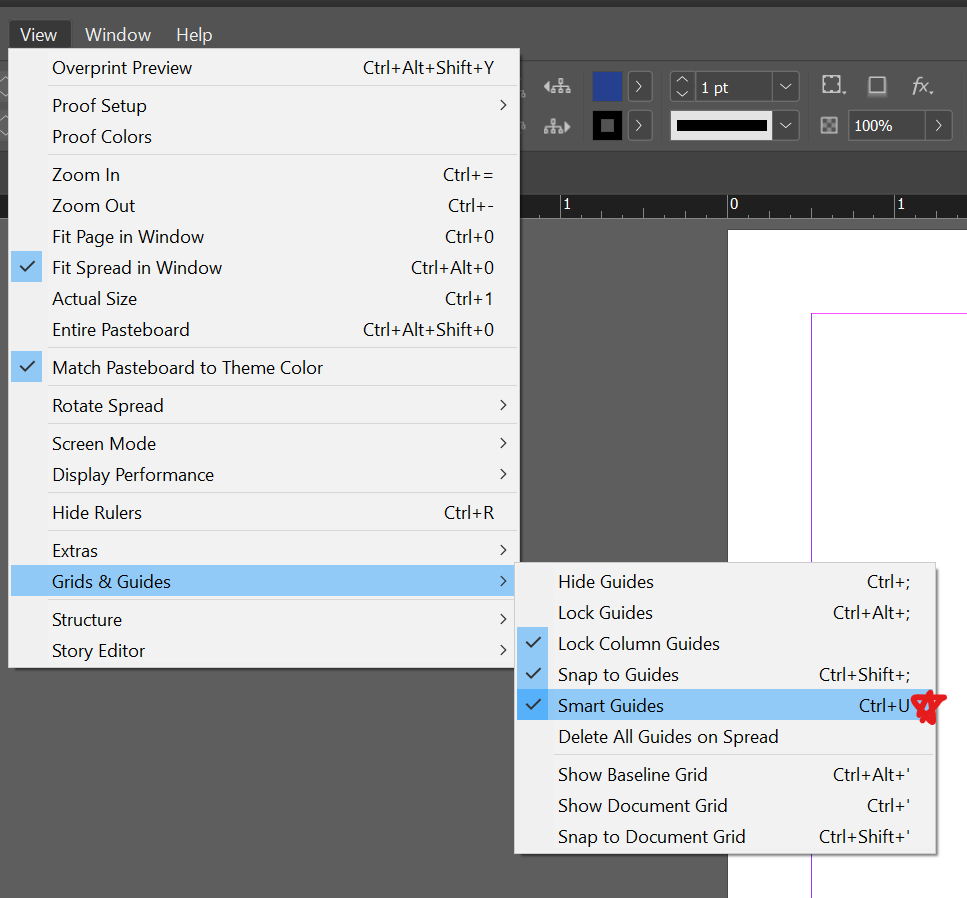
Turn on smart guides by going to View > Grids & Guides > Smart Guides
When you move objects in proximity together, you will see green guides show up. It will show the spacing between two objects.
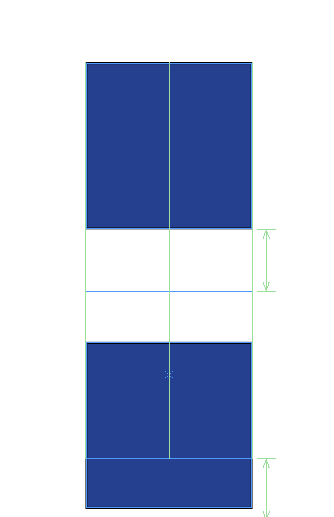
And that’s it. You can do this with multiple objects, and Adobe will suggest spacing for you based on its algorithm.
Method Two: Alignment Tool
I would recommend this method for more complicated objects. For example, ones that have multiple overlays.
Simpler objects
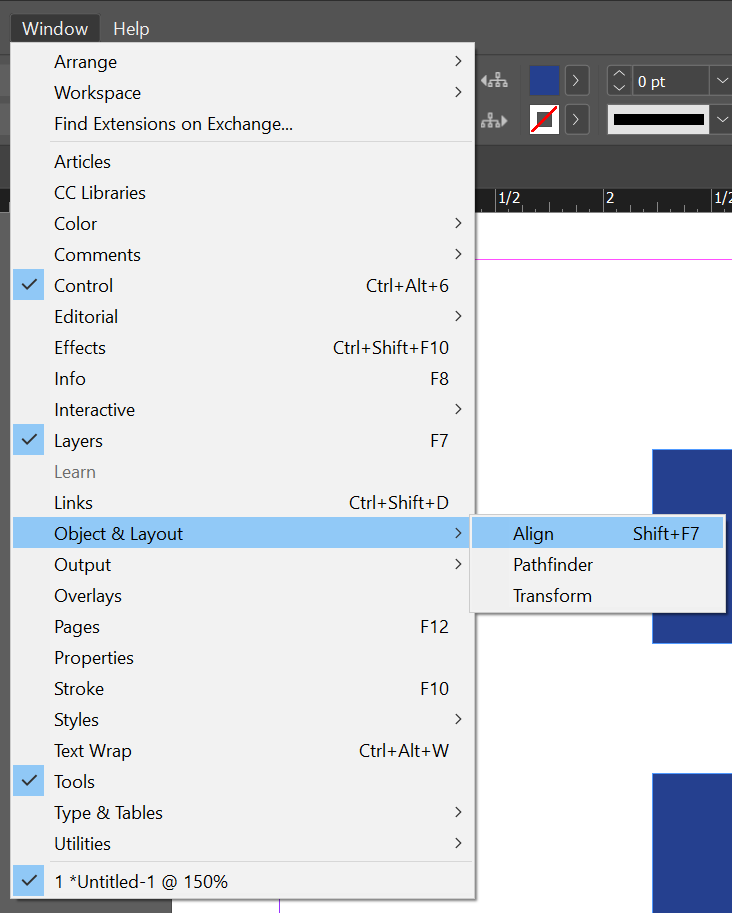
First, access the Align panel by going to Window>Object & Layout>Align or clicking Shift+F7.
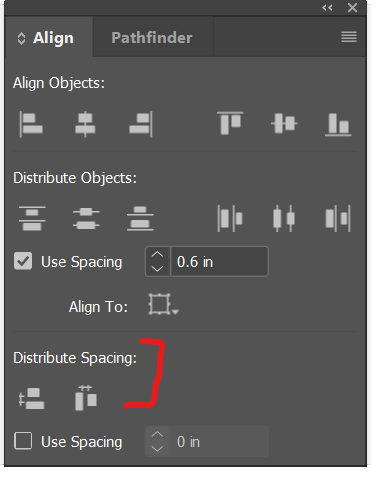
Select all your objects, then in the panel under distributing spacing, choose either even vertical or horizontal spacing. Indesign will automatically evenly space them.
Complex objects/overlays
Sometimes you put shapes over together as I did below. In this example, you want the spacing between the squares to be even.

However, when I use the align tool, it moves the objects in a way I did not intend. Indesign treats them as all separate objects.
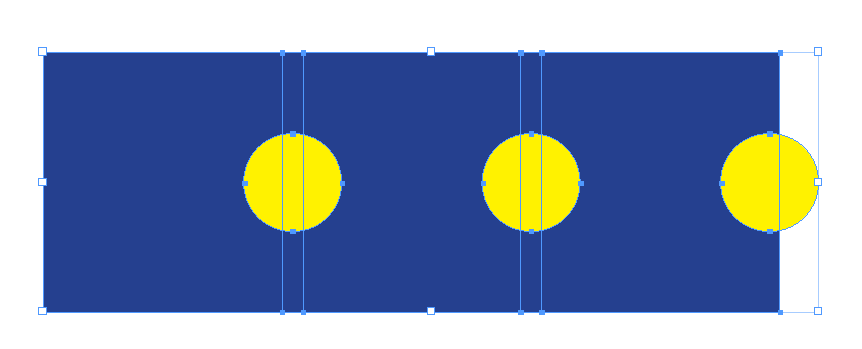
To keep the yellow circle in the blue square and affect only the spacing, you need to group them. To do this, select what you want to group, right-click, and choose “Group.”
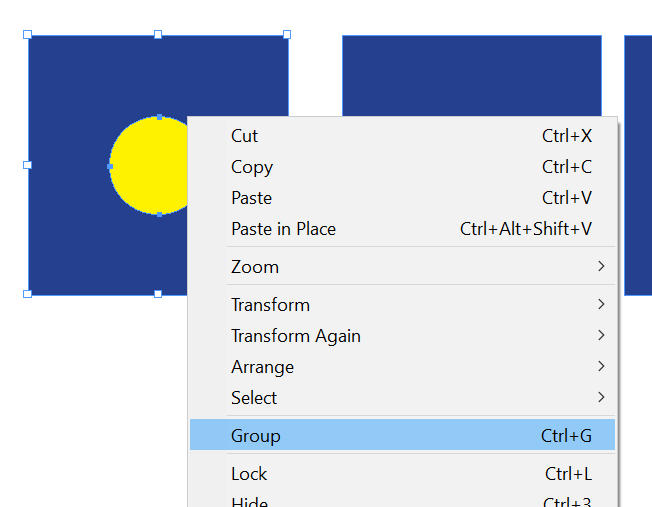
You will have to group them all. Once you are done, you can go to the align panel, which will space them properly.

That’s it; happy creating!
Leave a Reply
You must be logged in to post a comment.