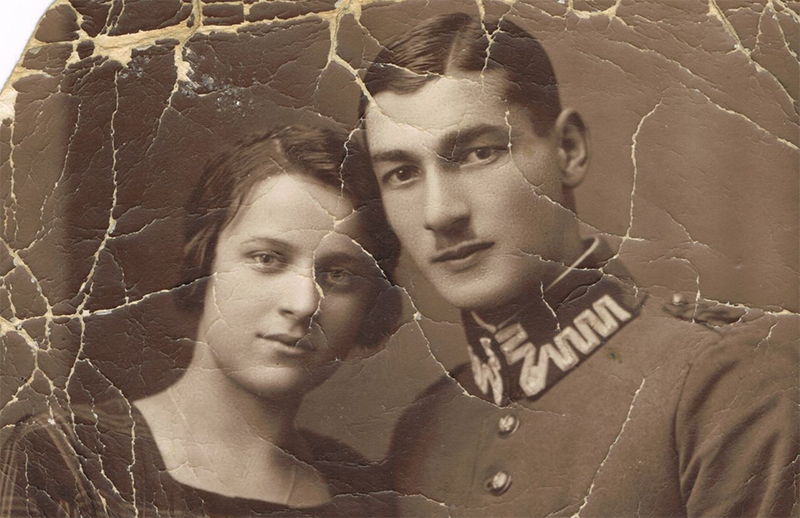
Technology today allows us to do some fantastic and heart-warming acts of service. One of these is the ability to restore old photos. Photoshop is one of the standard tools many use to do this. Here are some of the tools you can use within photoshop.
Clone tool and Content-aware Fill
The Clone tool has been around forever. It is a brush that copies one area and allows you to paste it. Here’s a quick guide on how to use it.
1. Click the clone icon on the menu or click “S” on your keyboard.

2. Hover over the section you want to copy and then left-click. Then hover over the part you want to fill with what you copy with the clone brush.
The content-aware tool is relatively new. Photoshop will attempt to read the file and fill it as best as possible through AI. Here’s a quick guide on how to use it.
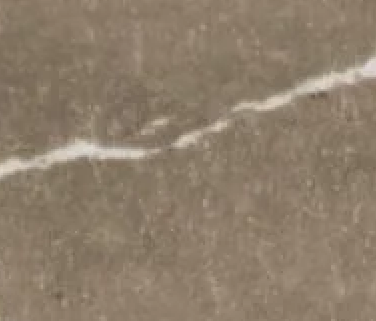
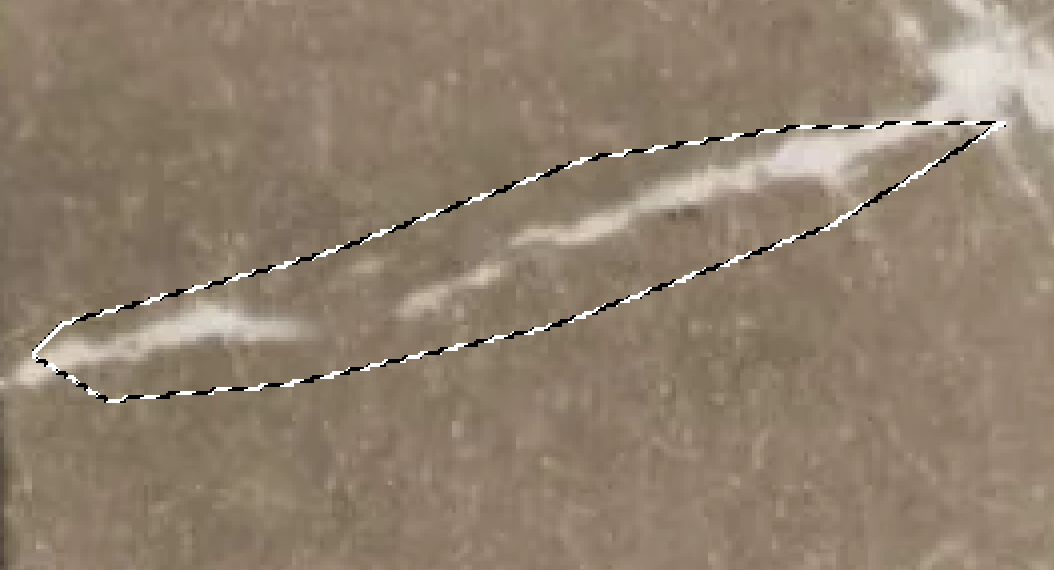
1. Select the area you want to fill in. This can be done through the lasso tool, pen or polygon selection tool. Make sure you are close as possible you can.
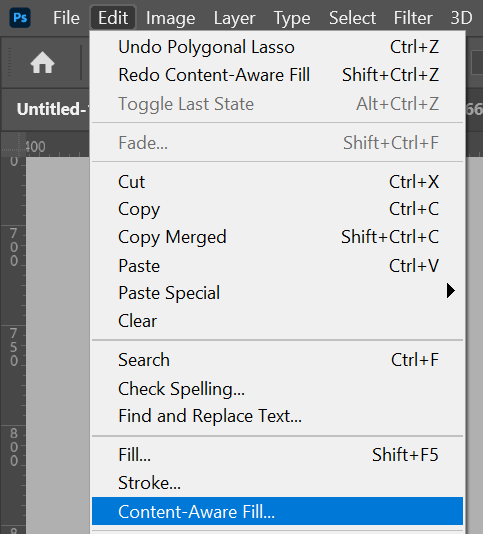
2. You can go to the top menu, Edit > Content-Aware Fill, or you can click Fill. Either way, you will see the content-aware options.
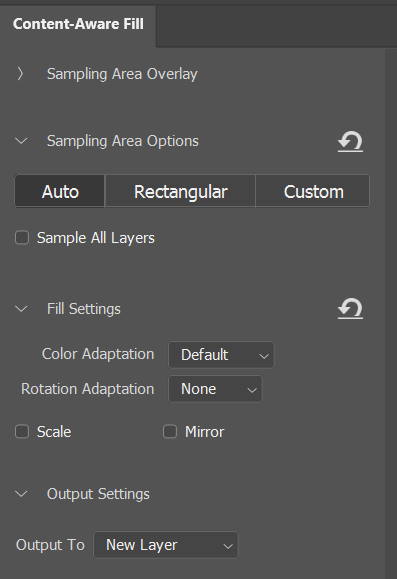
You will see this one in the full content-aware fill menu. You can choose the sampling area you wish. Auto, the computer will calculate. Rectangular will look at just the rectangle, and custom is when you can specify the reference part.
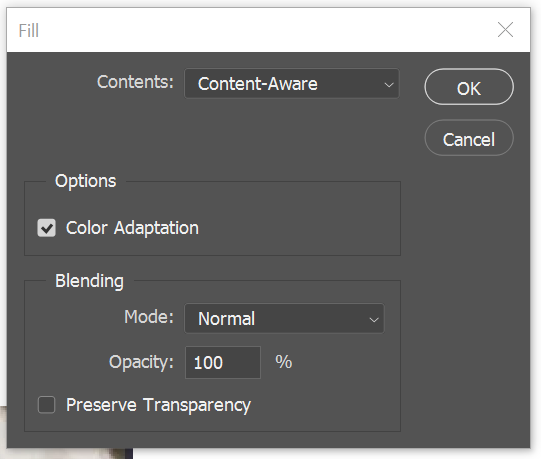
You will see this if you click edit > Fill. A shortcut to reach here is “Shift + F5”. This is a simplified menu of the above. Click Okay, and the computer will automatically calculate the reference image and fill in the gaps. Photoshop does a pretty good job.
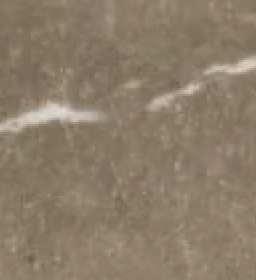
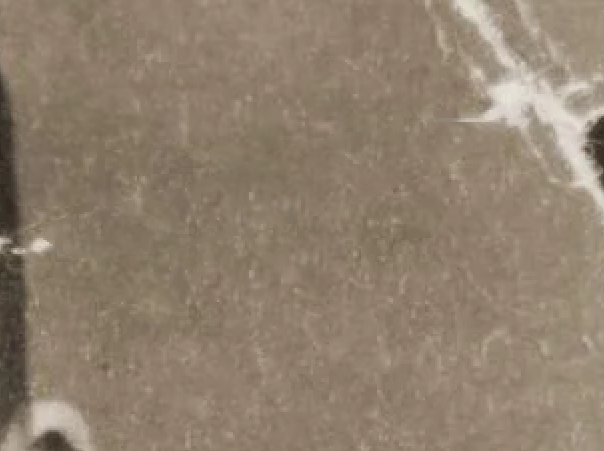
You can see here it filled it.
Using the paint tool
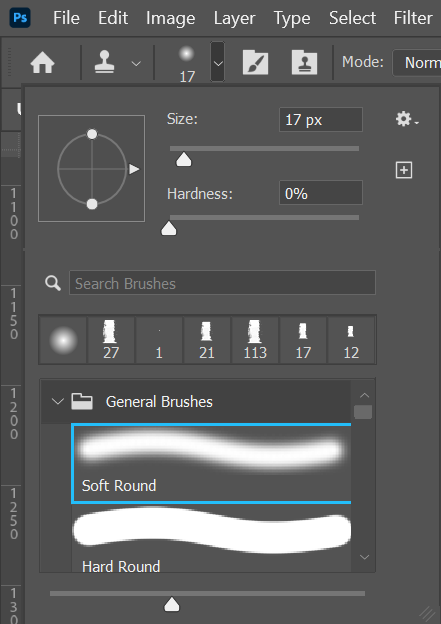
Sometimes the most straightforward tool is needed. Using the brush, you can paint areas. Here’s a quick guide on how to paint.
Taking body parts from other photos
There are times when the photo is degraded to the point that body parts aren’t seen. A fix is to grab the body part from another photo and use that piece. The tricky part is getting the toning and colour grading right to make it look like it was part of the picture. Here’s a quick guide on one way.
1. Cut out the body part you want and place it within the photo.
2. The added body part should be the top layer.
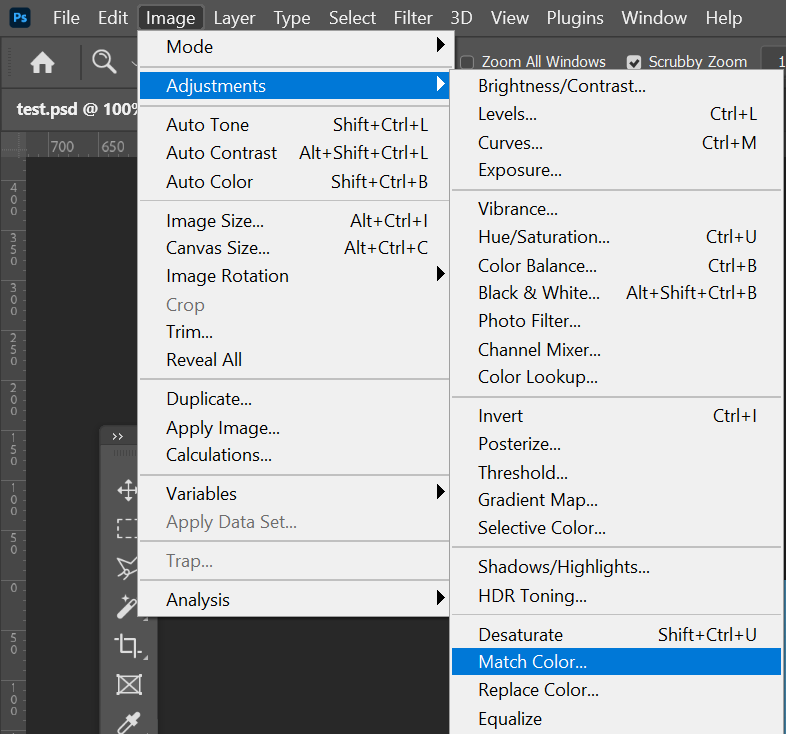
3. Go to menu “Image > Adjustments > Match color.”
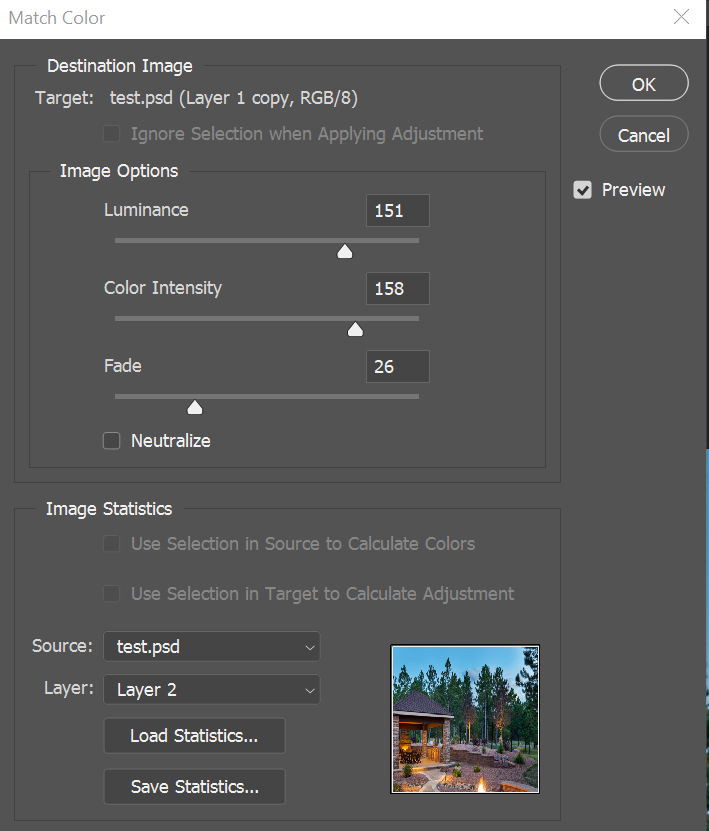
4. In the Match color panel. In the Image Statistics section. The Source should be the body part. The Layer should be the background or what you are matching it to.
The luminance is how bright you want it to be, color intensity is the saturation, and fade is similar to opacity. Fiddle with the options to see how it looks. And that’s it!
Also, adding noise to the picture will merge it better into the picture. You can do this by going to Filter > Noise > Add Noise. Fiddle around. The lower the number, the better. Just a little bit helps.
Happy Creating!
Leave a Reply
You must be logged in to post a comment.